Not every road trip is the same. Some travelers want beaches, some want mountains, some want history, and some just want an unforgettable weekend away.
If you’re wondering where to go next, here are seven incredible destinations that are absolutely worth the drive from Texas. Whether you’re chasing waterfalls, hiking epic trails, exploring ancient history, or relaxing by the water, this guide will help you plan your next adventure.
If I Was a Beach Lover…
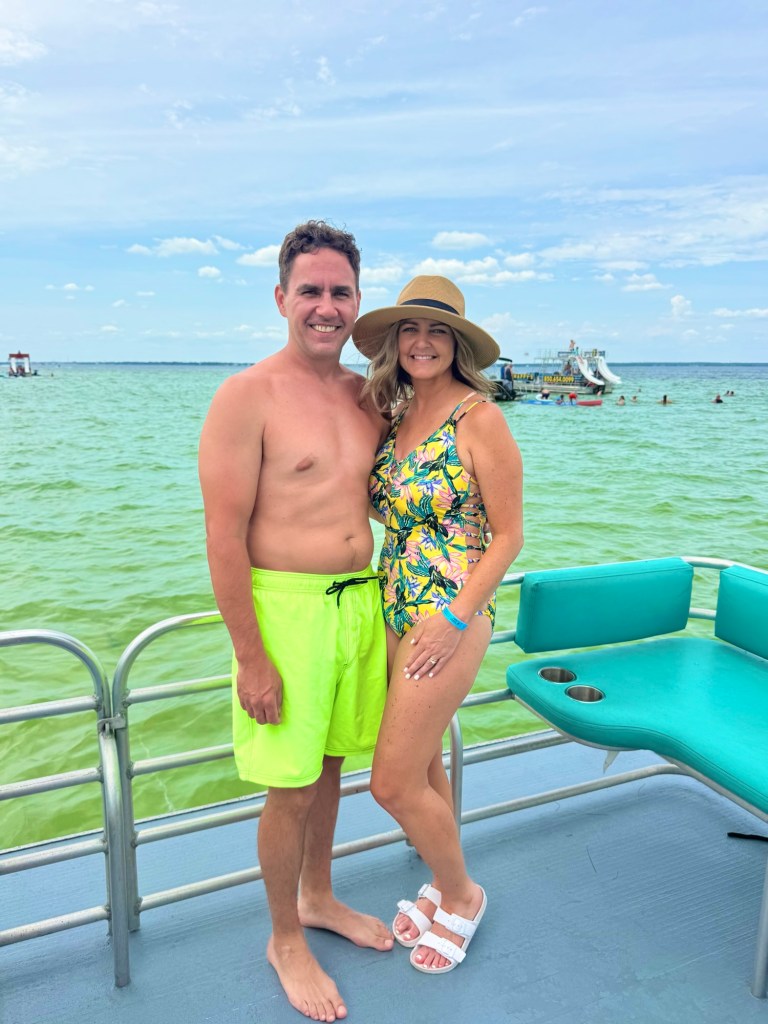
Destin, Florida
Drive Time from Dallas – Approximately 11-12 hours
Why Go
Destin is famous for its sugar-white sand beaches and crystal-clear emerald water. It’s one of the most beautiful beach destinations within driving distance of Texas.
Don’t Miss
- Henderson Beach State Park
- Crab Island
- HarborWalk Village
- Dolphin cruises
- Sunset tiki boat cruises
- The Destin Boardwalk
Where to Stay
- Sterling Sands
- Henderson Beach Resort
- Pelican Beach Resort
- Sandestin Golf & Beach Resort
Where to Eat
- Boshamps Seafood & Oyster House
- The Back Porch
- Dewey Destin’s
- Harbor Docks
- McGuire’s Irish Pub
Helpful Tips
- Visit Crab Island on a pontoon boat.
- Arrive early for beach parking.
- Consider staying beachfront to avoid daily parking fees.
- Summer crowds are heavy, so book lodging early.
If I Was a History Buff…
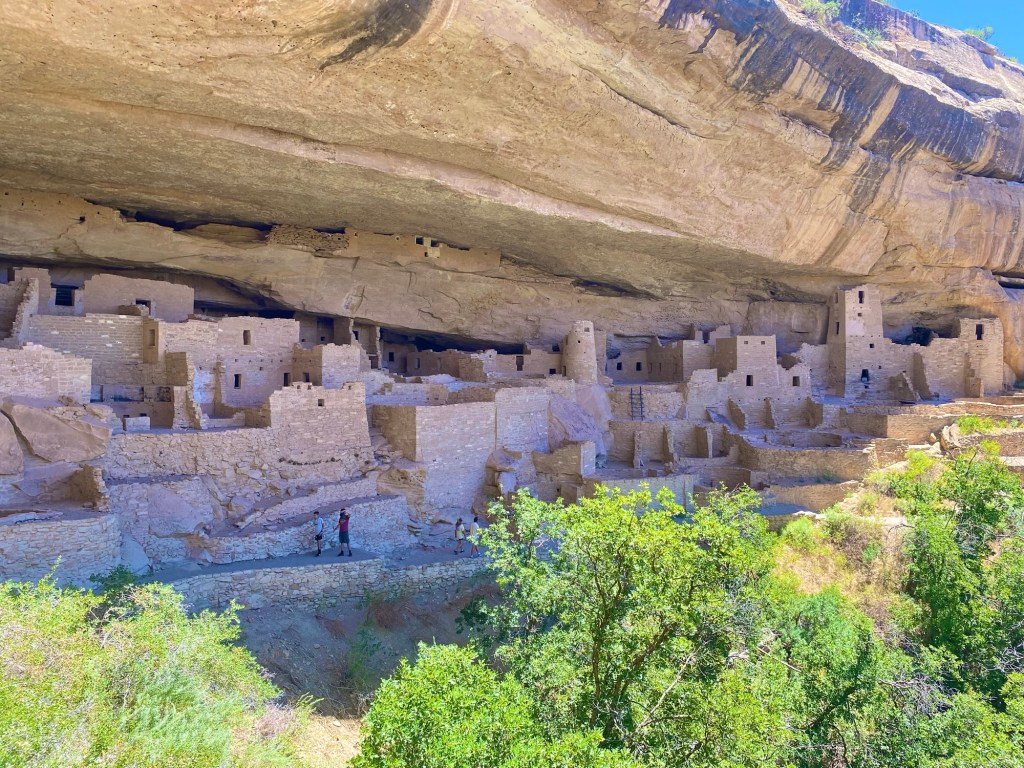
Mesa Verde National Park, Colorado
Drive Time from Dallas – Approximately 12-13 hours
Why Go
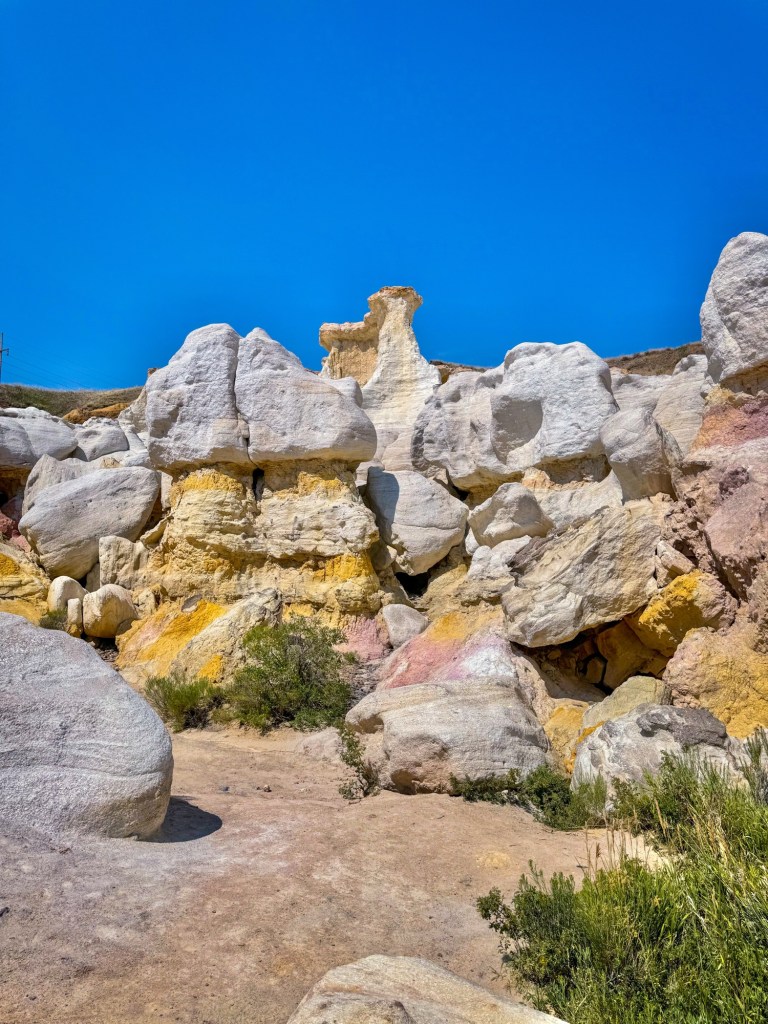
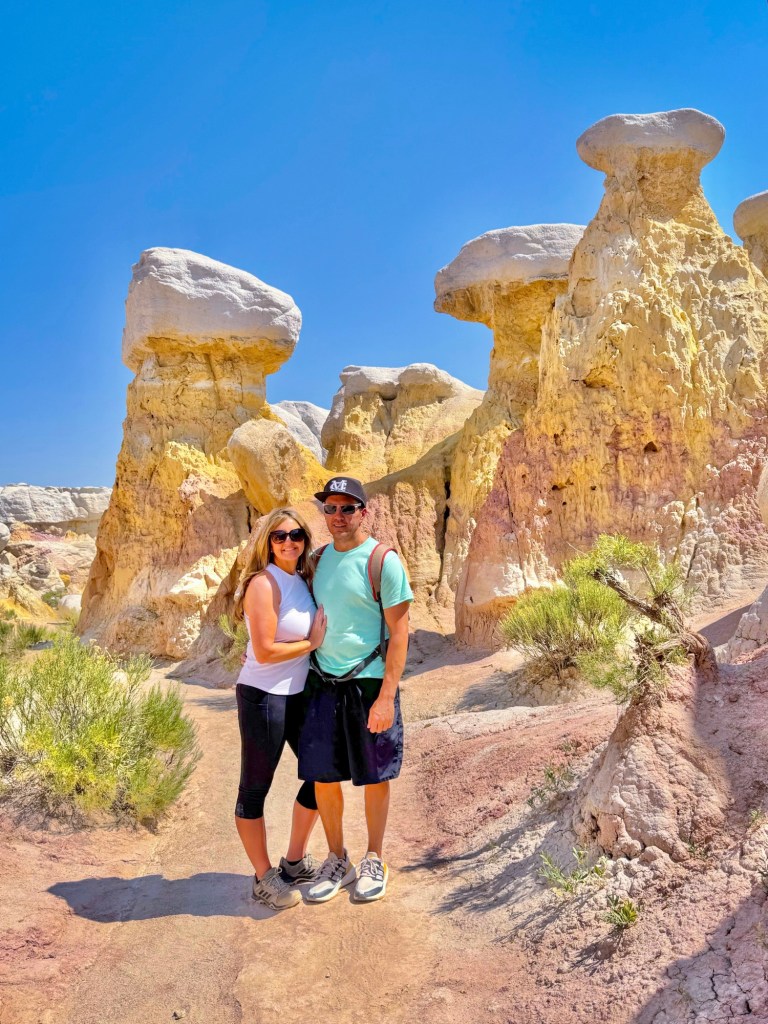
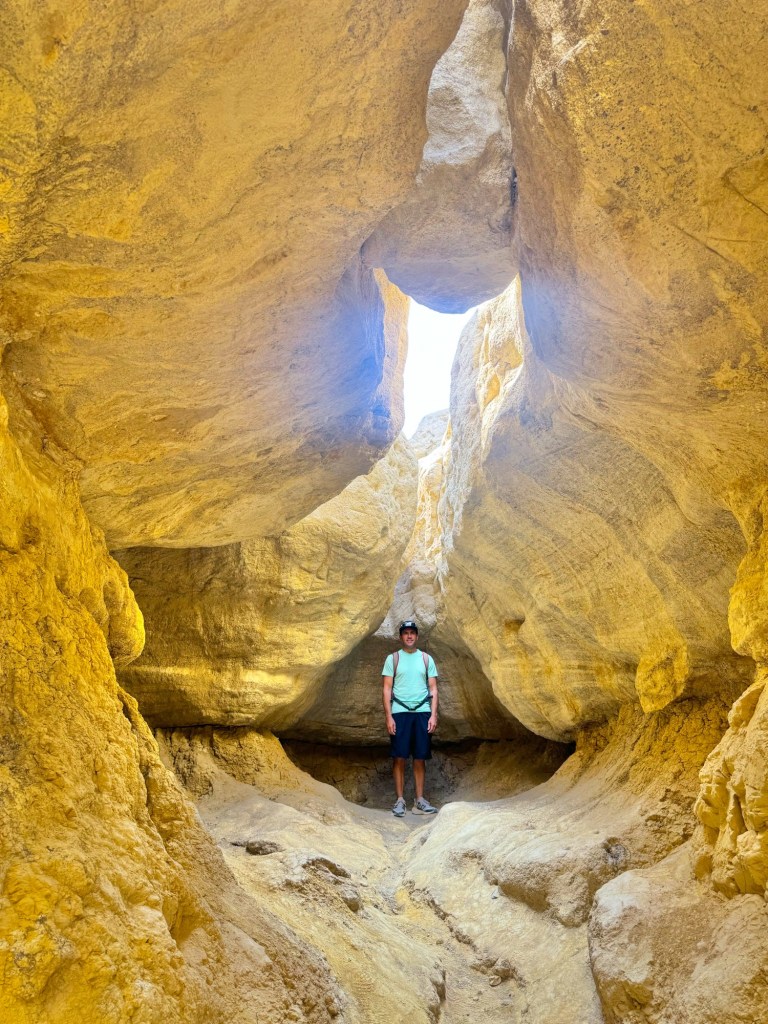
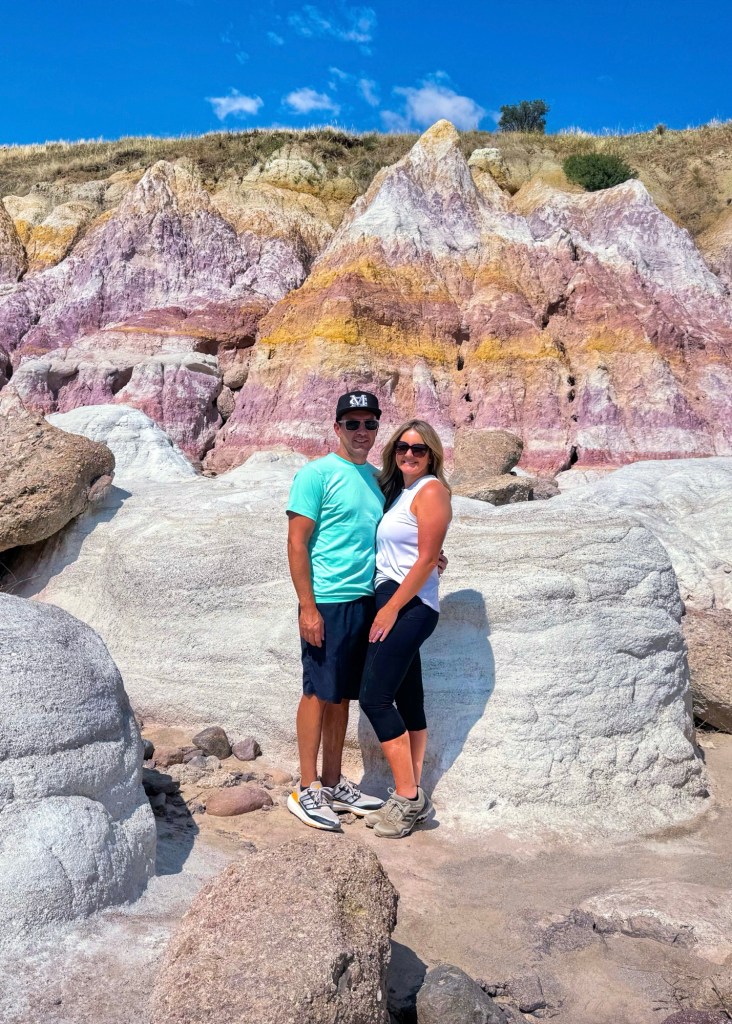
Mesa Verde protects thousands of ancient Puebloan archaeological sites, including some of the most impressive cliff dwellings in North America.
Don’t Miss
- Cliff Palace
- Balcony House
- Spruce Tree House Overlook
- Mesa Top Loop Road
- Chapin Mesa Archaeological Museum
Where to Stay
- Far View Lodge
- Durango hotels
- Mancos vacation rentals
Where to Eat
- Far View Terrace
- Steamworks Brewing Company (Durango)
- Serious Texas BBQ (Durango)
Helpful Tips
- Reserve cliff dwelling tours early.
- Summer temperatures can be hot.
- Bring plenty of water.
- Combine with a visit to Durango or Ouray.
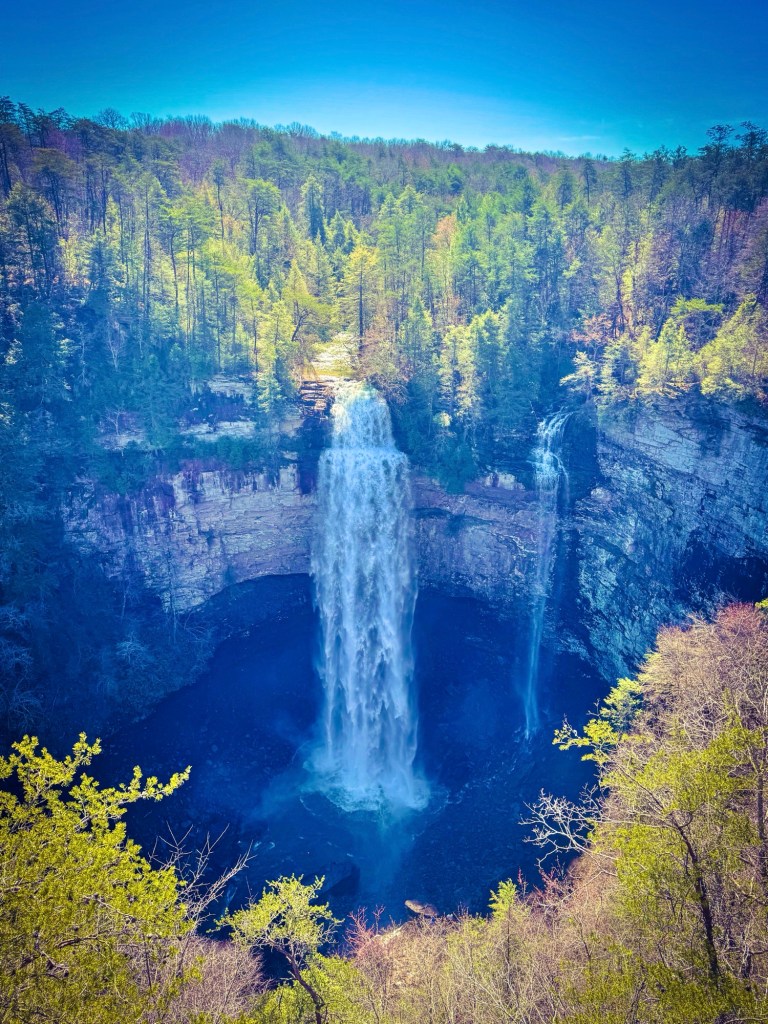
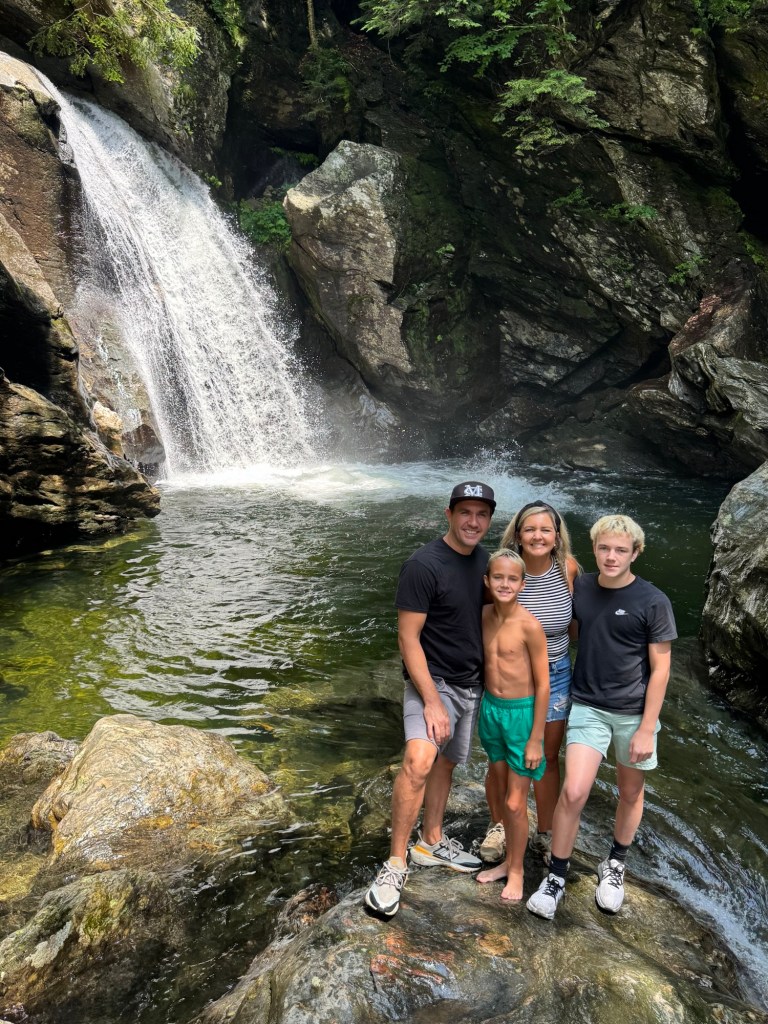
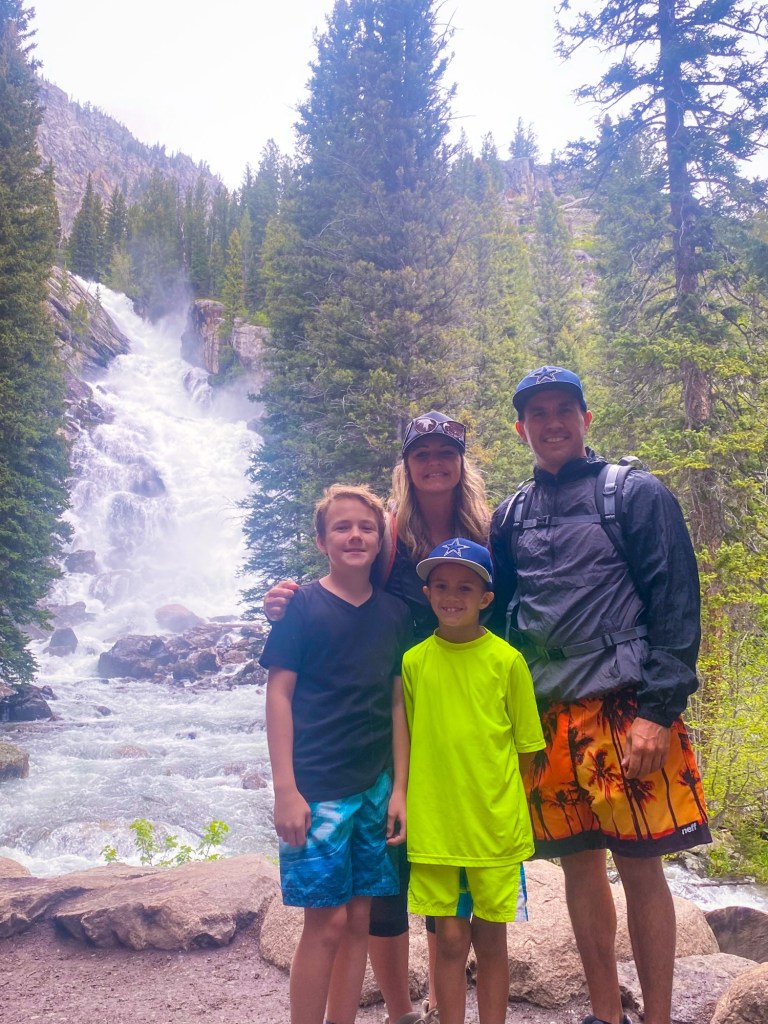
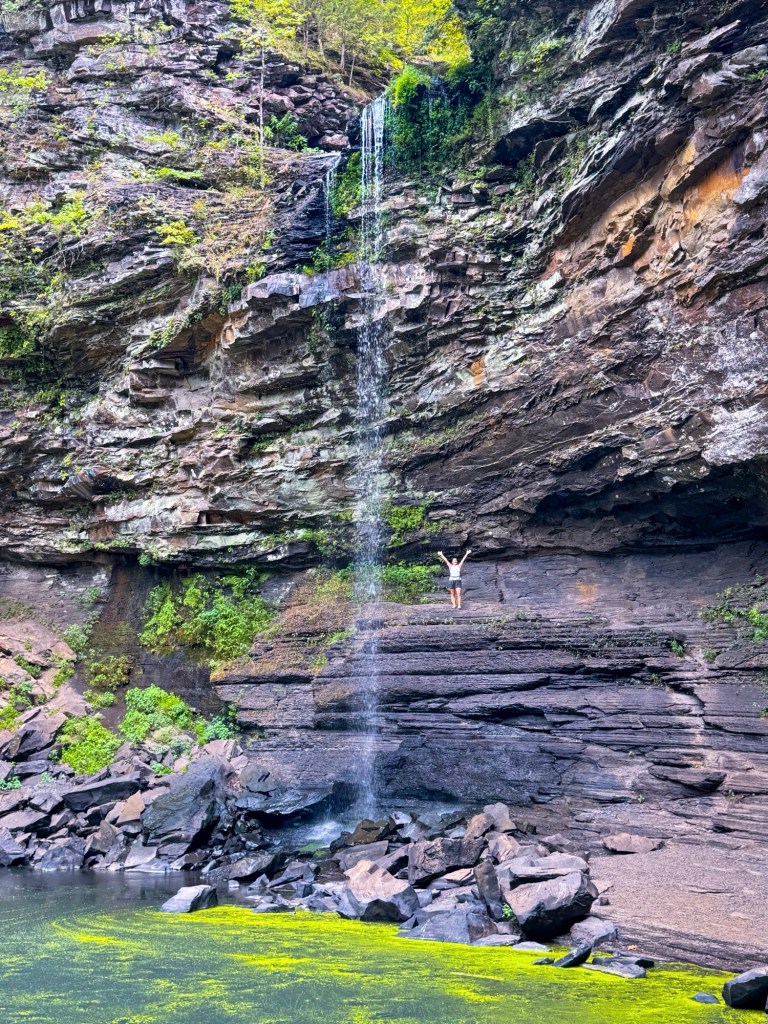
If I Wanted to Chase Waterfalls…
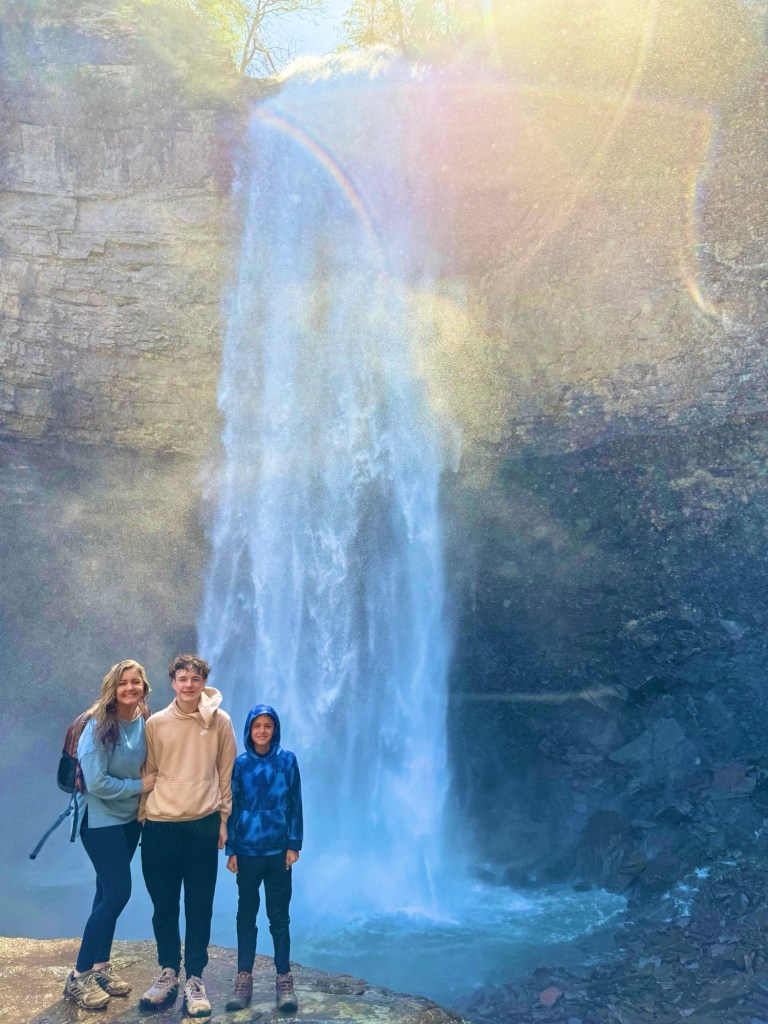
Fall Creek Falls State Park, Tennessee
Drive Time from Dallas – Approximately 10-11 hours
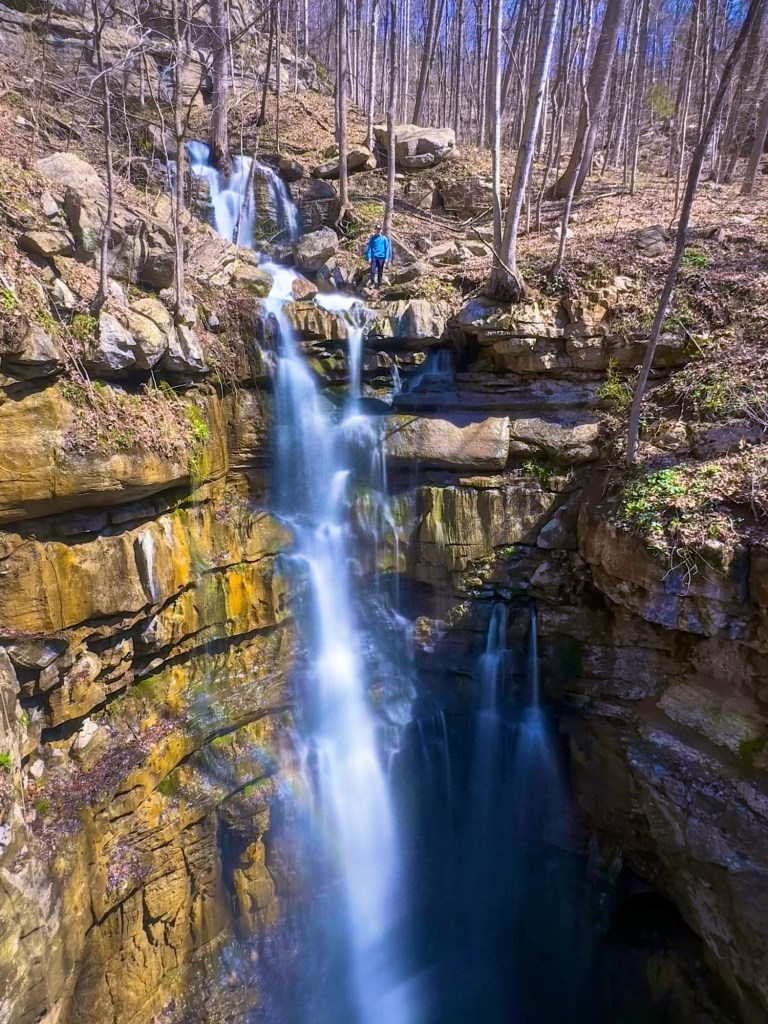
Why Go
Home to one of the tallest waterfalls east of the Mississippi, this state park is packed with waterfalls, hiking trails, overlooks, and family-friendly adventures.
Don’t Miss
- Fall Creek Falls
- Cane Creek Falls
- Piney Falls
- Suspension Bridge
- Nature Center
Where to Stay
- Fall Creek Falls Lodge
- State park cabins
- Spencer vacation rentals
Where to Eat
- Fall Creek Falls Restaurant
- The Farmer’s Daughter
- McDonald’s in Spencer (for quick meals)
Helpful Tips
- Visit waterfalls after recent rain for the best views.
- Wear shoes with good traction.
- Plan at least two days if you love hiking.
- Bring a camera—this park is incredibly photogenic.
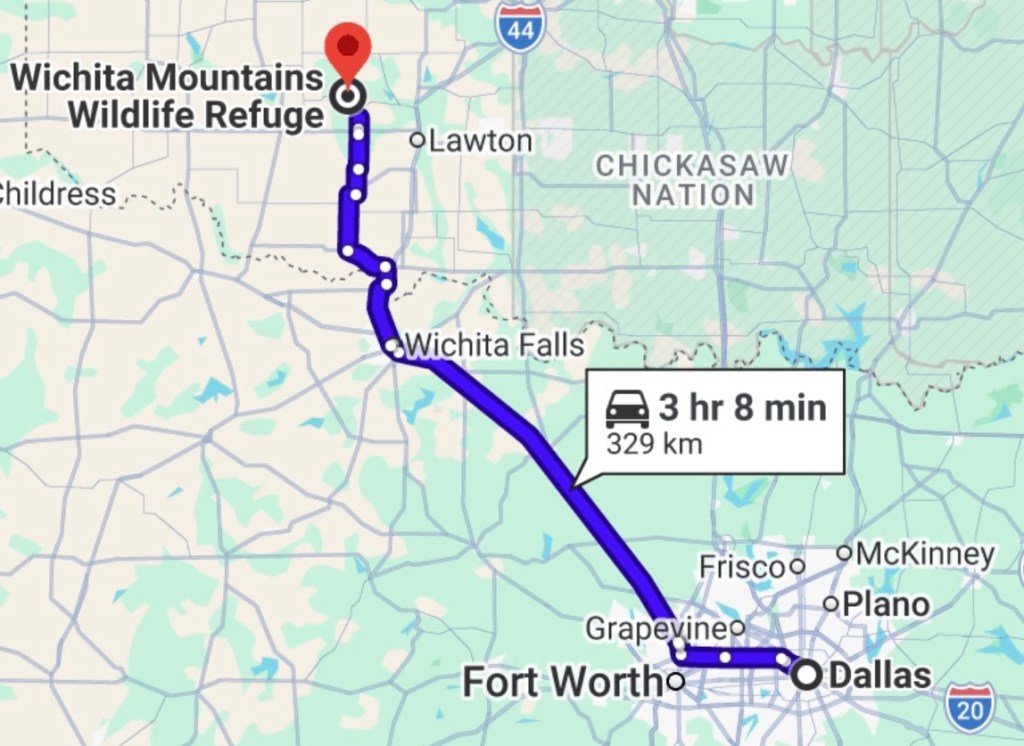
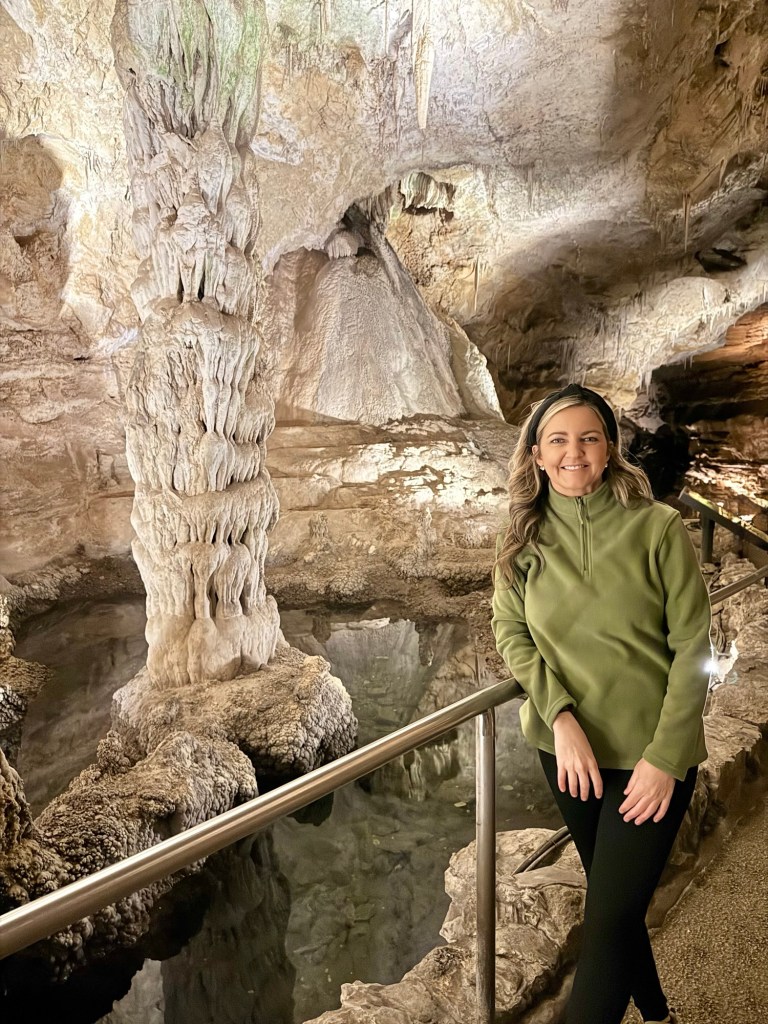
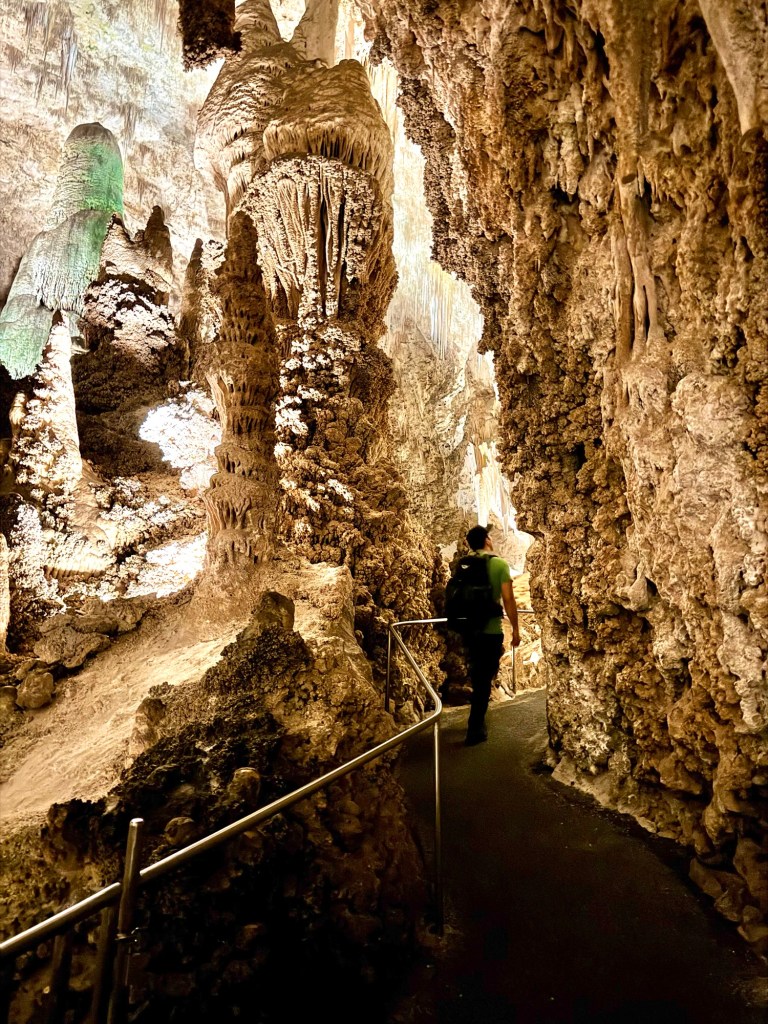
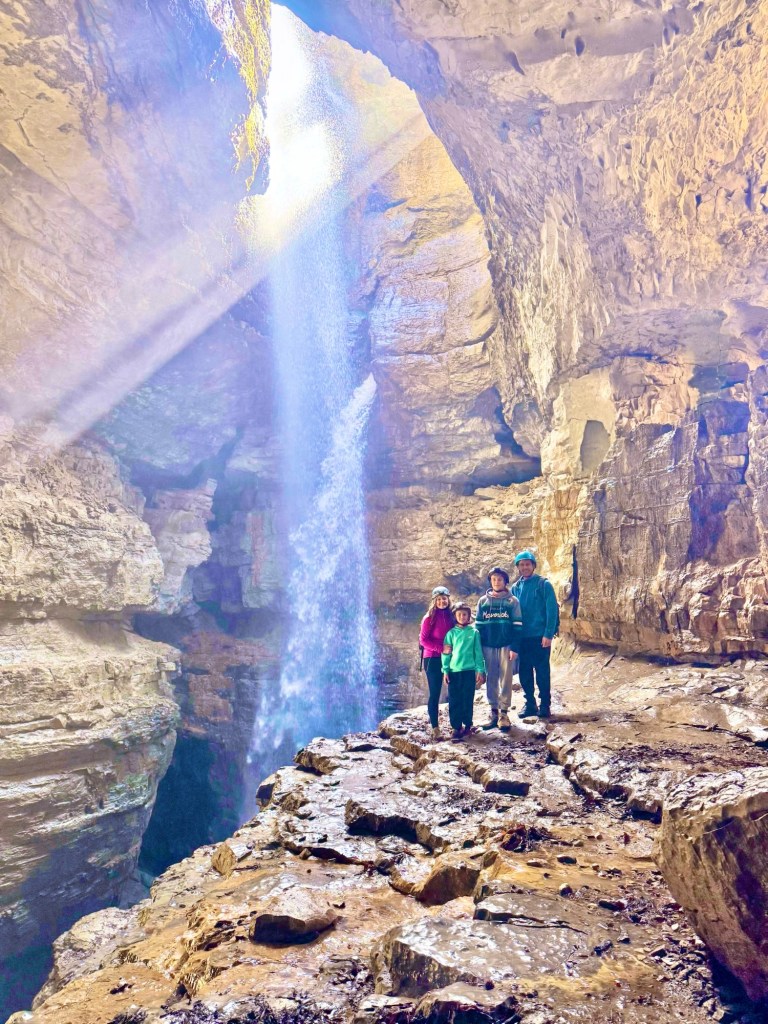
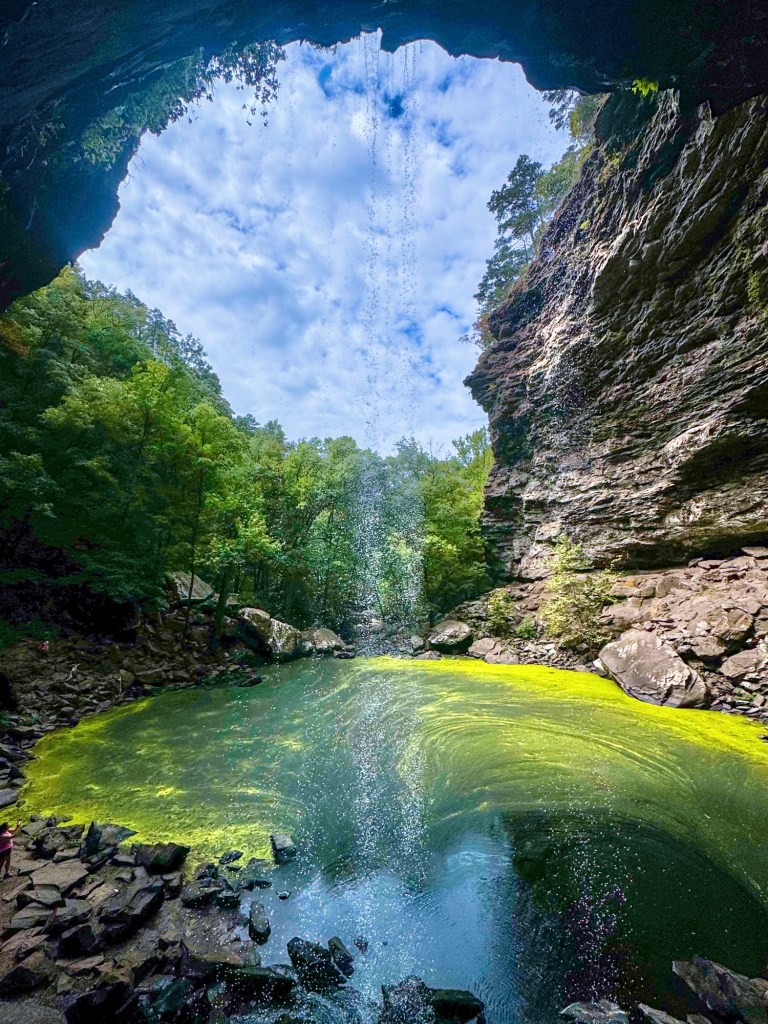
If I Needed an Adventure…
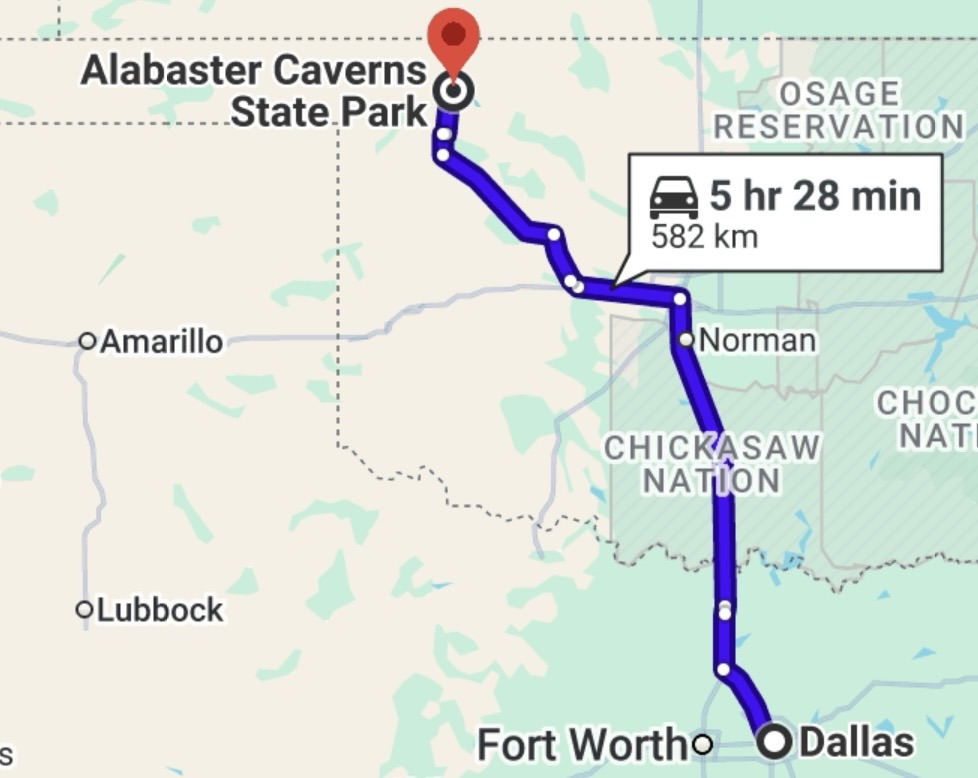
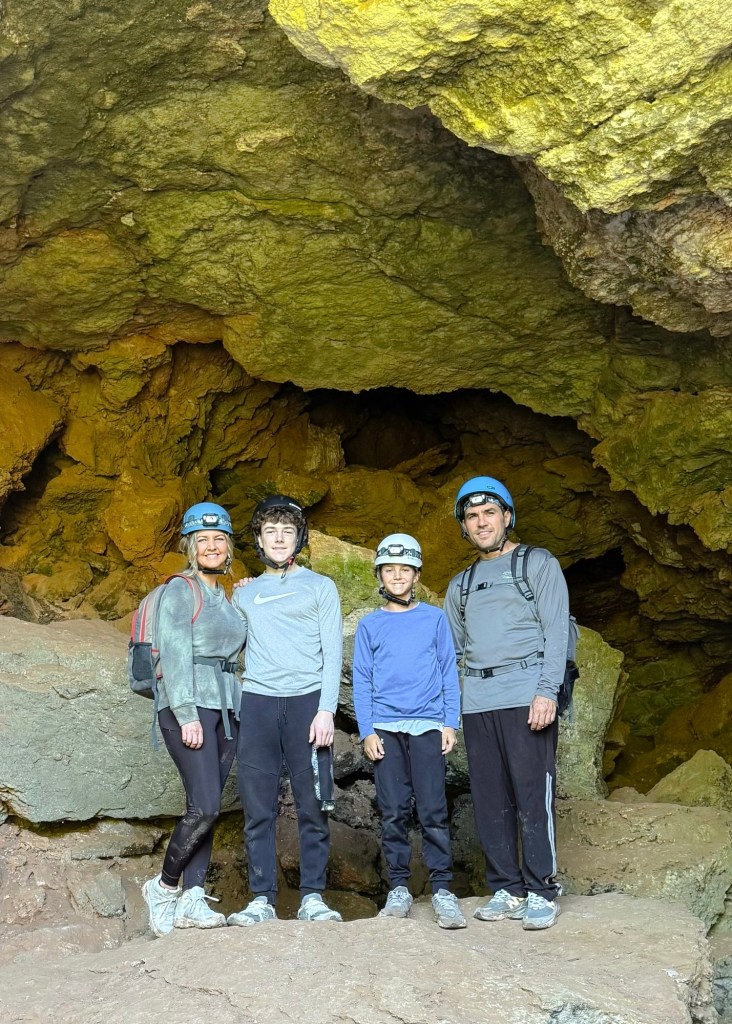
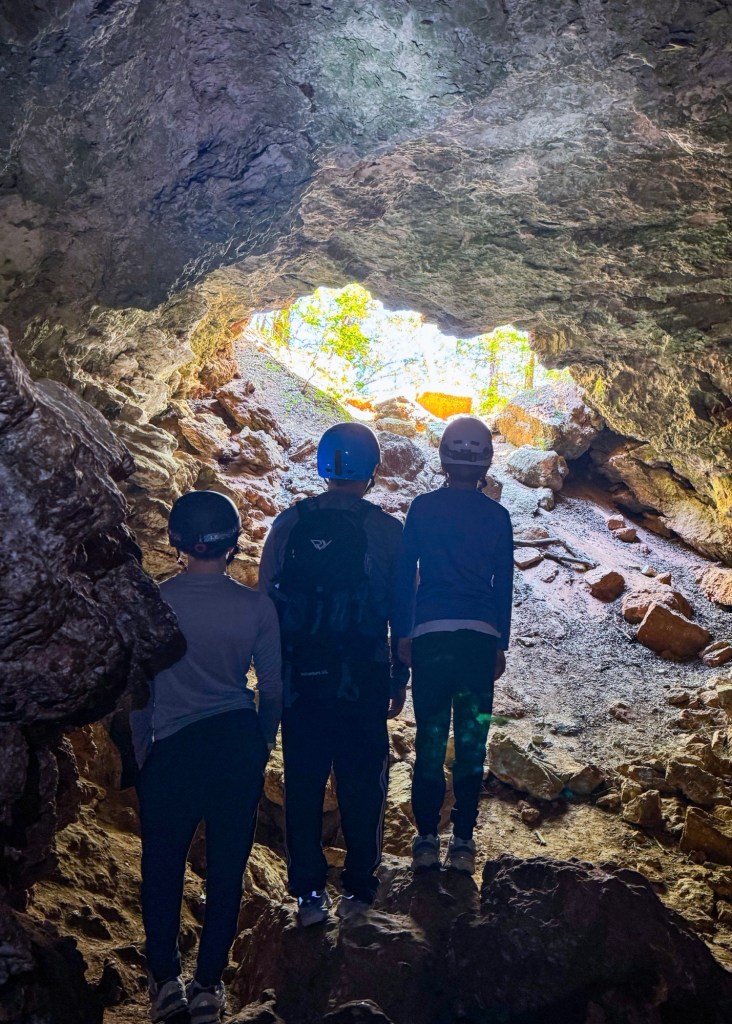
Alabaster Caverns State Park, Oklahoma
Drive Time from Dallas – Approximately 4.5-5 hours
Why Go
One of the most unique road trips near Texas, featuring the world’s largest natural gypsum cave open to the public.
Don’t Miss
- Guided cave tours
- Wild cave tours
- Bat watching
- Stargazing
- Gloss Mountain State Park nearby
Where to Stay
- Woodward hotels
- Boiling Springs State Park cabins
- Local vacation rentals
Where to Eat
- Ramiro’s Mexican Restaurant
- Big Dan’s Steakhouse
- Café 412
Helpful Tips
- Cave temperatures stay cool year-round.
- Bring a light jacket.
- Reserve specialty cave tours in advance.
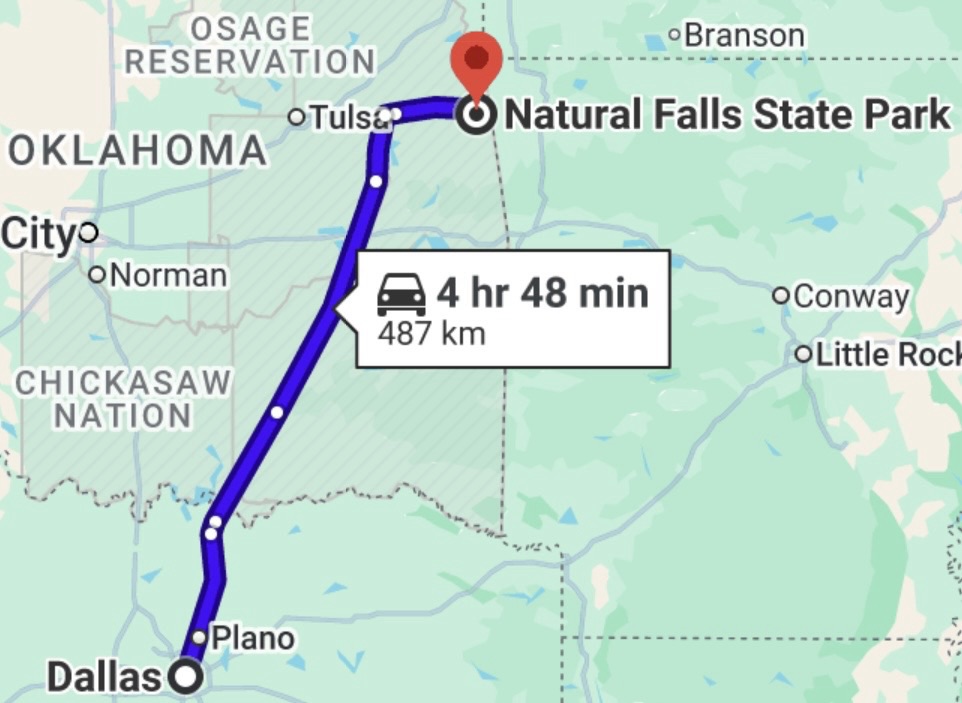
- Pair with Natural Falls and Gloss Mountain for an epic Oklahoma weekend.
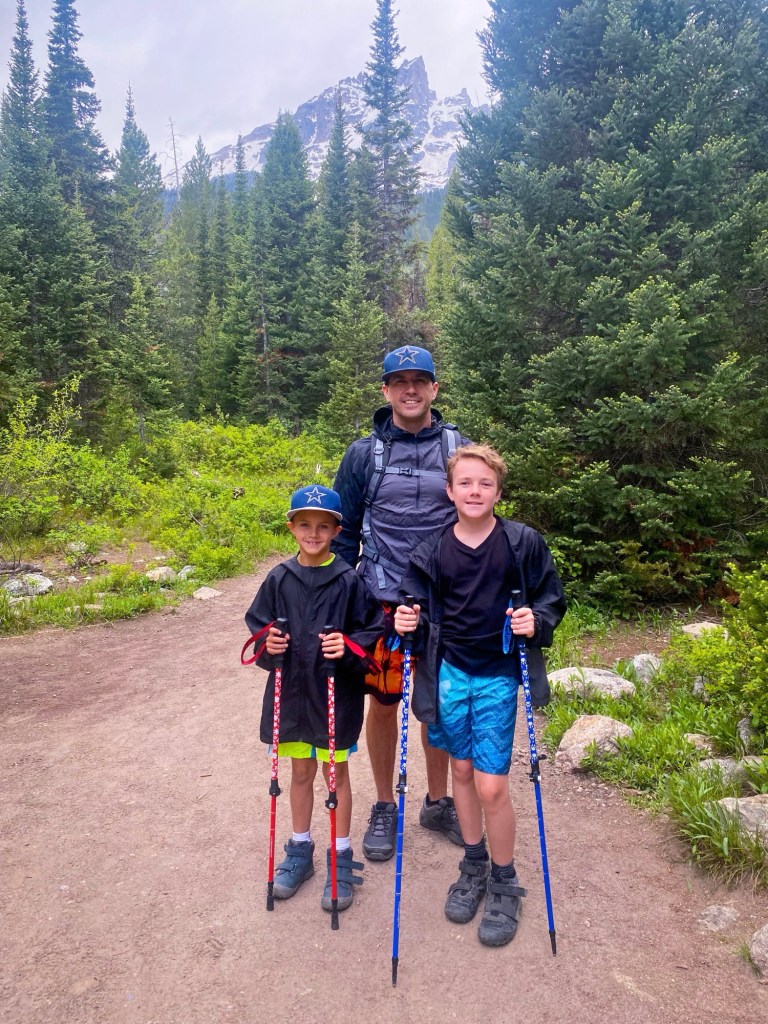
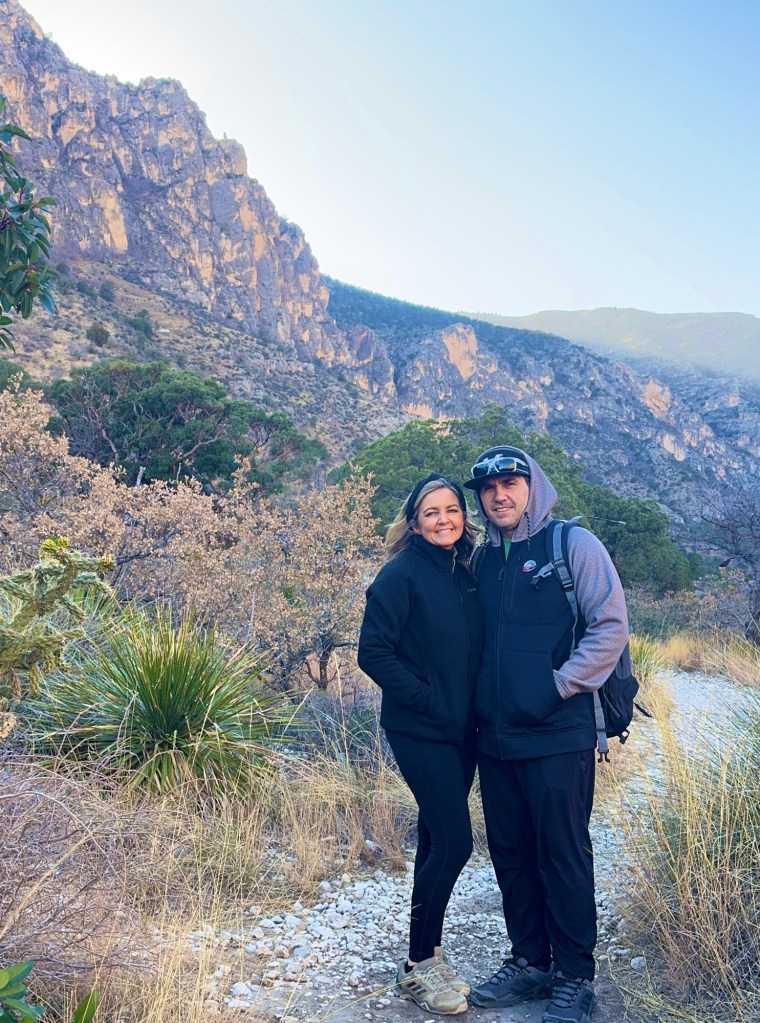
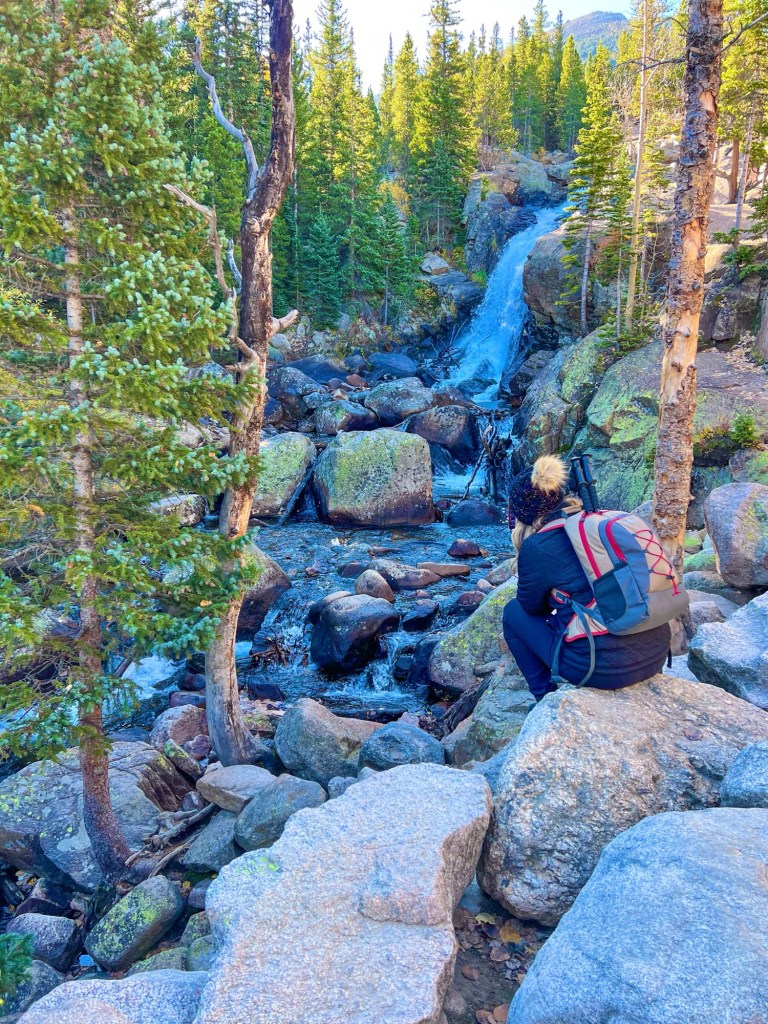
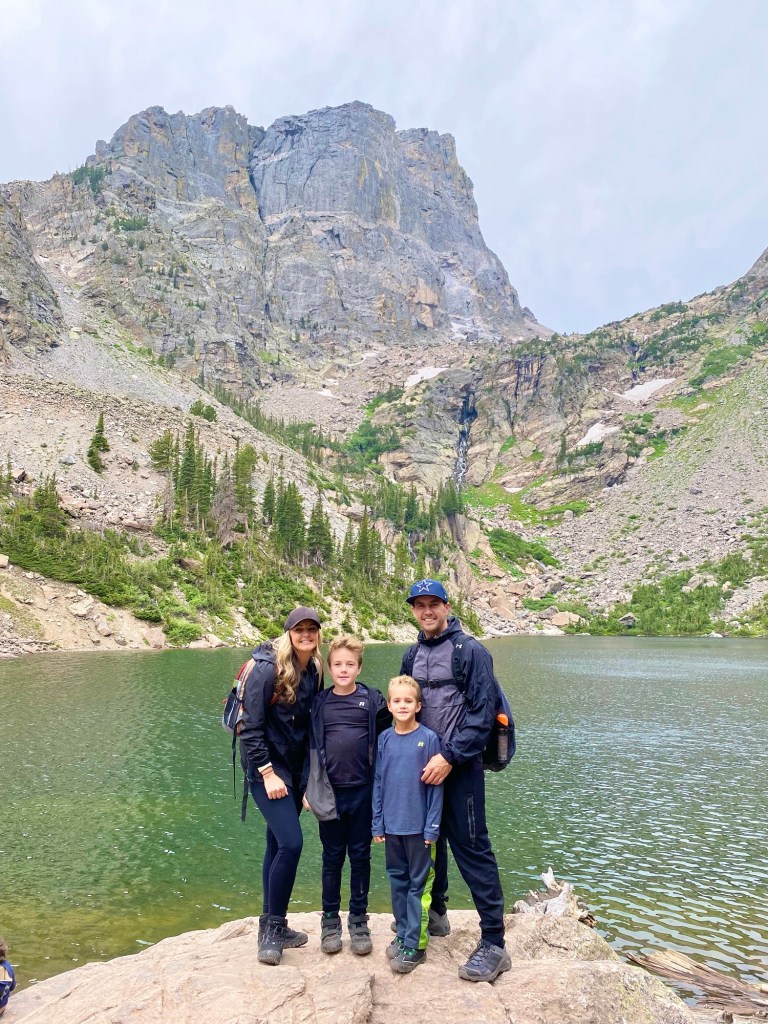
If I Was Looking for an Epic Hike…
Rocky Mountain National Park, Colorado
Drive Time from Dallas – Approximately 12-14 hours
Why Go
Towering mountains, alpine lakes, wildlife, and some of the most spectacular hiking trails in America.
Don’t Miss
- Bear Lake
- Emerald Lake
- Lake Haiyaha
- Trail Ridge Road
- Moraine Park
Where to Stay
- Estes Park cabins
- YMCA of the Rockies
- Stanley Hotel
- Vacation rentals in Estes Park
Where to Eat
- Bird & Jim
- Claire’s Restaurant
- Rock Inn Mountain Tavern
Helpful Tips
- Reserve timed entry permits if required.
- Start hikes early.
- Afternoon storms are common.
- Pack layers, even during summer.
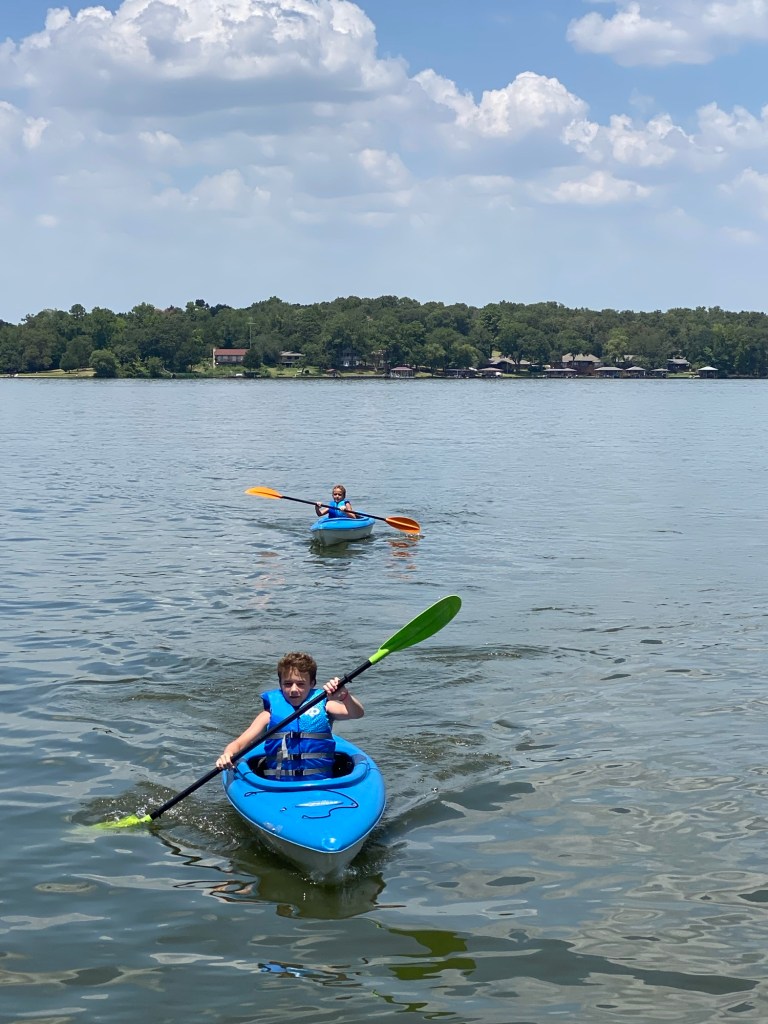
If I Needed a Nearby Lake Getaway…
Callender Lake, Texas
Drive Time from Dallas – Approximately 2 hours
Why Go
A quick and easy escape from the city with lake views, fishing, boating, kayaking, and relaxing sunsets.
Don’t Miss
- Swimming beach
- Kayaking
- Fishing
- Sunset views over the water
Where to Stay
- Lakefront cabins
- Vacation rentals
- RV parks
Where to Eat
- Vernon’s Lakeside
- Local cafés in nearby towns
- Bring groceries for a lake-house weekend
Helpful Tips
- Book lakefront accommodations early.
- Bring water toys and kayaks.
- Perfect for a quick weekend getaway.
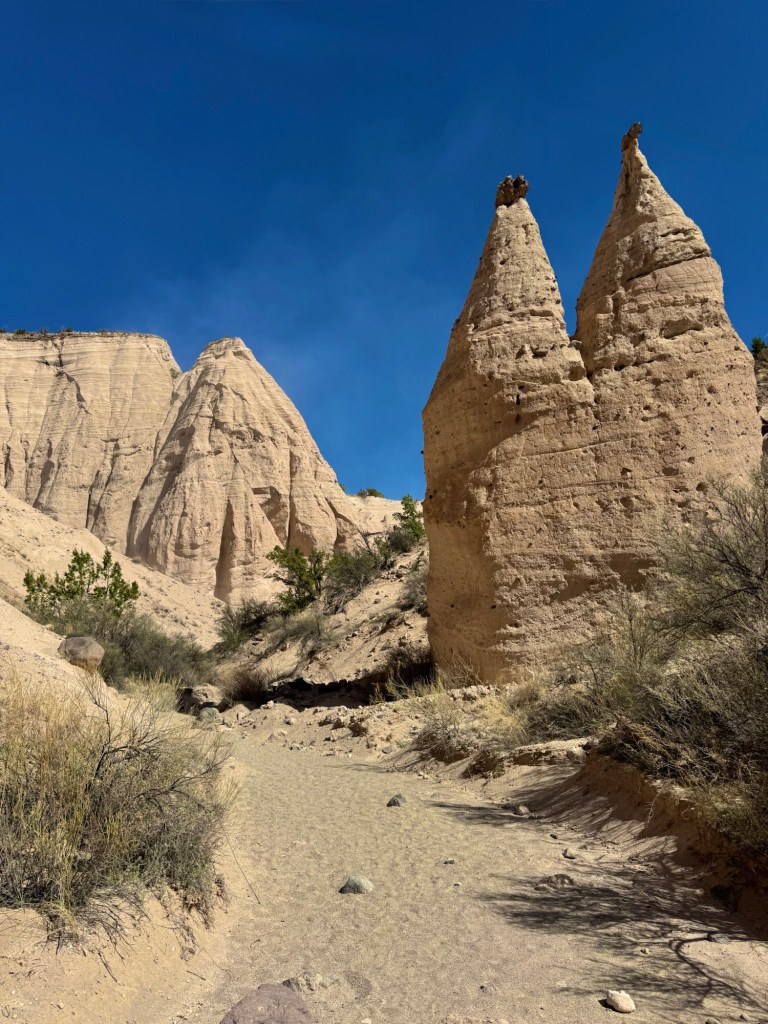
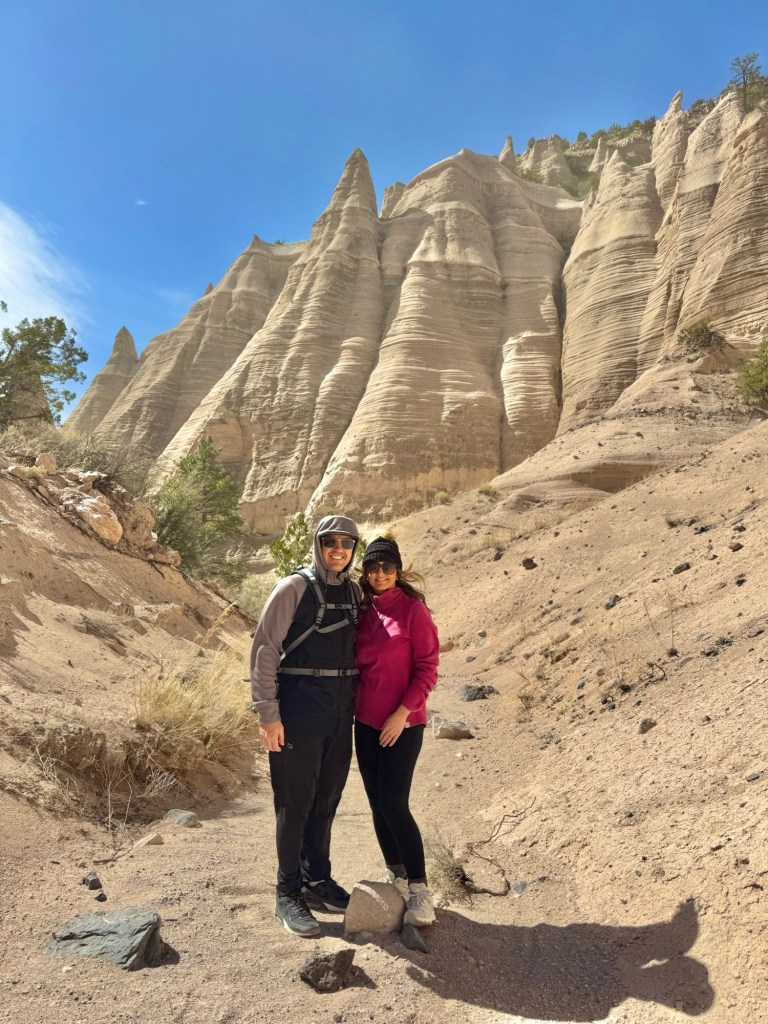
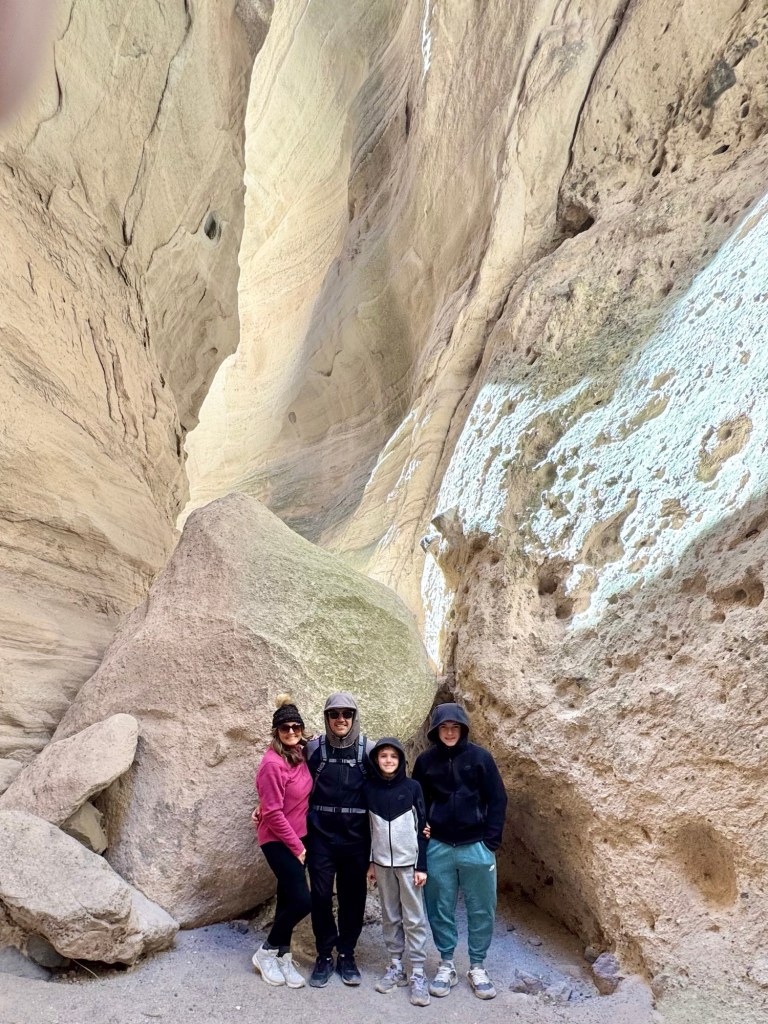
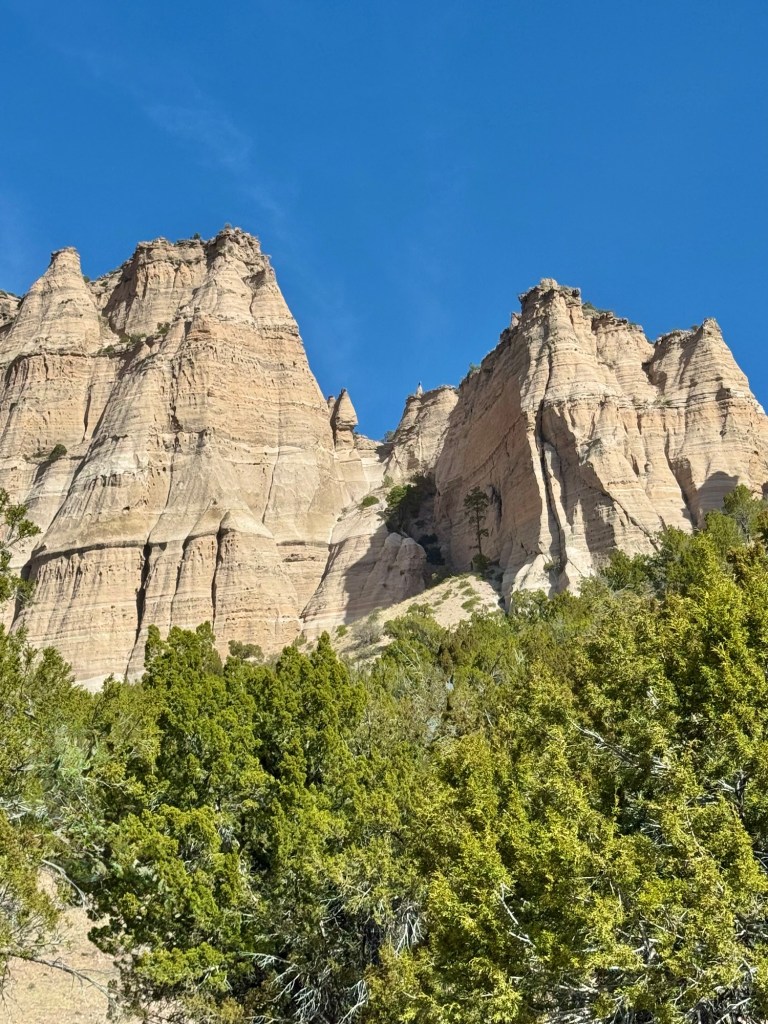
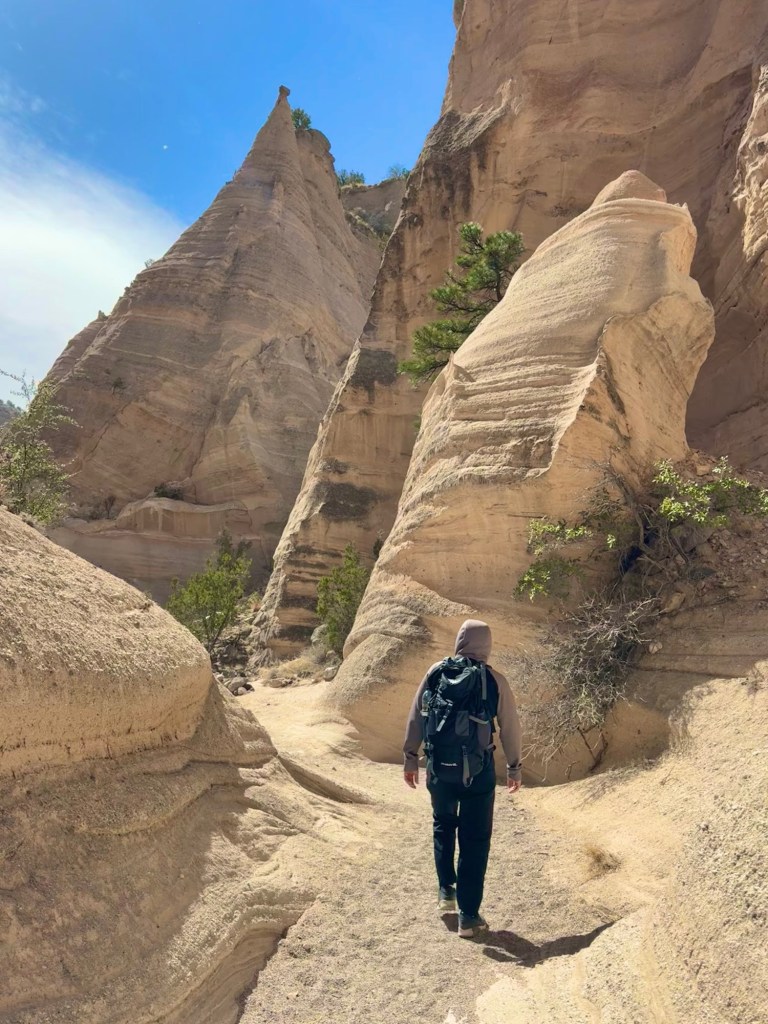
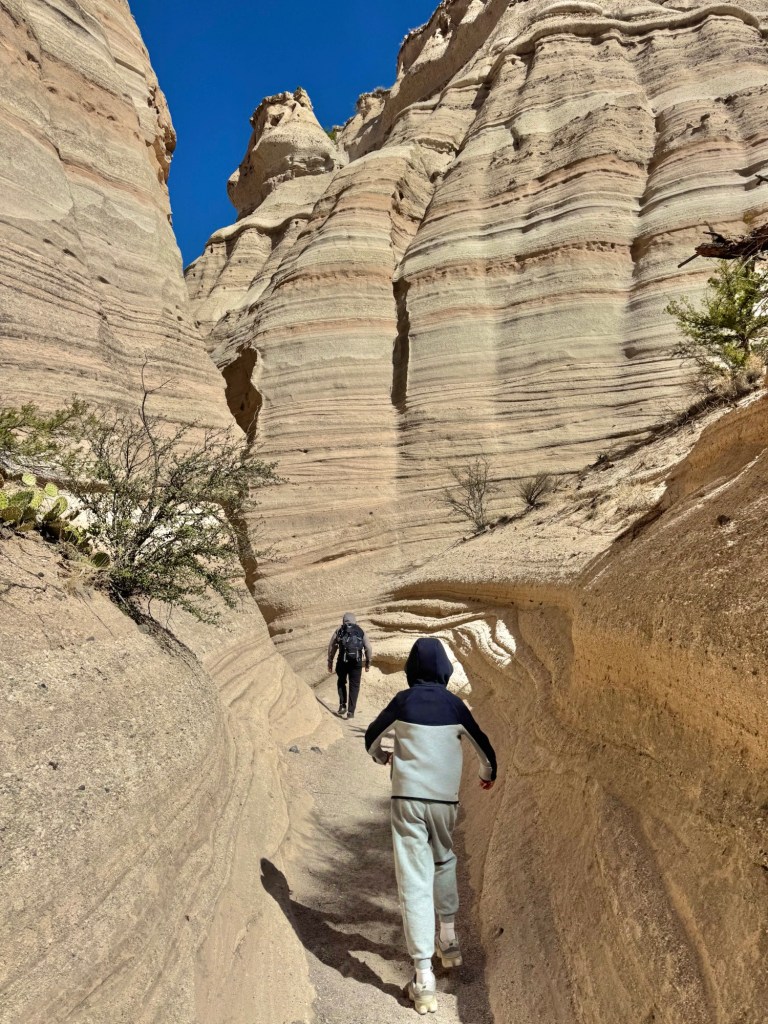
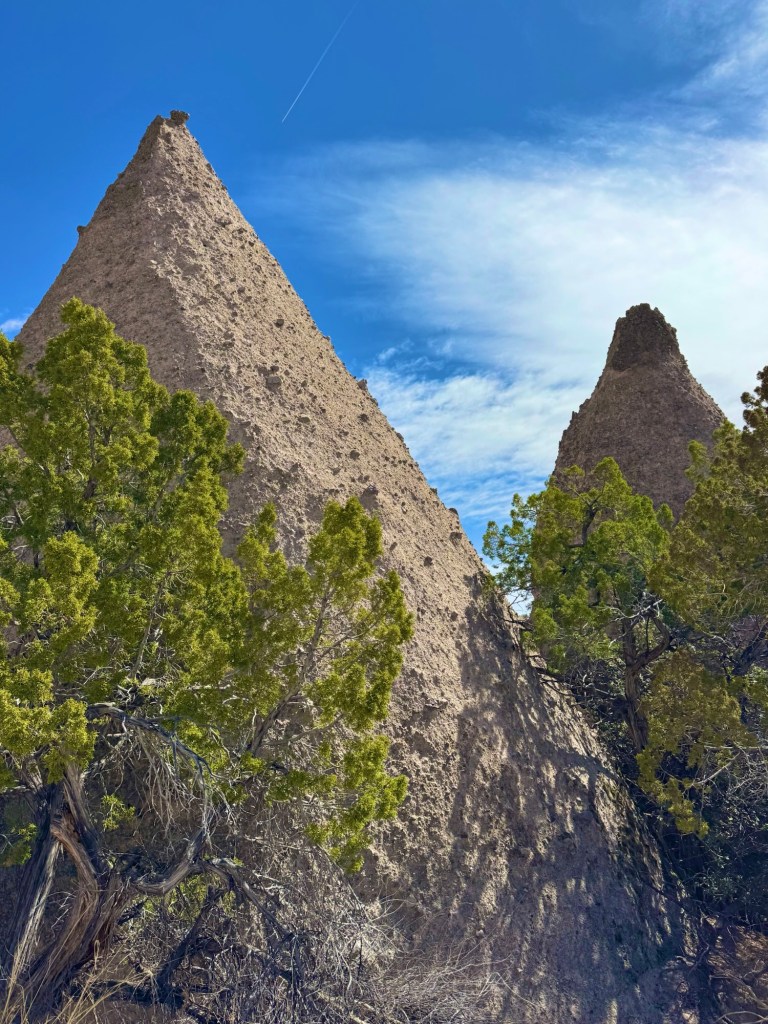
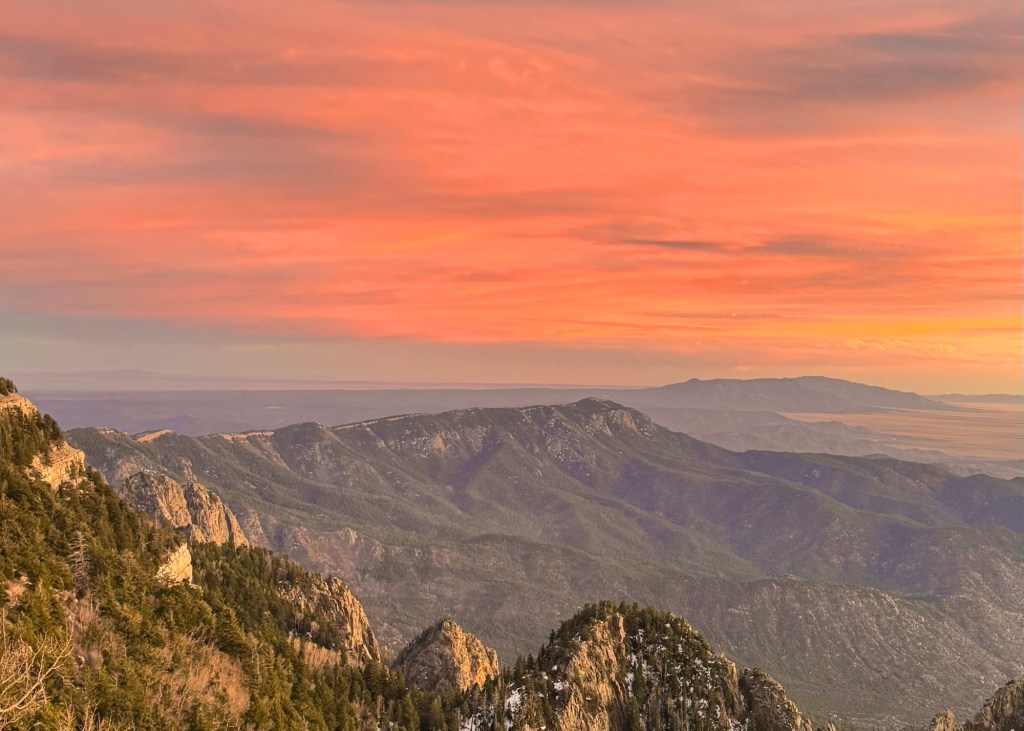
If I Loved Chasing Sunsets…
Albuquerque, New Mexico
Drive Time from Dallas – Approximately 9-10 hours
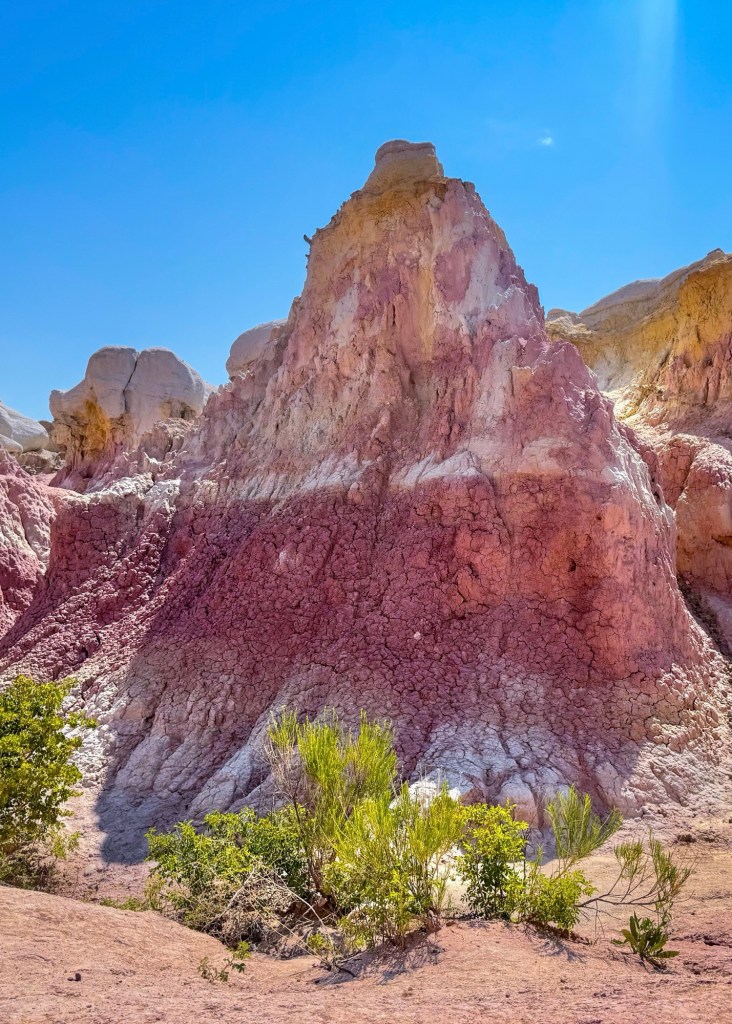
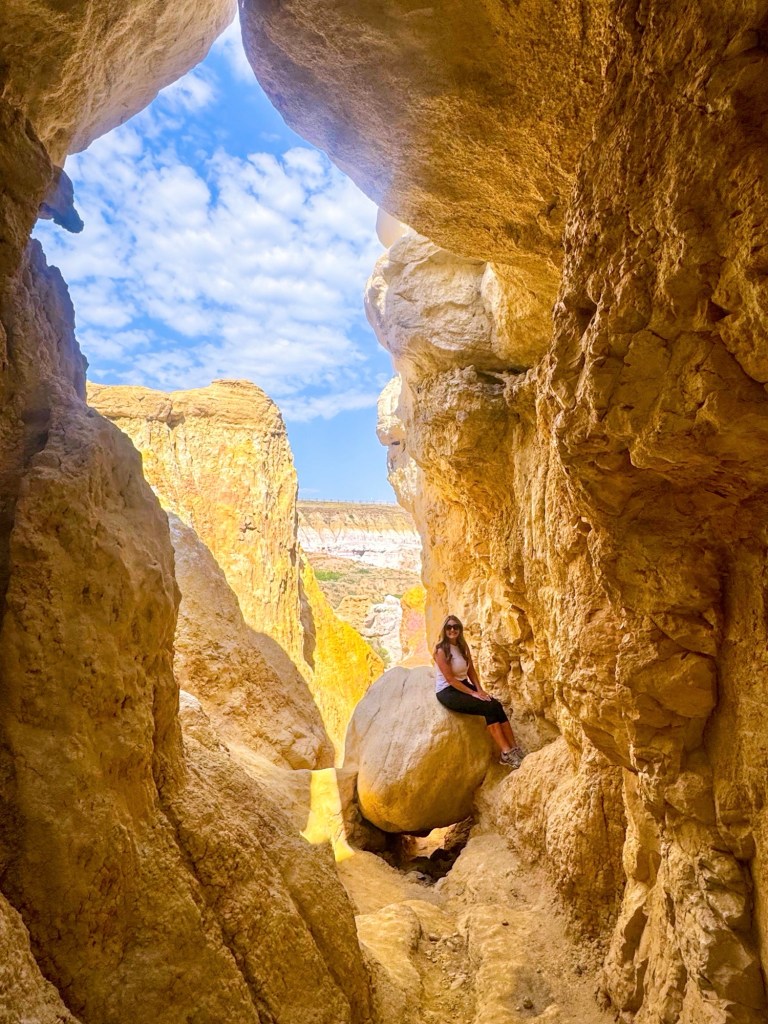
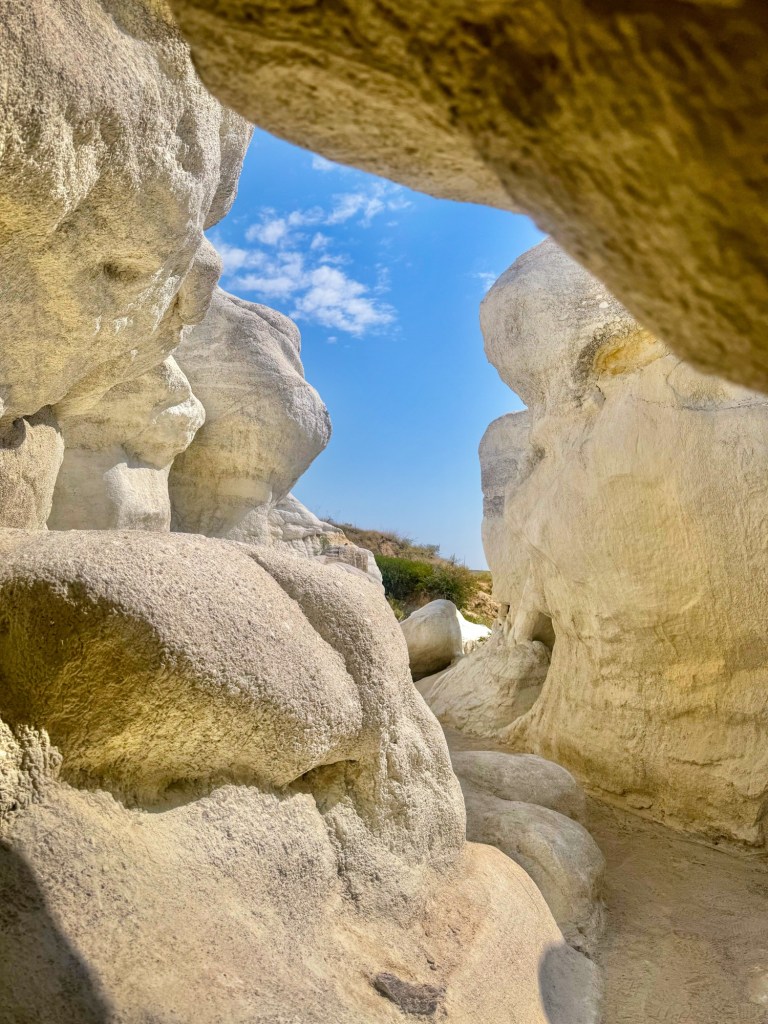
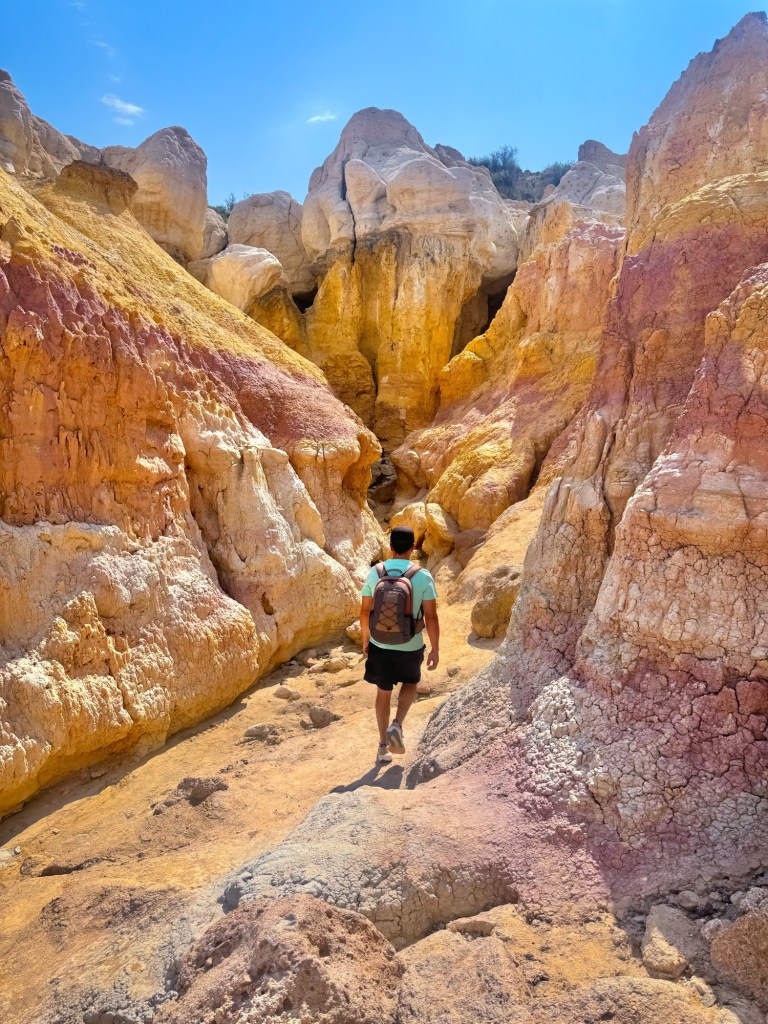
Why Go
Albuquerque offers some of the most colorful sunsets you’ll ever see, thanks to the desert landscape and mountain backdrop.
Don’t Miss
- Sandia Peak Tramway
- Sandia Crest
- Old Town Albuquerque
- Petroglyph National Monument
- Balloon Fiesta (October)
Where to Stay
- Hotel Chaco
- Drury Plaza Hotel
- Sandia Resort & Casino
Where to Eat
- Frontier Restaurant
- El Pinto
- Sadie’s
- Church Street Café
Helpful Tips
- Plan a sunset at Sandia Crest.
- Visit Old Town in the evening.
- Stay an extra day to explore nearby Santa Fe.
- Bring a camera—the sunset colors are unreal.
Final Thoughts
The best road trip isn’t necessarily the farthest one—it’s the one that matches the experience you’re craving.
Want beaches? Head to Destin.
Want history? Explore Mesa Verde.
Want waterfalls? Fall Creek Falls delivers.
Need adventure? Alabaster Caverns is unforgettable.
Looking for mountains? Rocky Mountain National Park never disappoints.
Need a quick weekend away? Callender Lake is an easy escape.
Love sunsets? Albuquerque belongs on your bucket list.
No matter which destination you choose, you’ll make memories that last far longer than the drive.
Safe travels and happy road-tripping!