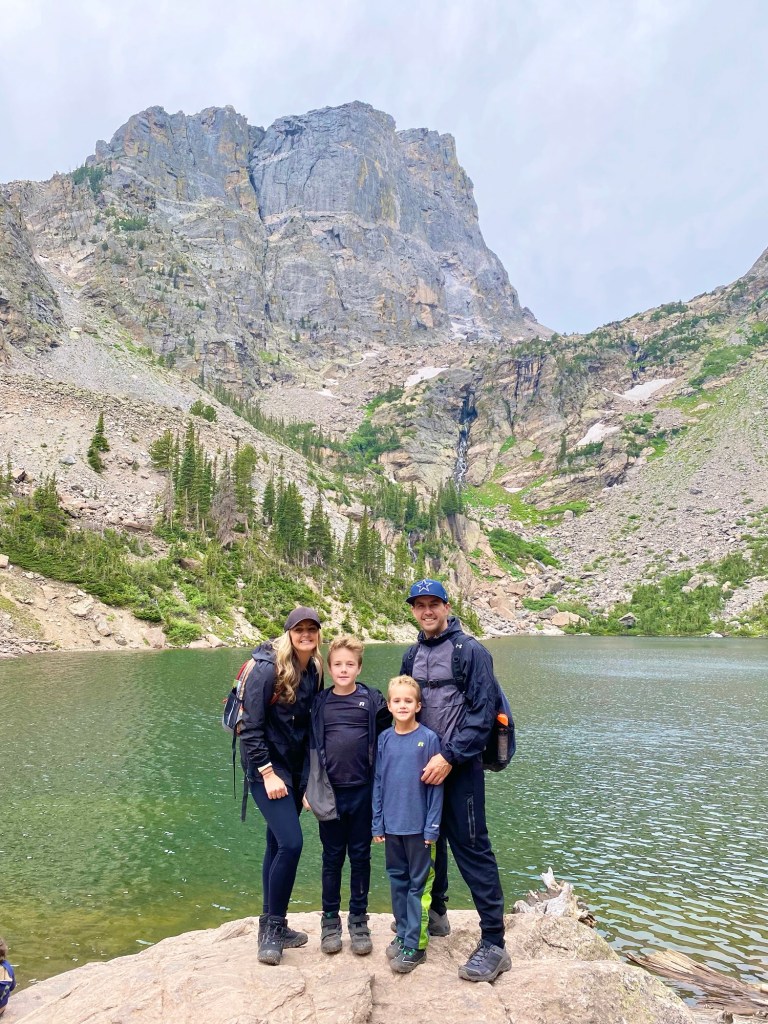
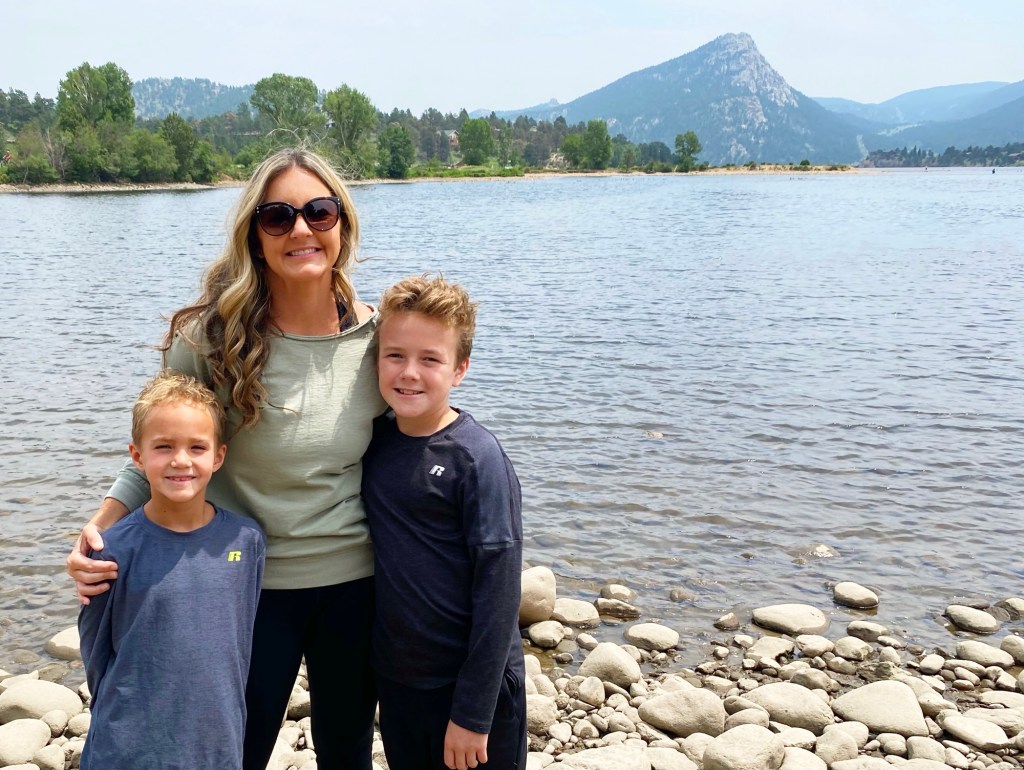
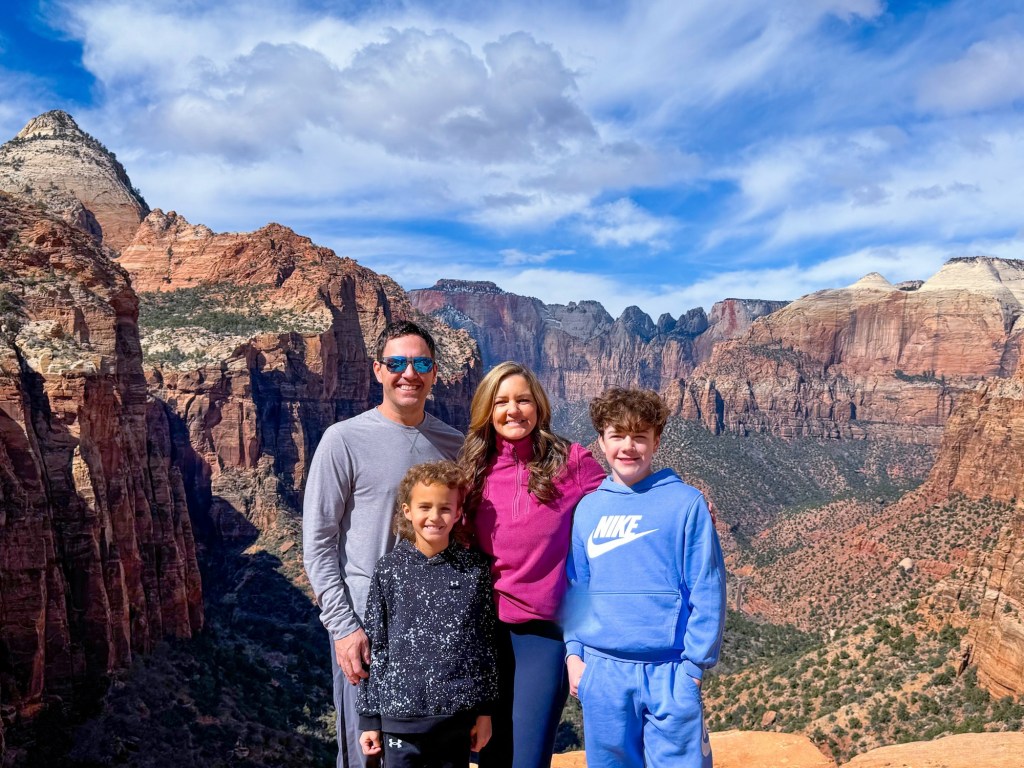
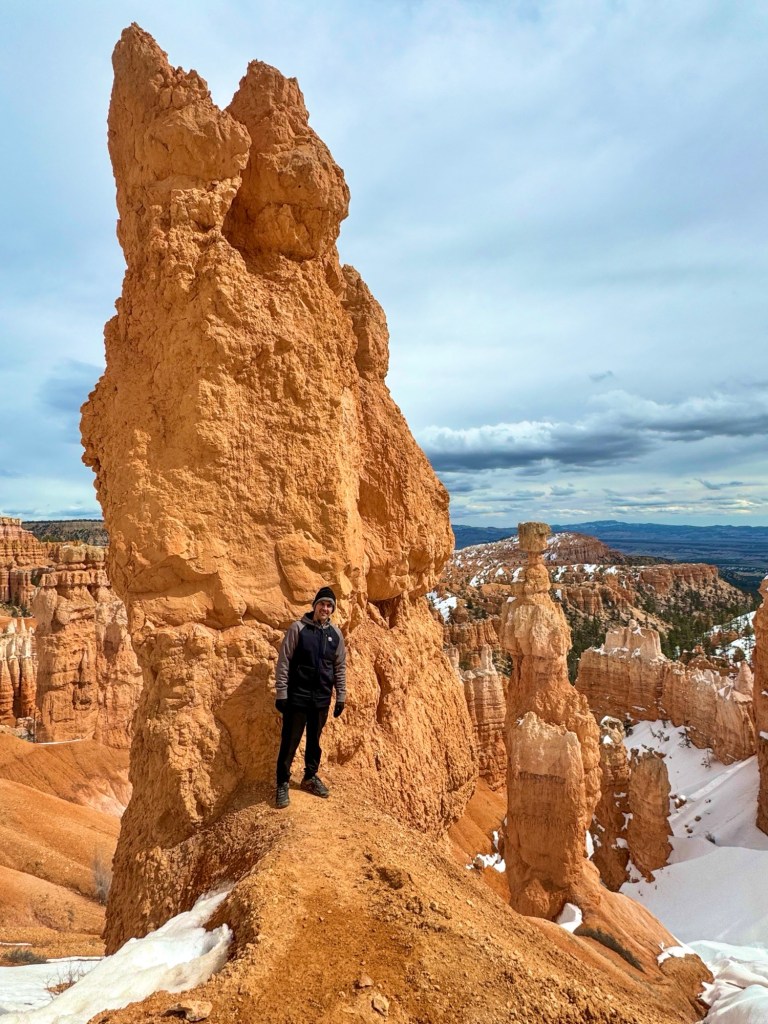
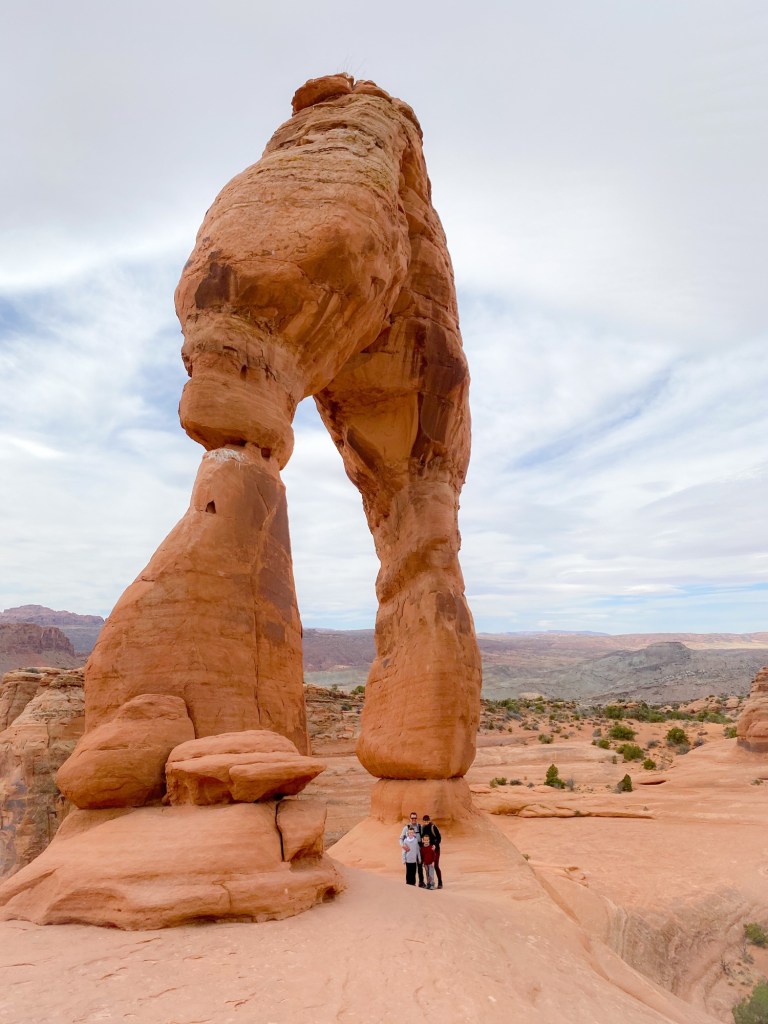
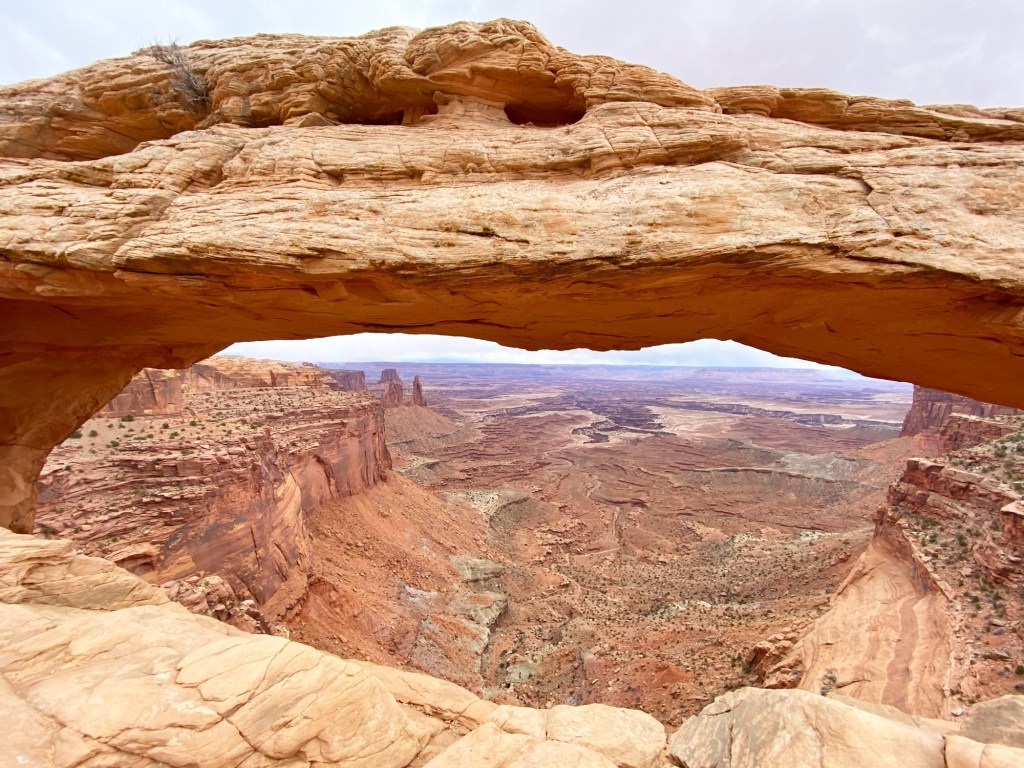
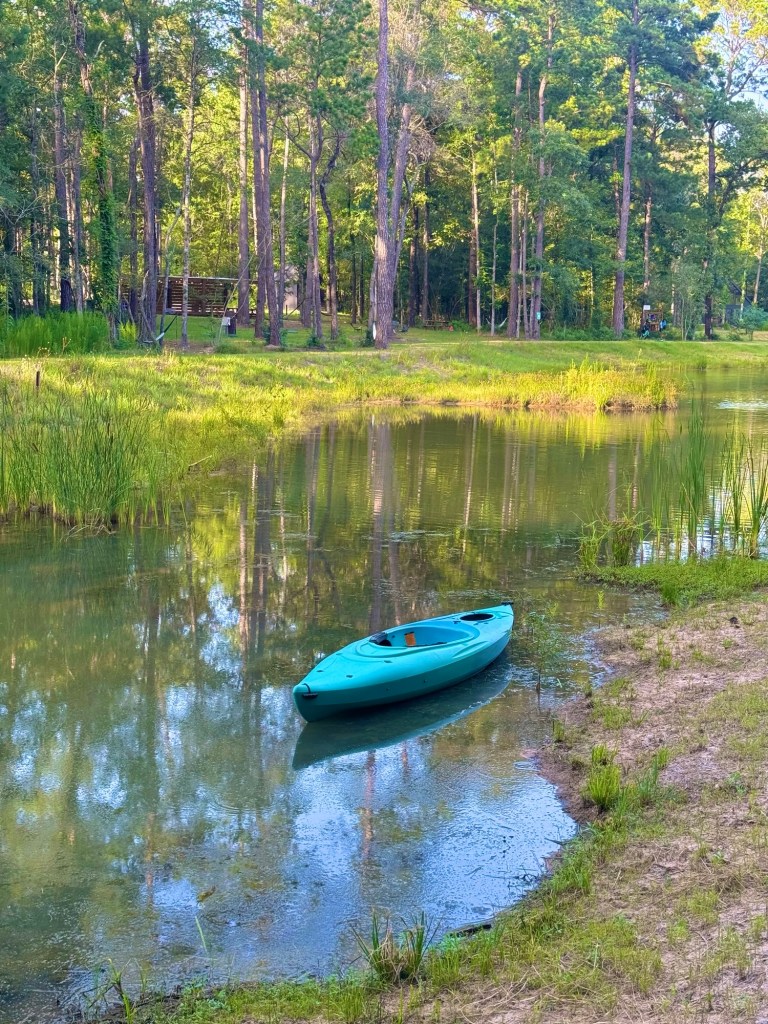
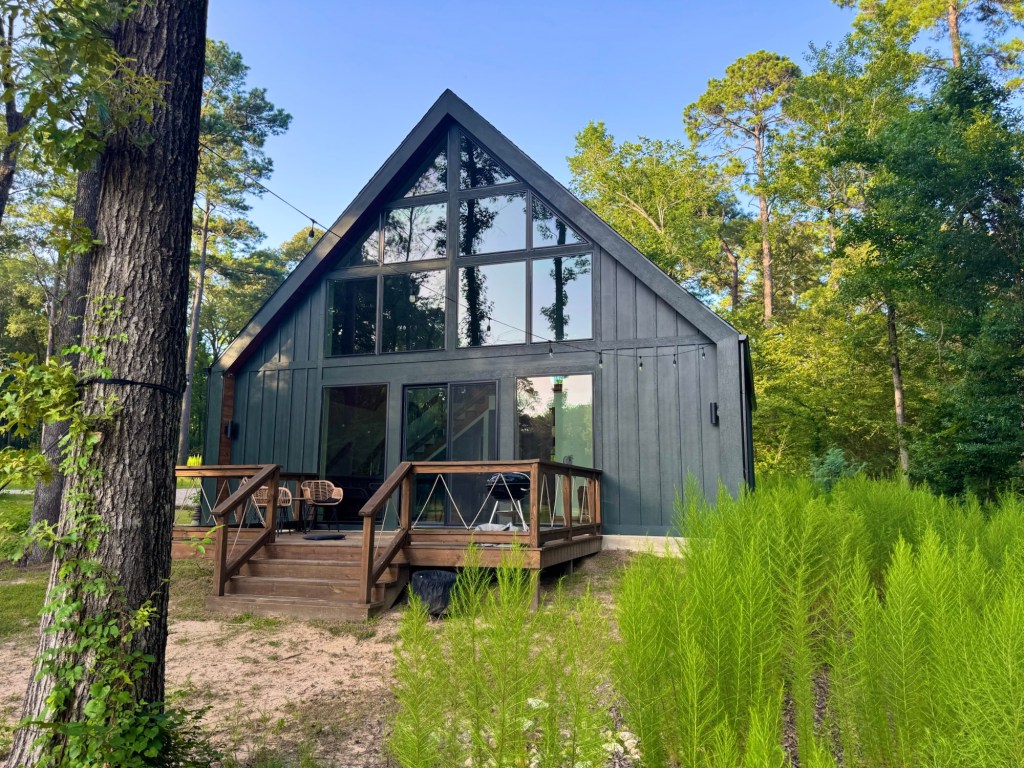
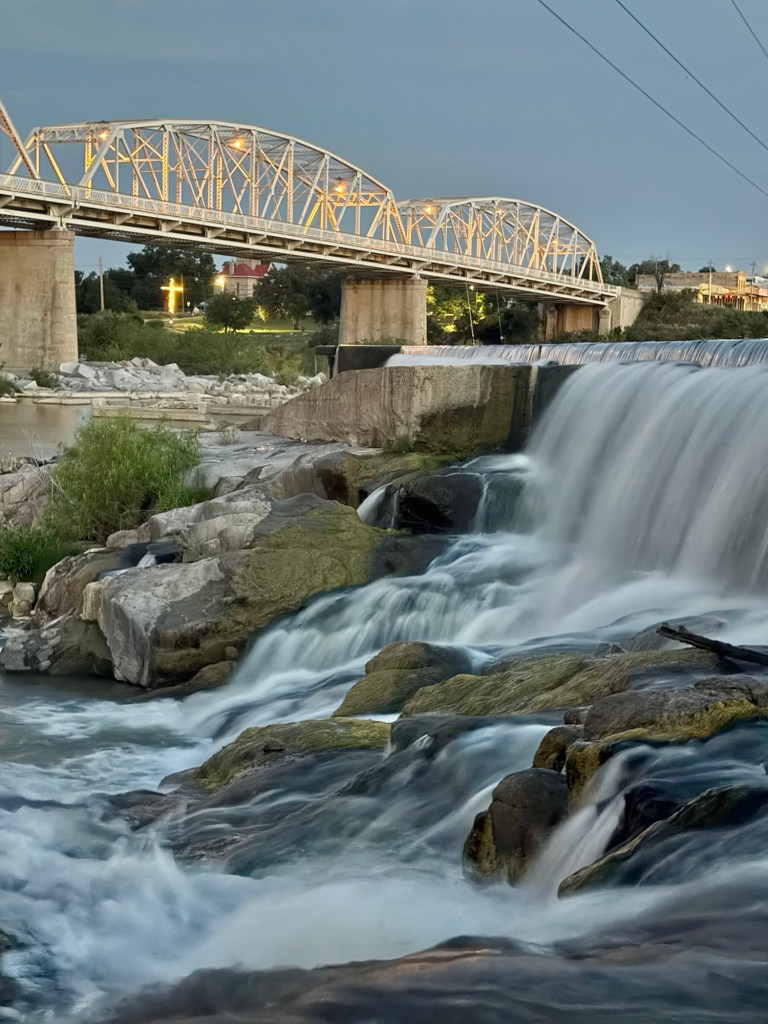
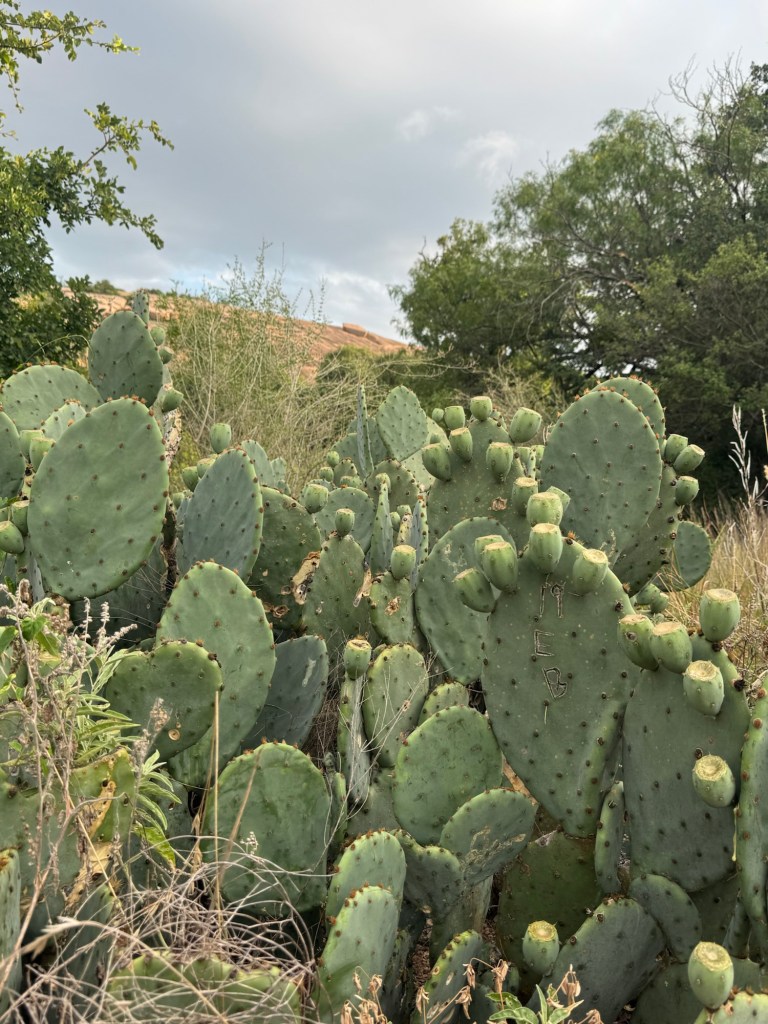
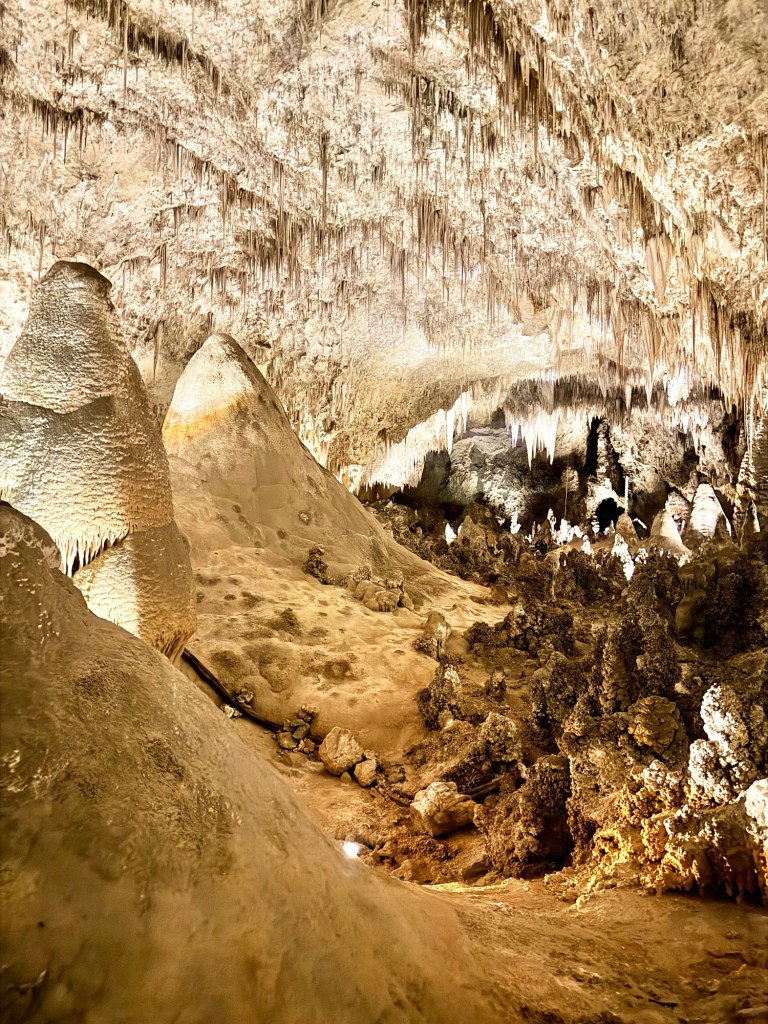
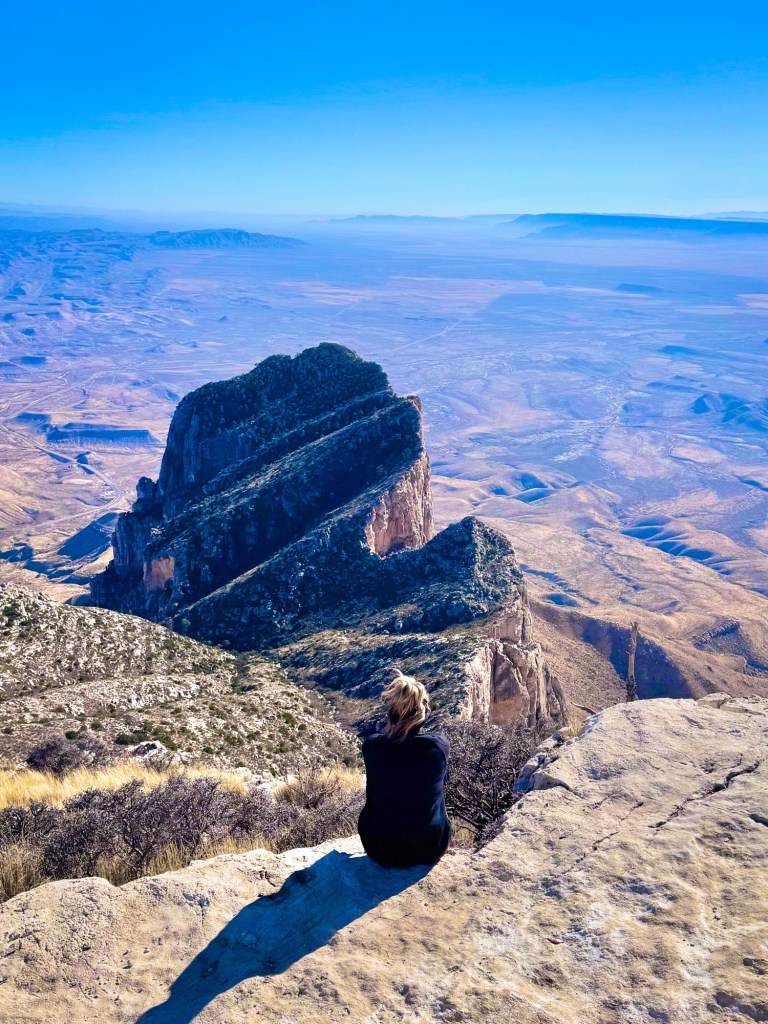
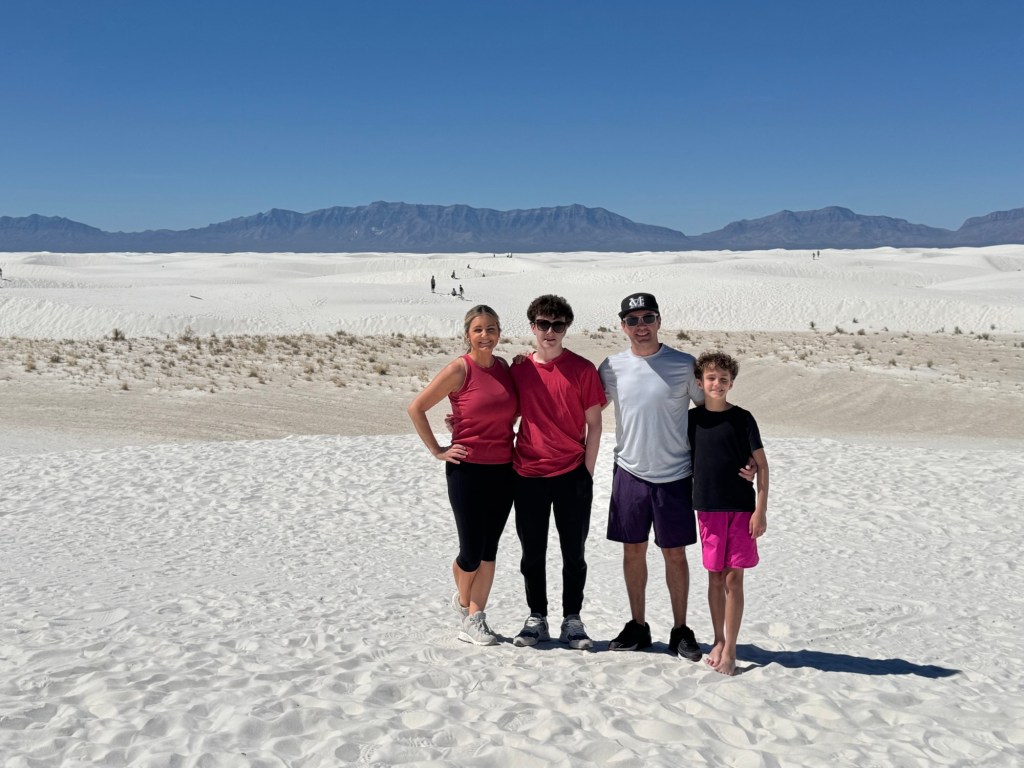
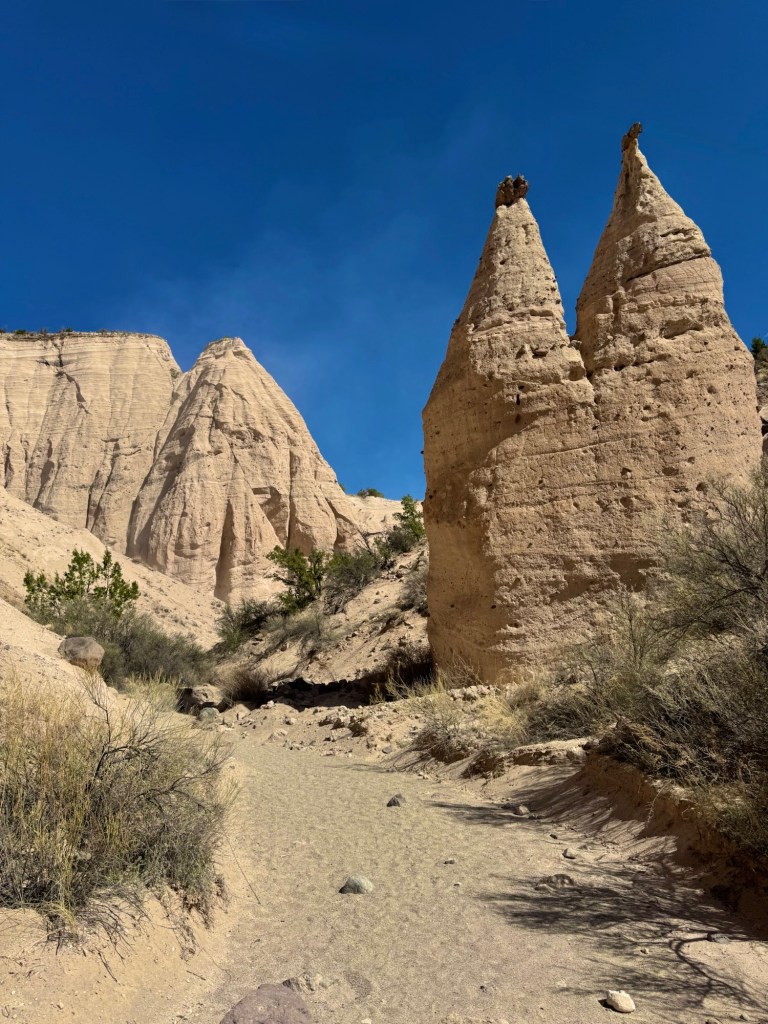
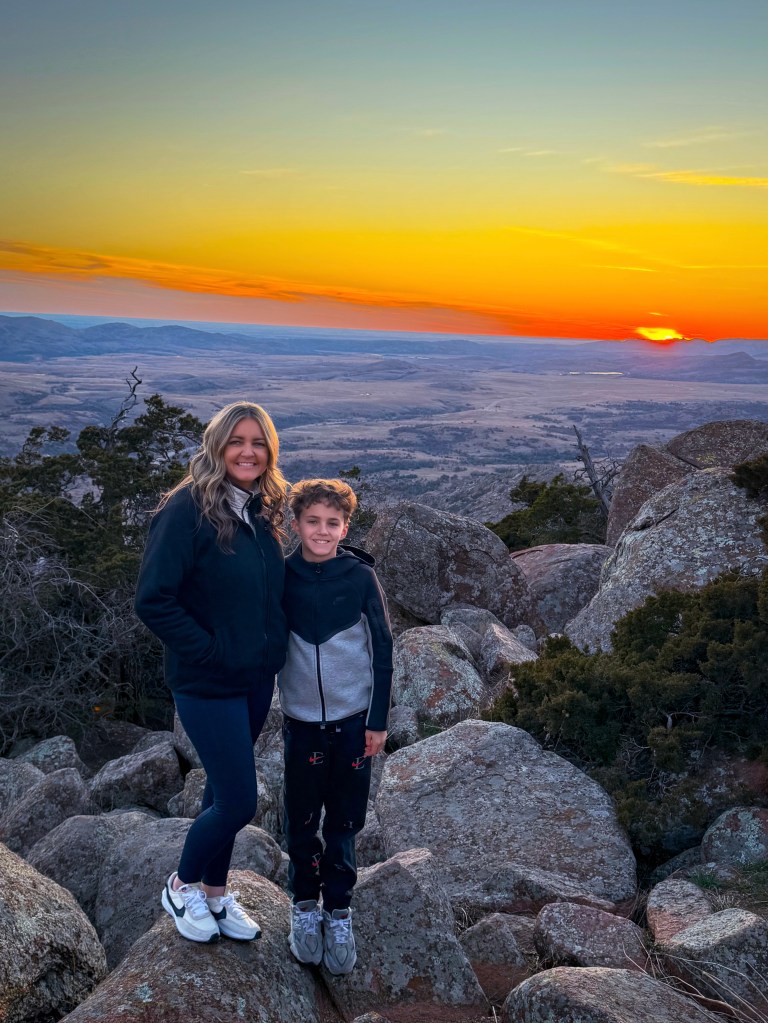
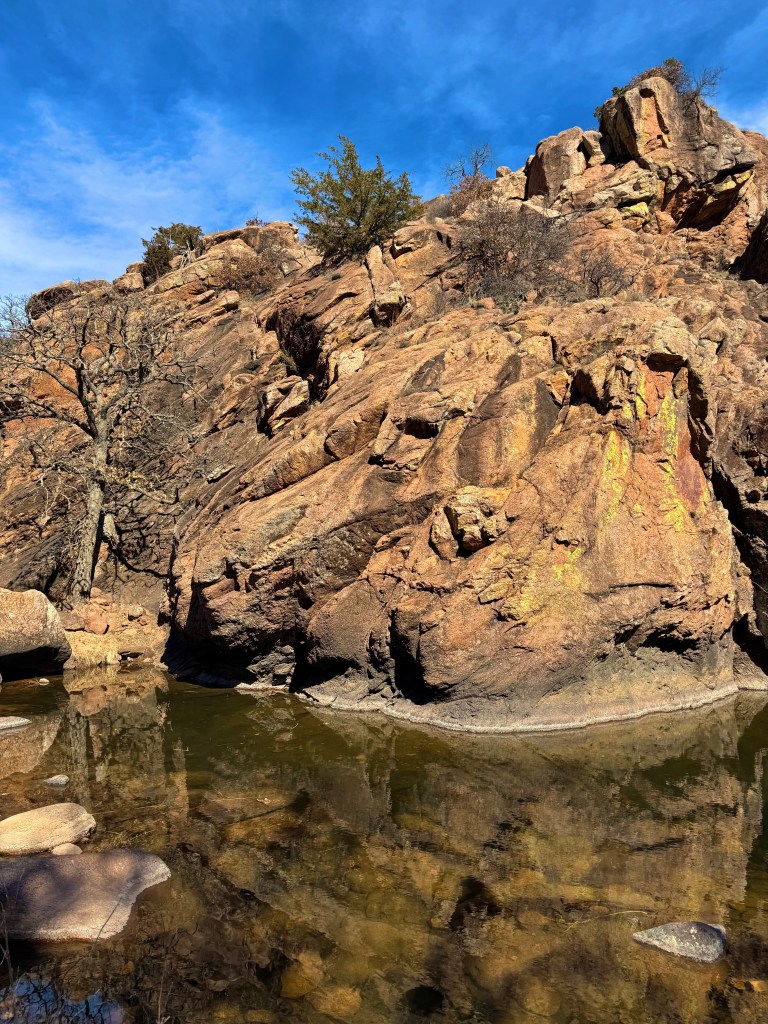
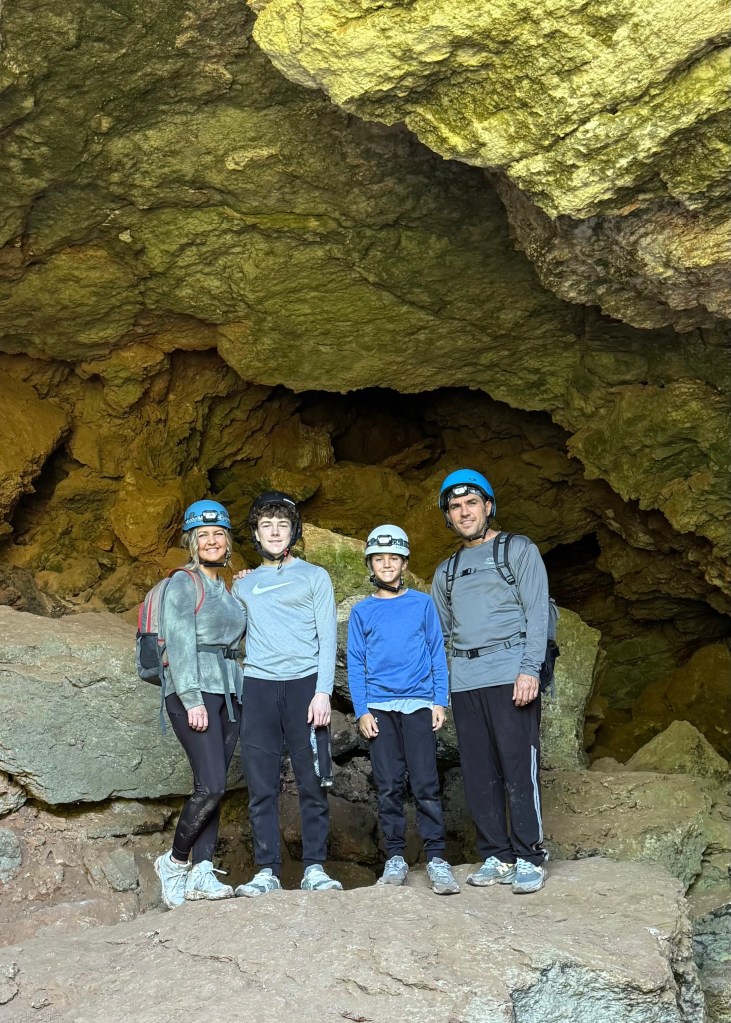
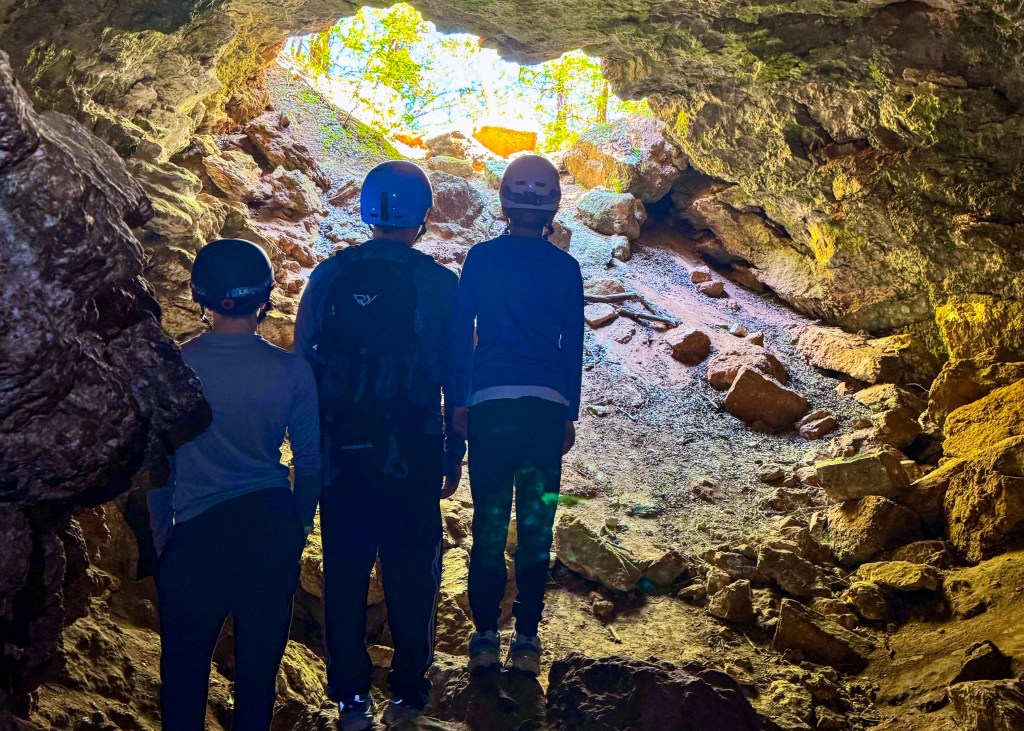
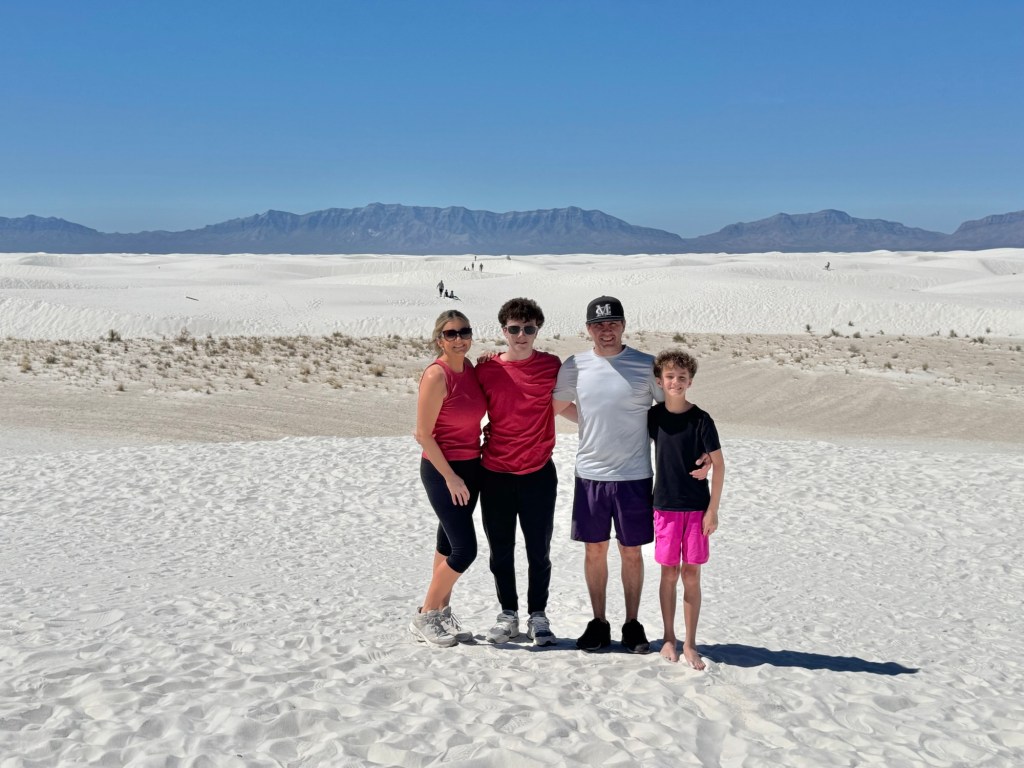
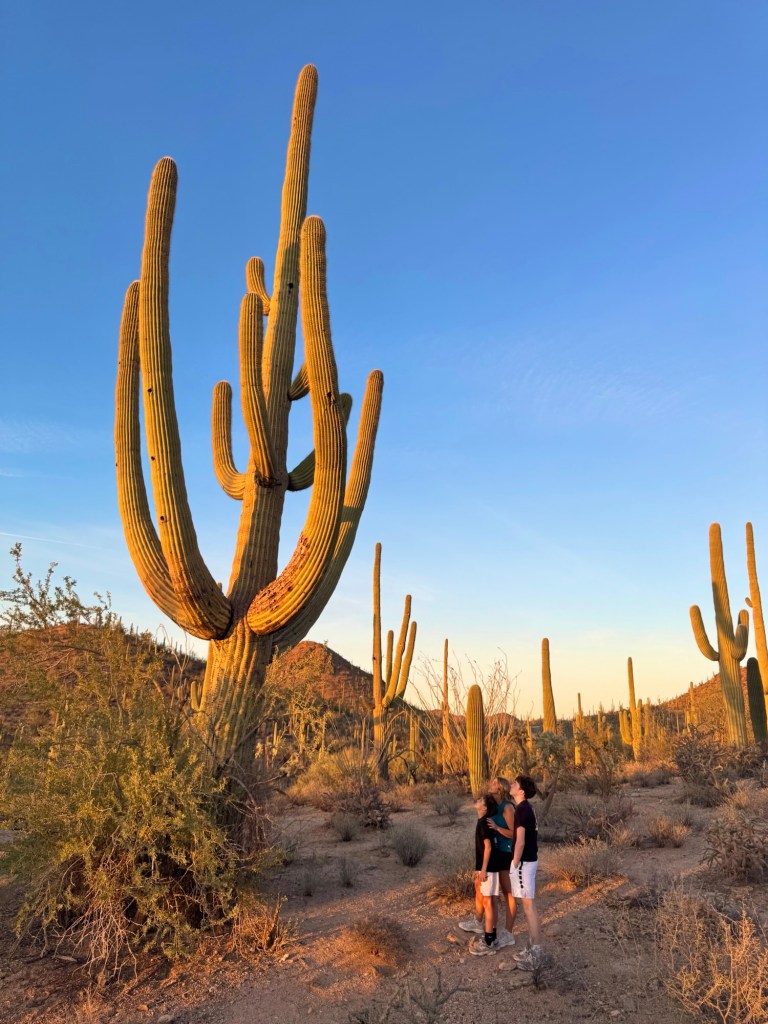
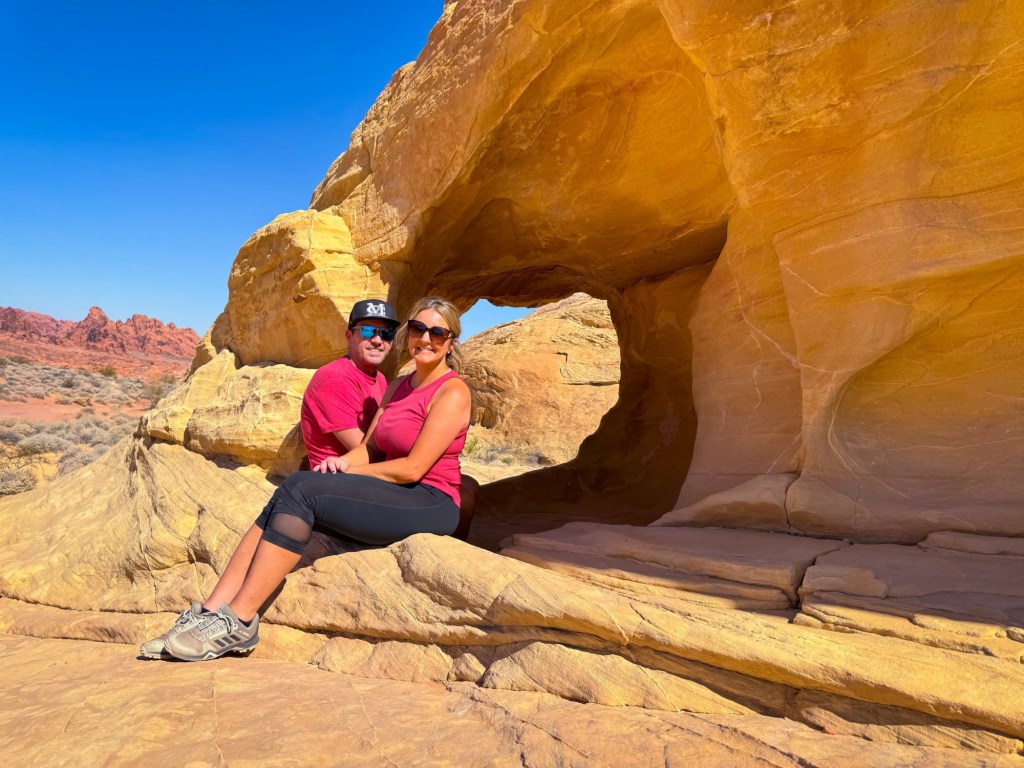
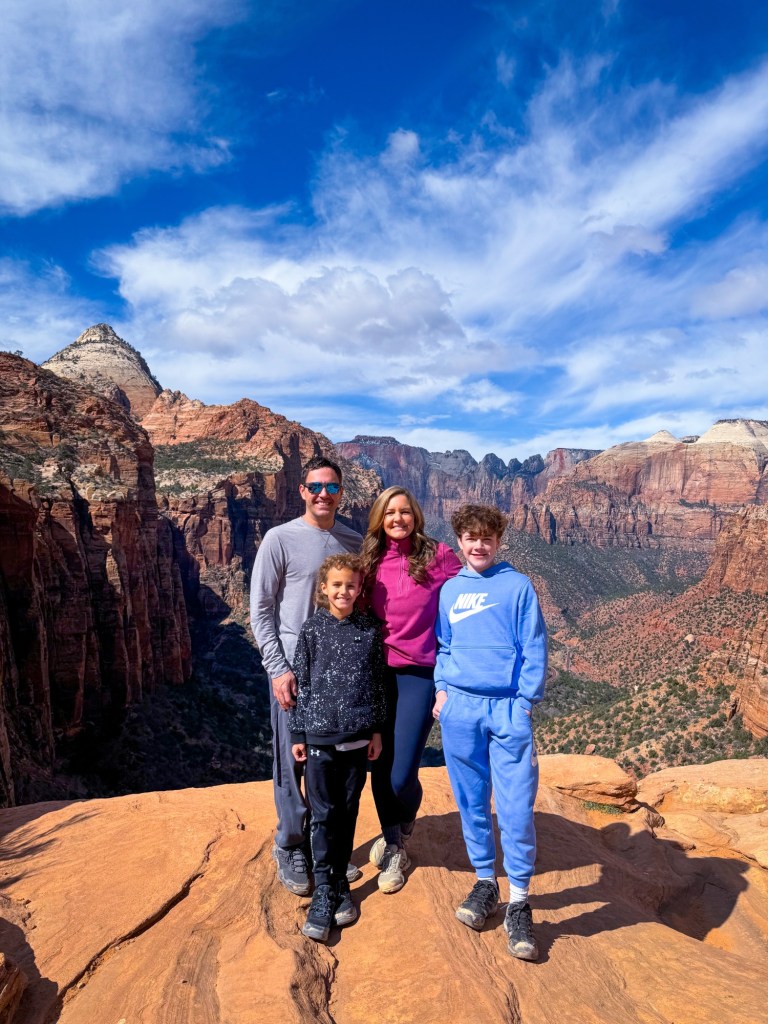
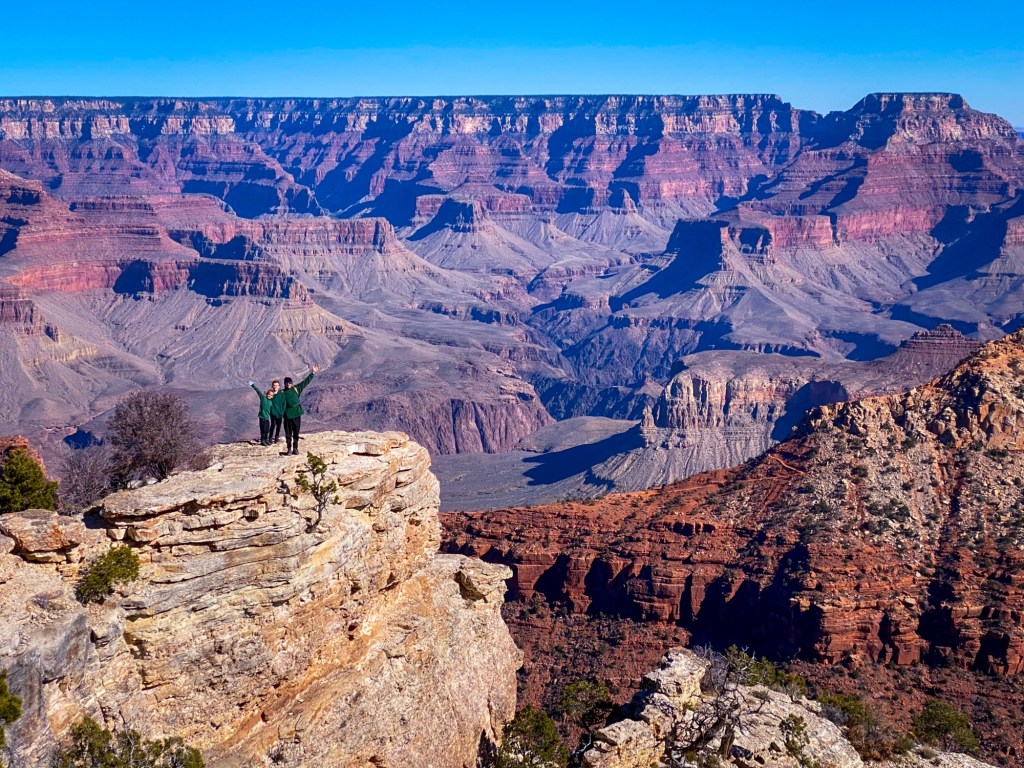
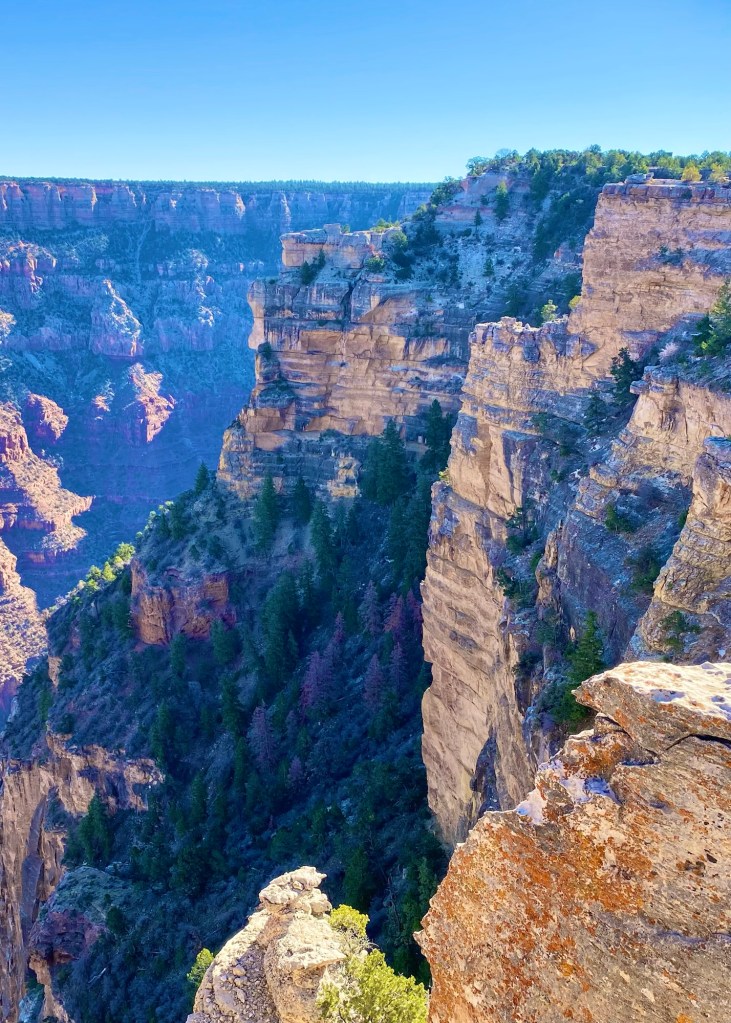
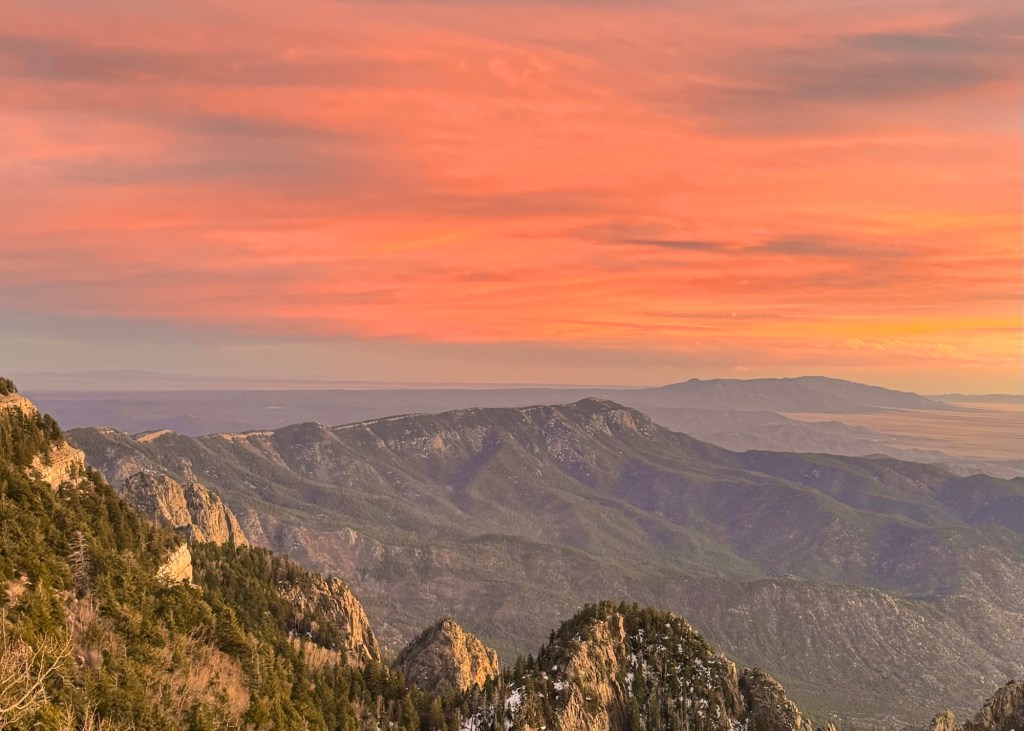
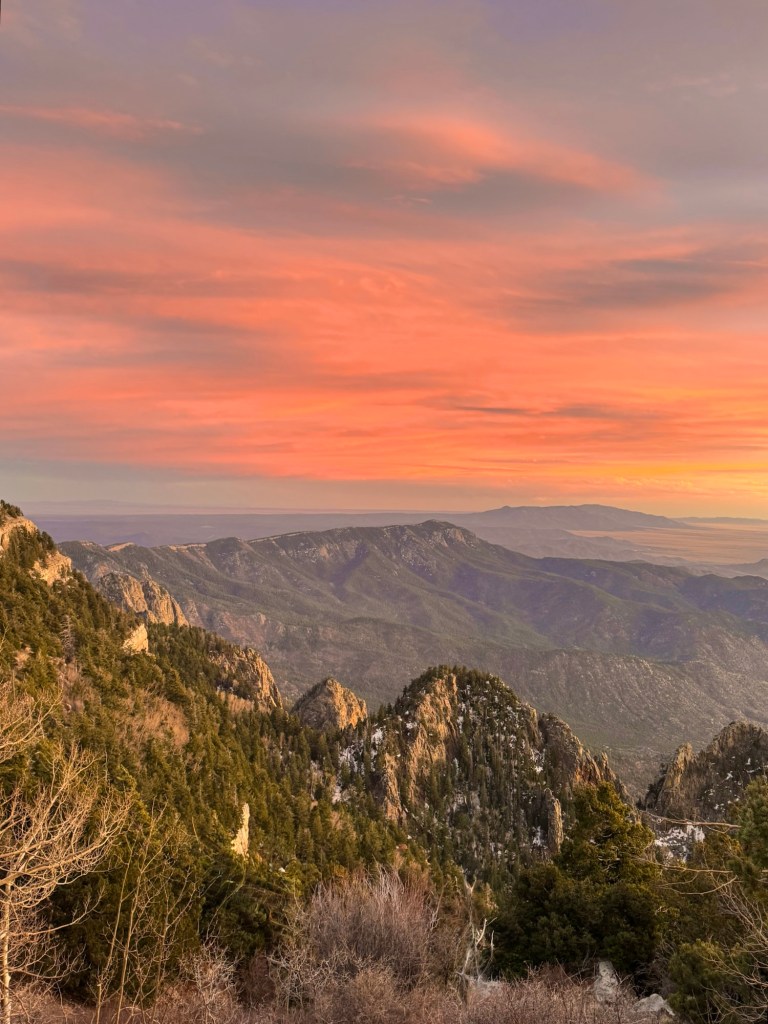
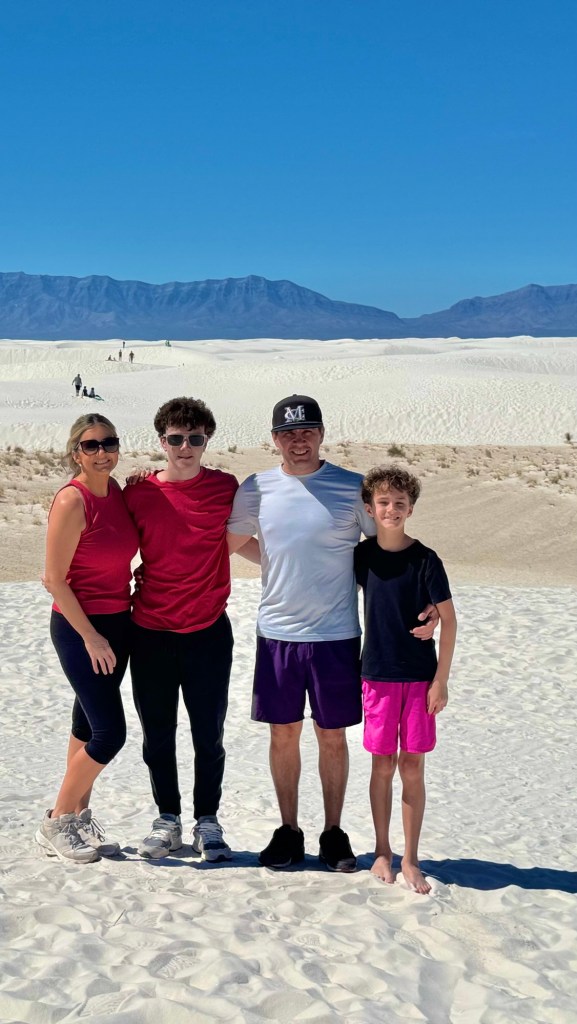
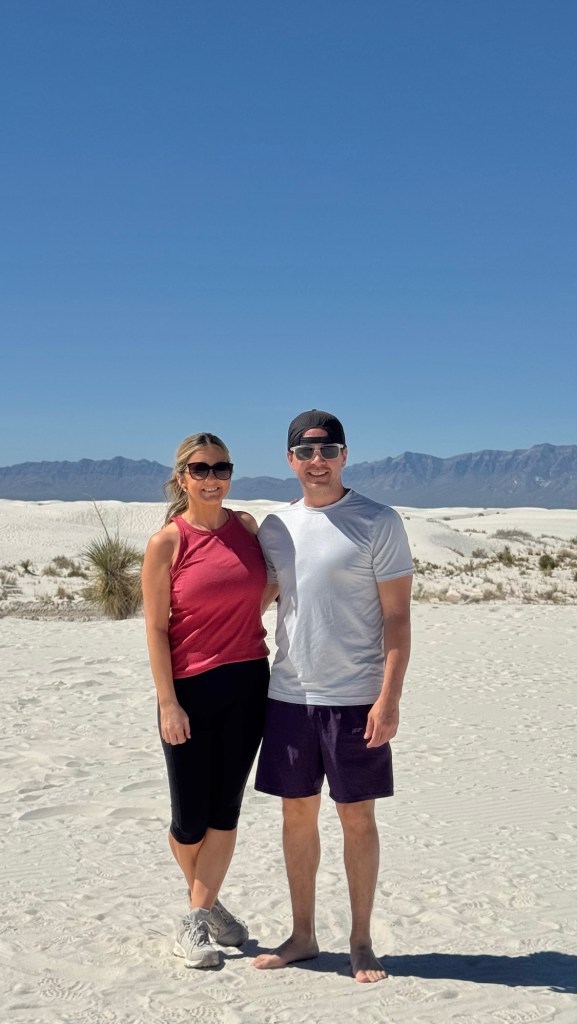
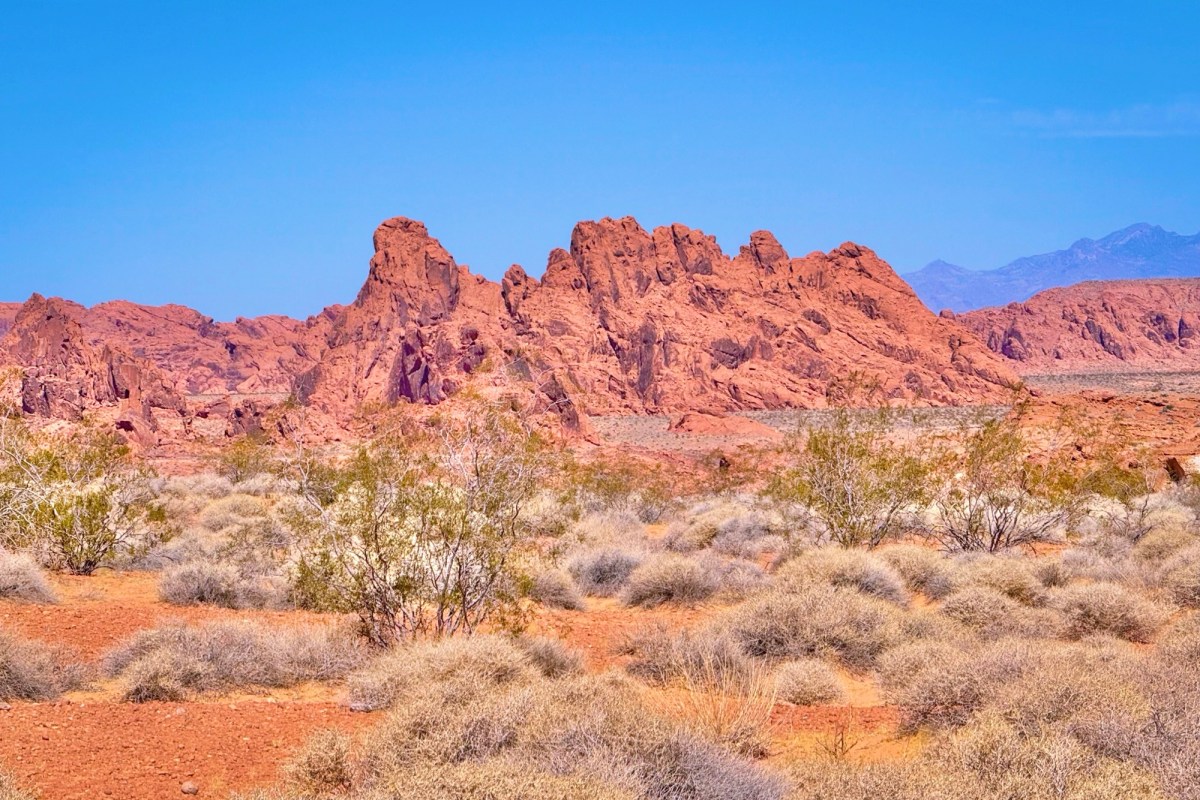
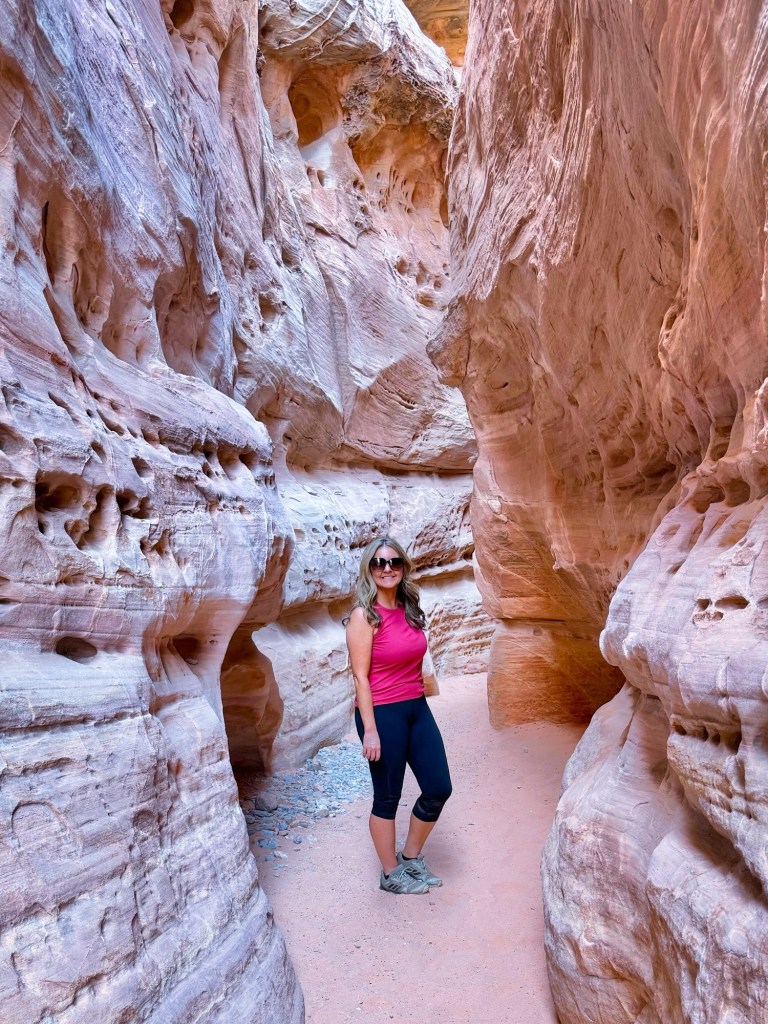
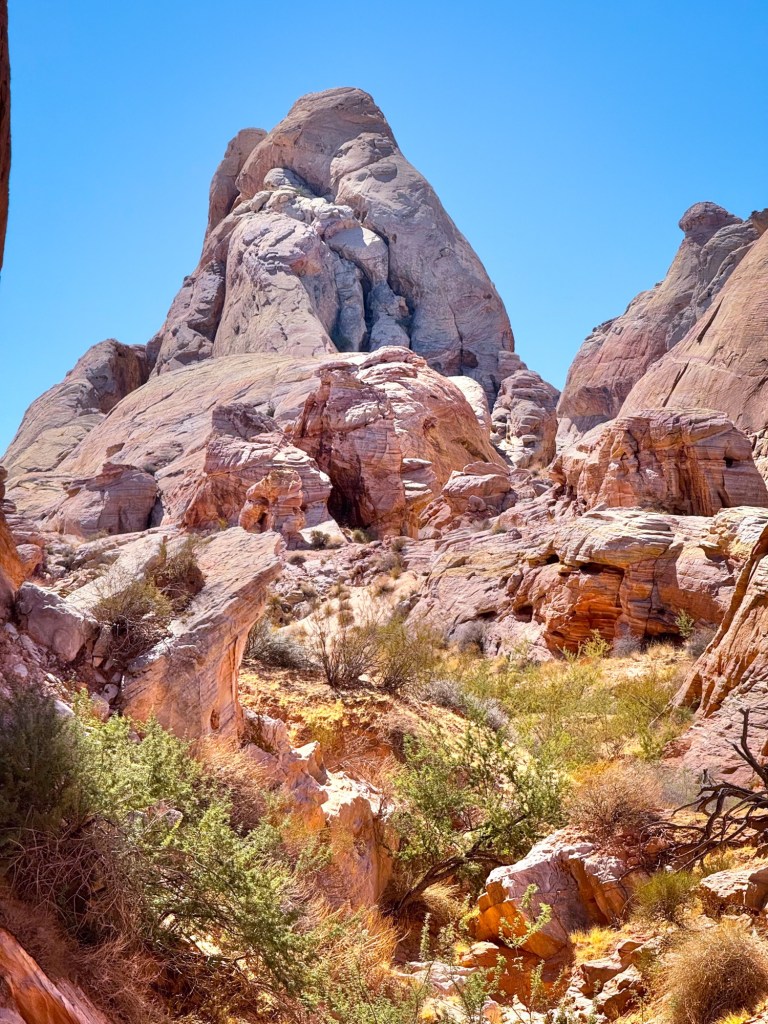
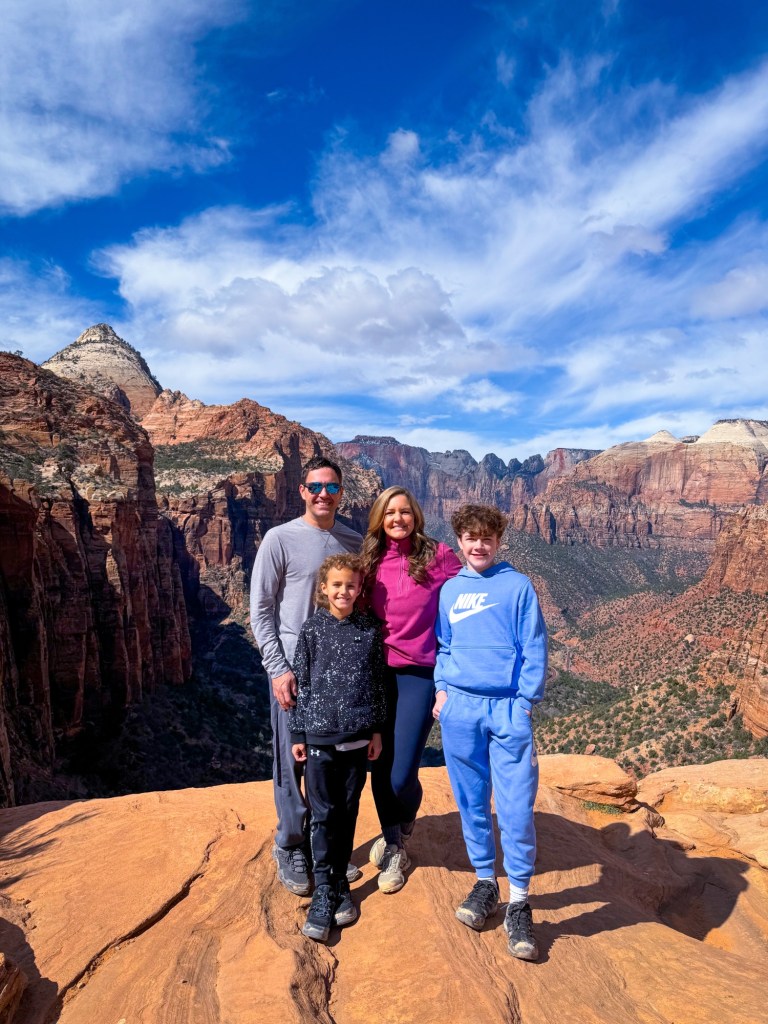
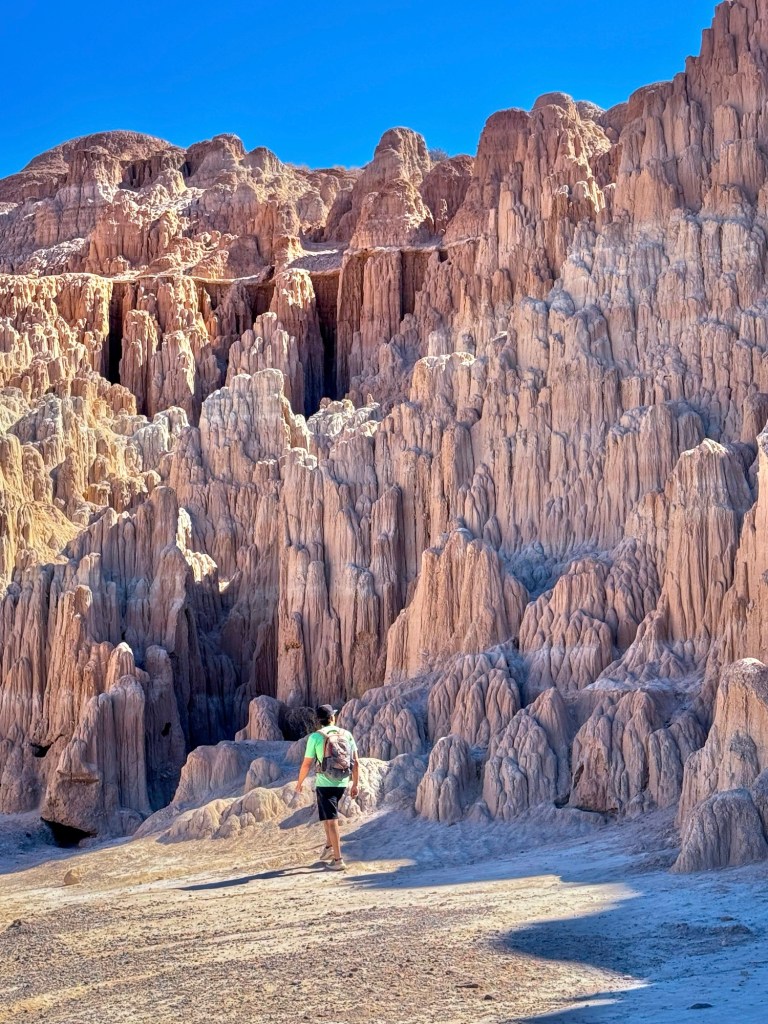
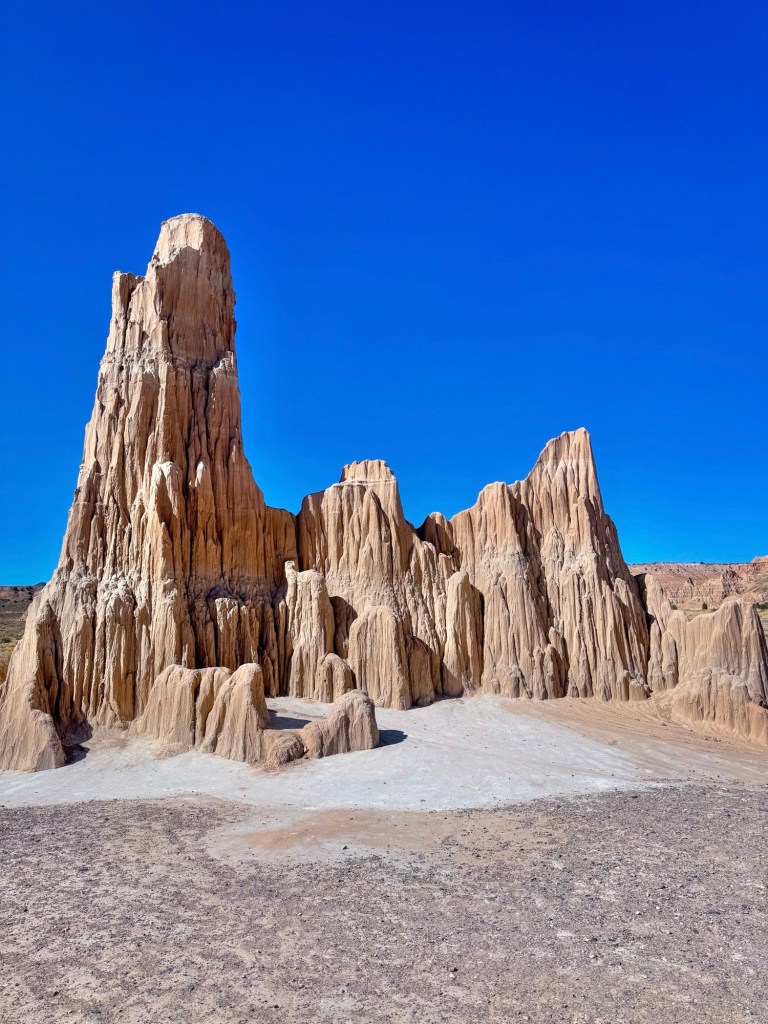
Living in North Texas means we may not have mountains or national parks right outside our front door, but one thing we DO have is access to some pretty incredible road trips.
Our family has spent years road-tripping from Texas, and some of our favorite adventures have started by simply loading up the car in Dallas and driving. We’ve hiked through red-rock canyons, climbed around caves, stood among giant saguaros, explored national parks, chased waterfalls, and driven some of the prettiest roads in the country.
So if you’re wondering where you can road trip from Dallas, Texas, start here.
I put together six of my favorite road trips from Dallas—from easy Oklahoma and Texas weekend getaways to bucket-list adventures through Arizona, Utah and Colorado.
Save this list for the next time you’re ready to hit the road!
Quick Look: Best Road Trips From Dallas
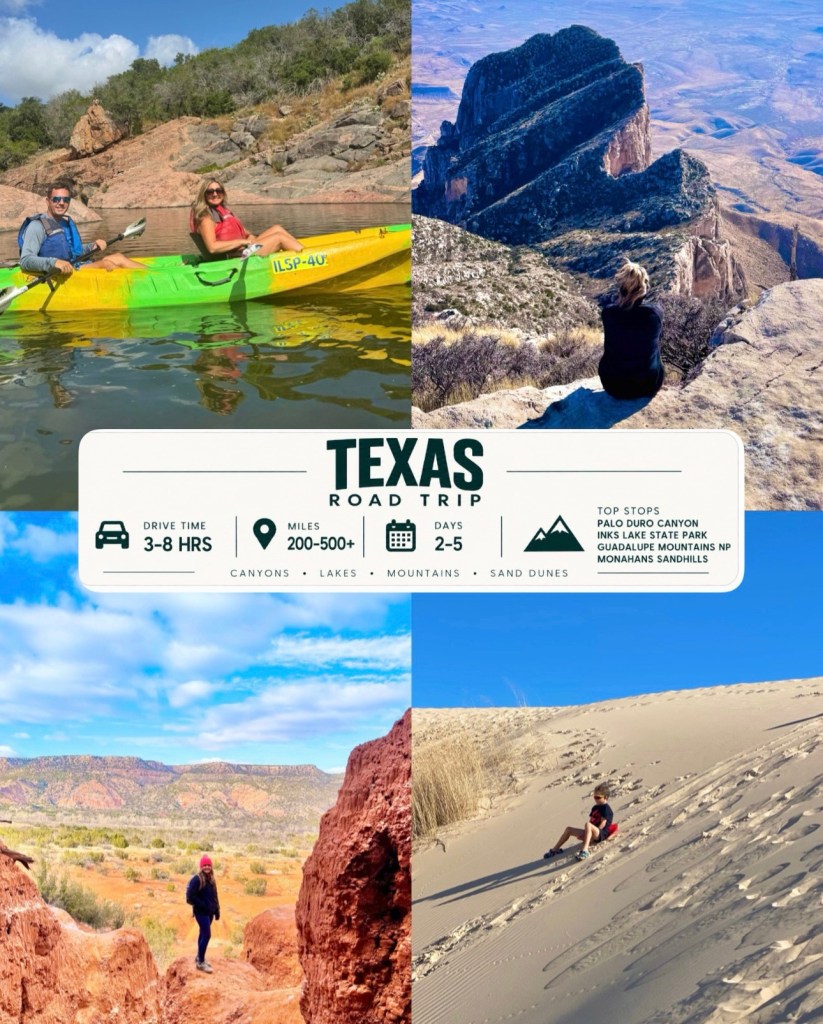
Texas Drive time: Approximately 3–8 hours depending on destination Best for: 2–5 days Don’t miss: Palo Duro Canyon, Inks Lake, Guadalupe Mountains and Monahans Sandhills
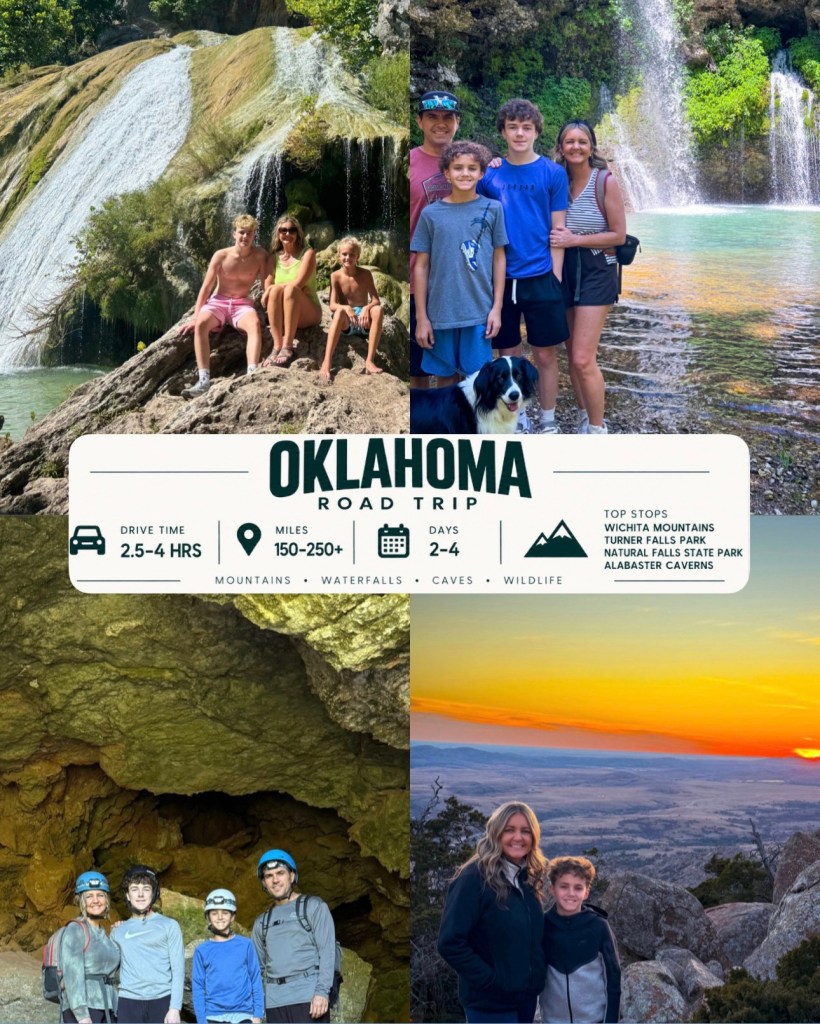
Oklahoma Drive time: Approximately 2.5–4 hours depending on destination Best for: 2–4 days Don’t miss: Wichita Mountains, Turner Falls, Natural Falls and Alabaster Caverns
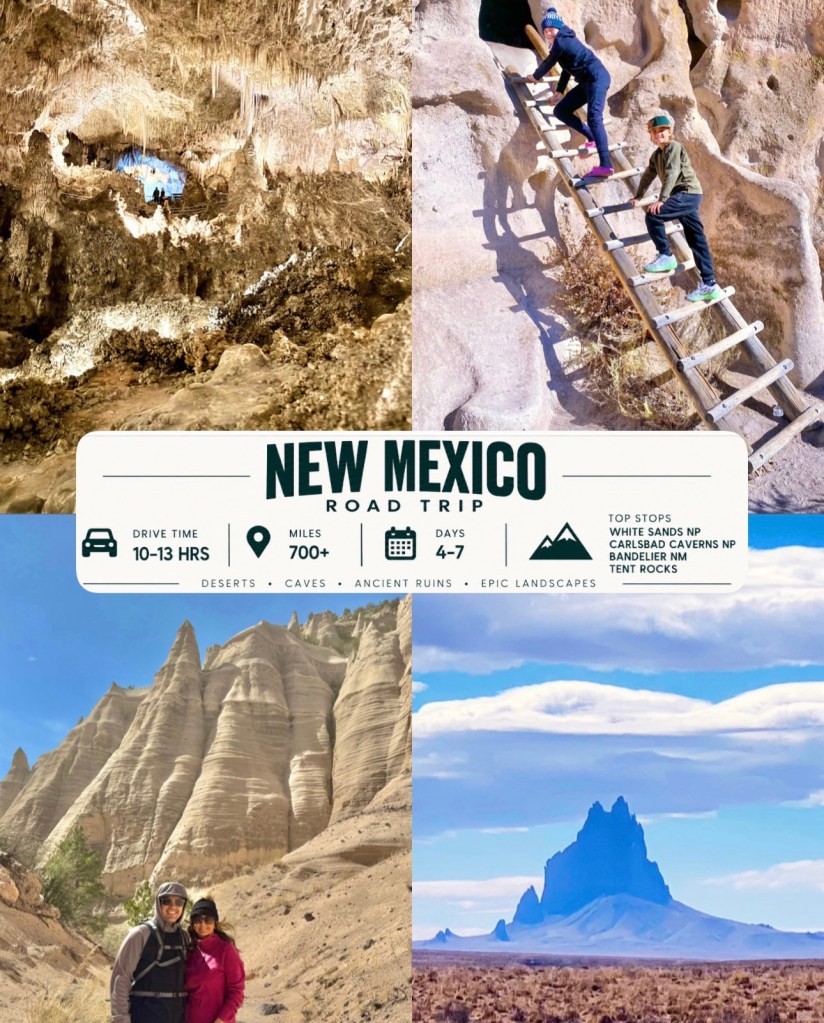
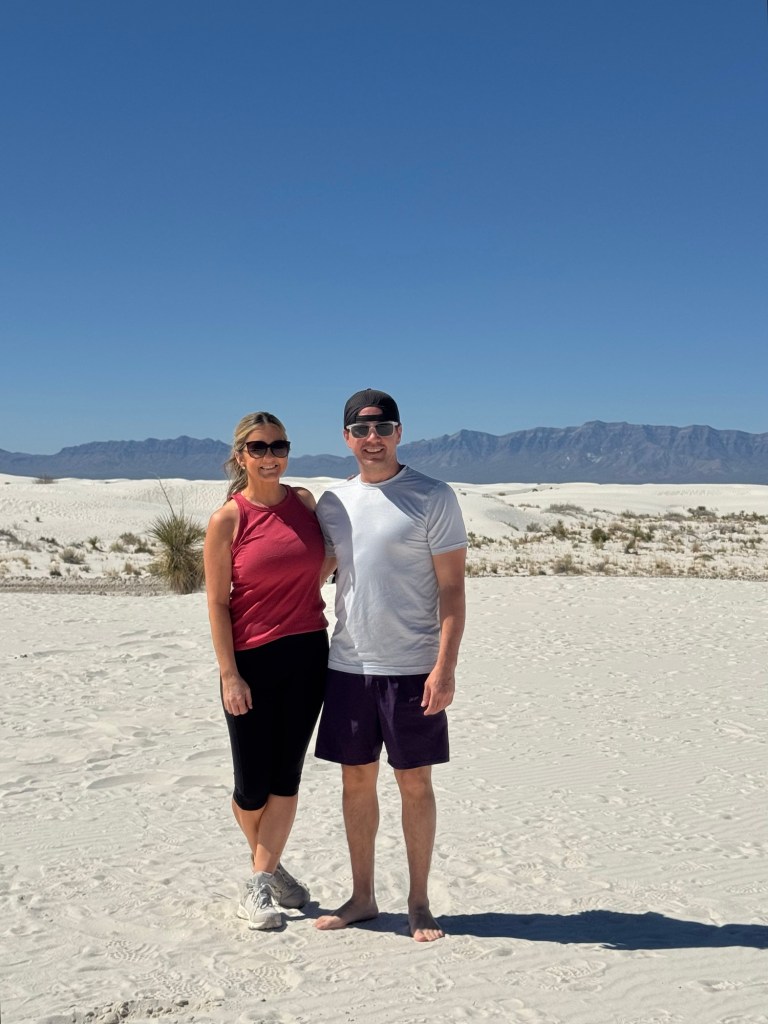
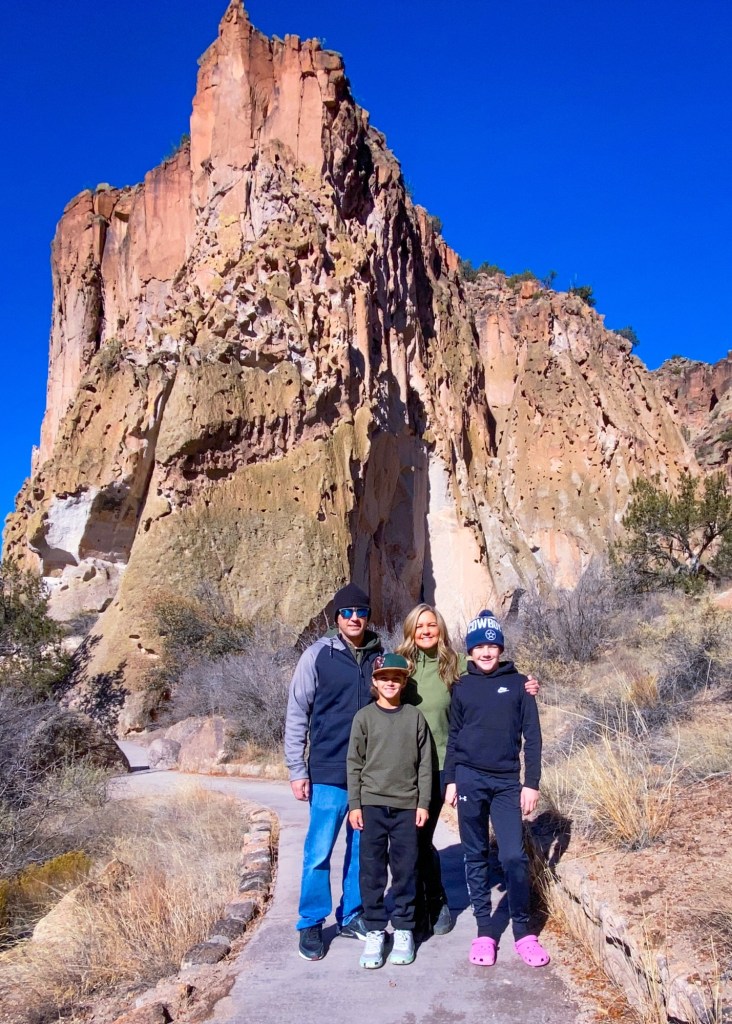
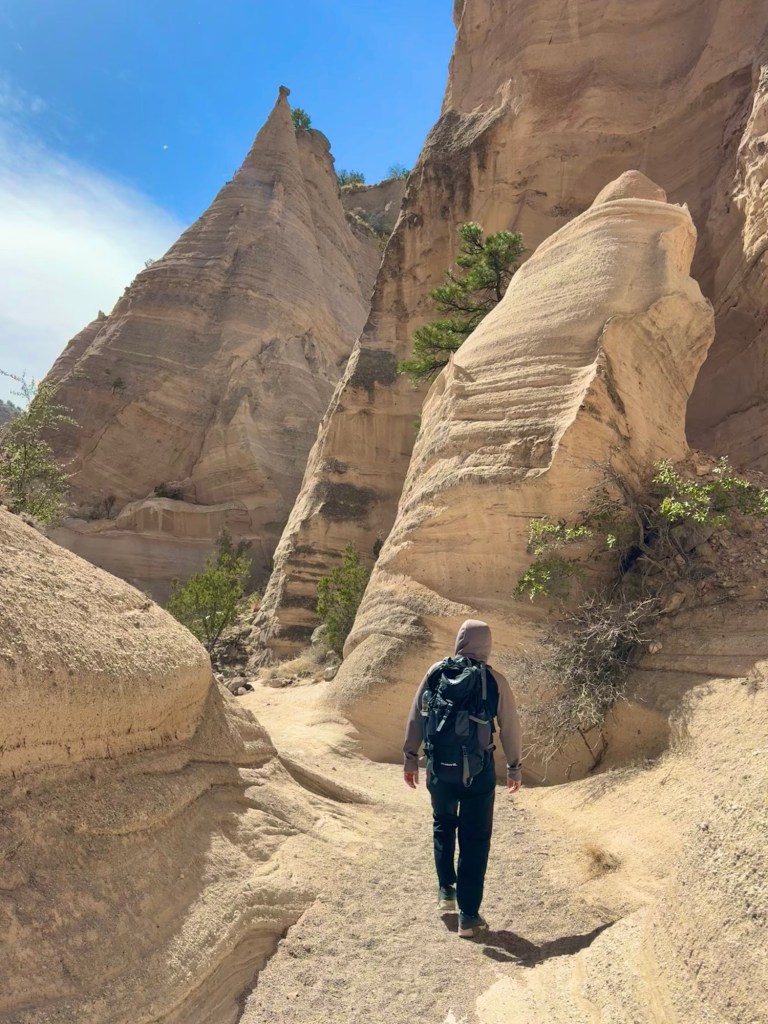
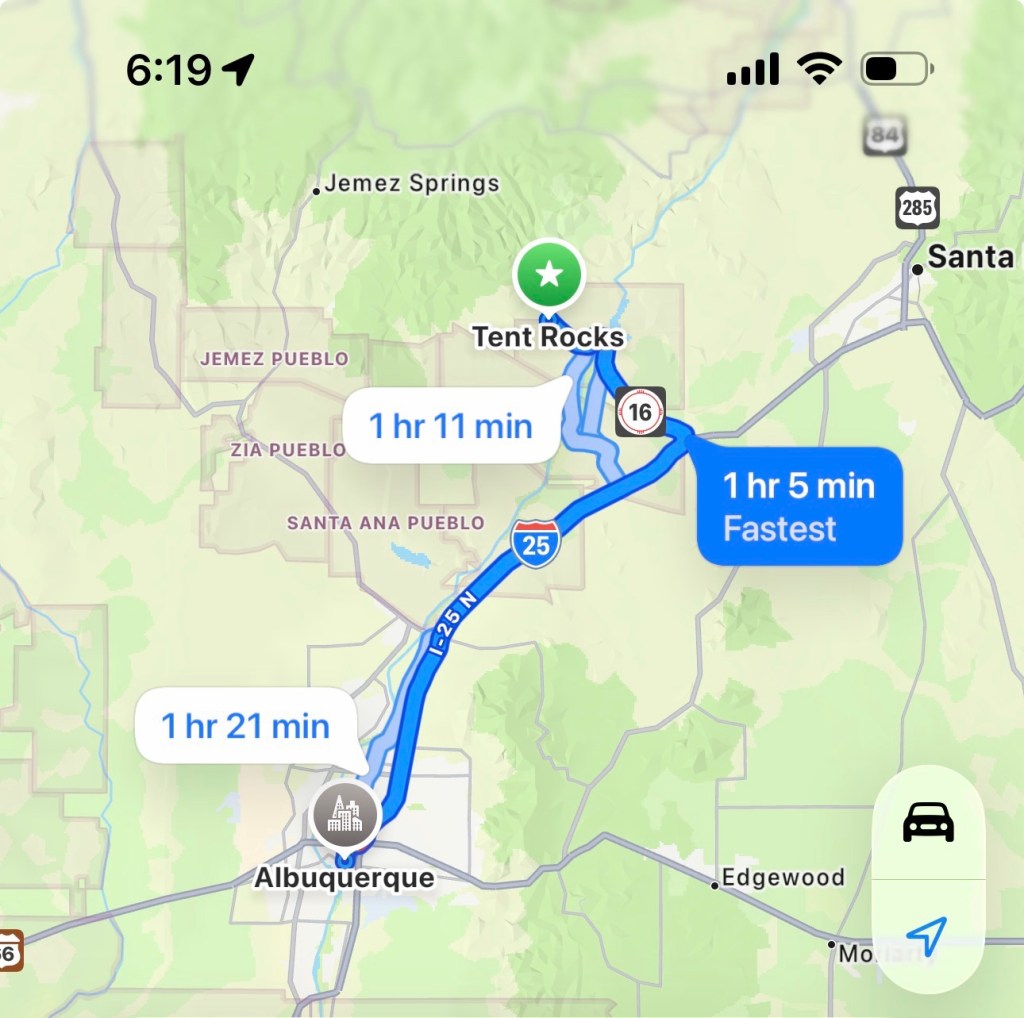
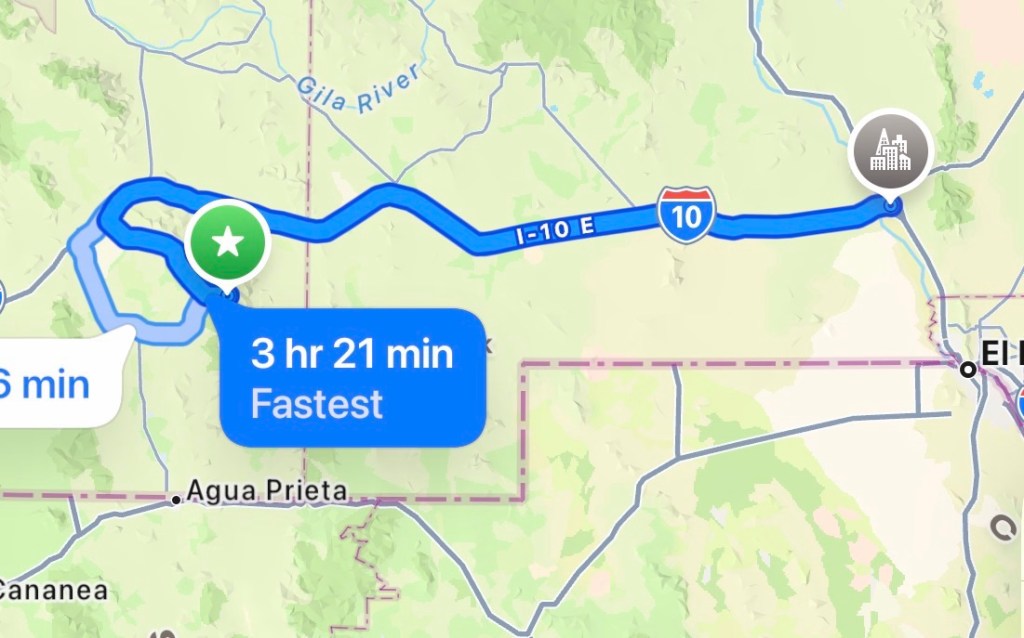
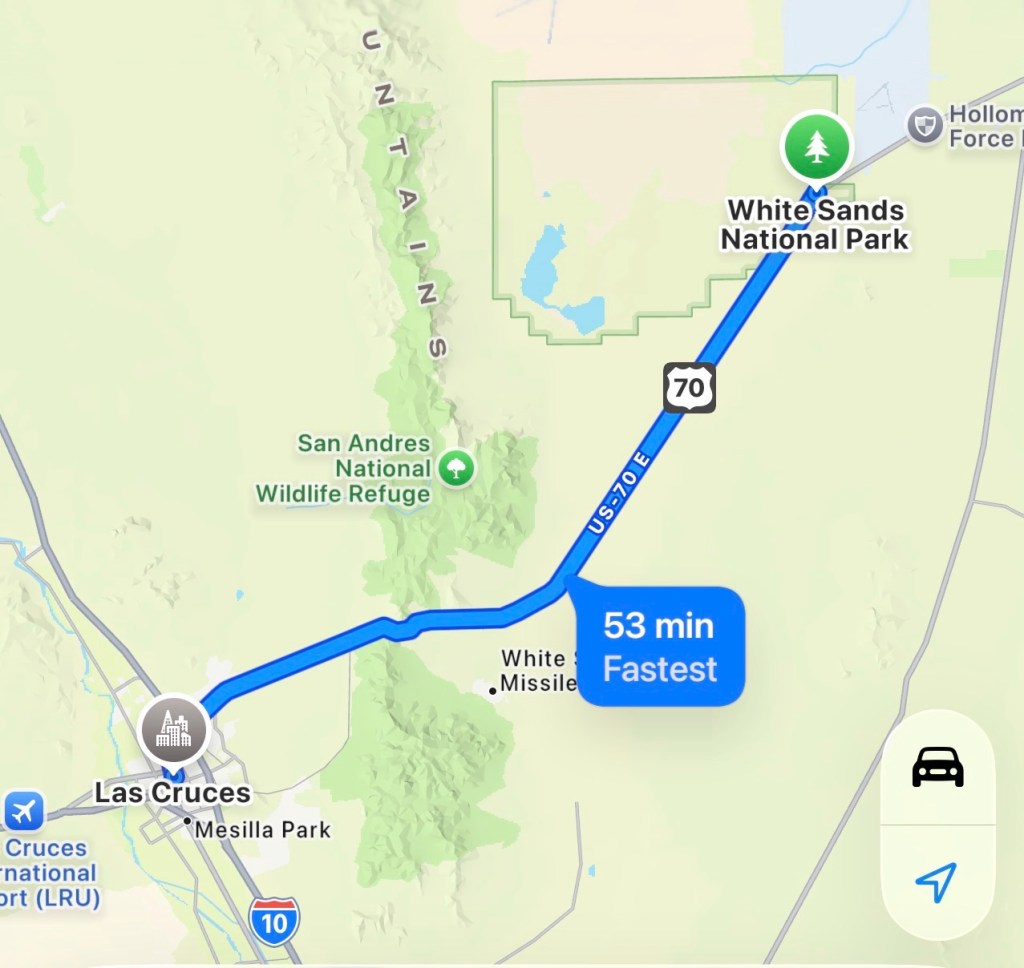
New Mexico Drive time: Approximately 7–10+ hours depending on destination Best for: 4–7 days Don’t miss: White Sands, Carlsbad Caverns, Bandelier and Kasha-Katuwe Tent Rocks
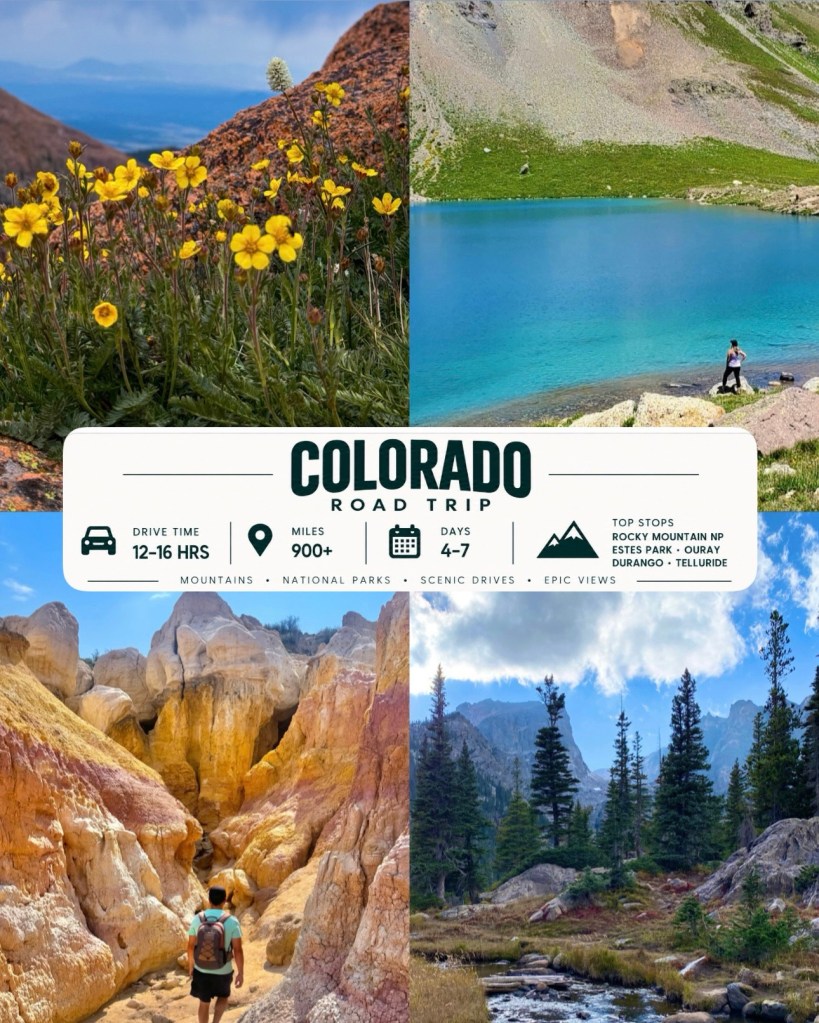
Colorado Drive time: Approximately 10–14+ hours depending on destination Best for: 4–7 days Don’t miss: Rocky Mountain National Park, Estes Park, Ouray, Durango and Telluride
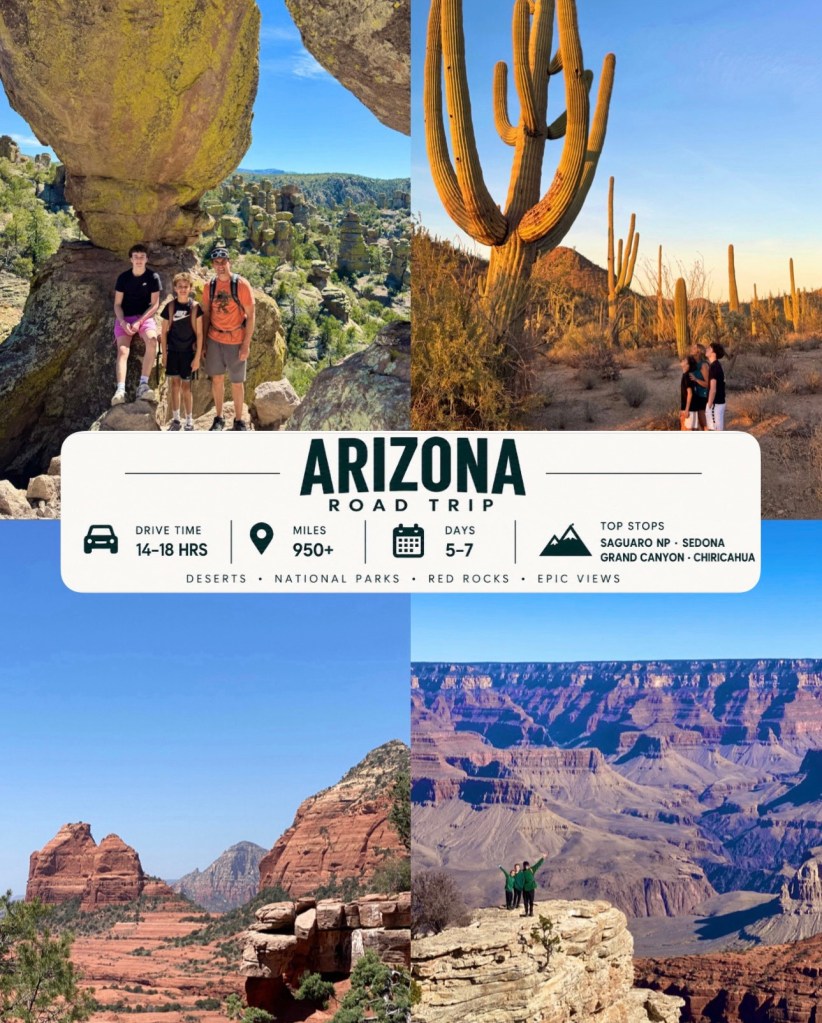
Arizona Drive time: Approximately 13–16+ hours depending on destination Best for: 5–7 days Don’t miss: Saguaro, Sedona, Grand Canyon and Chiricahua
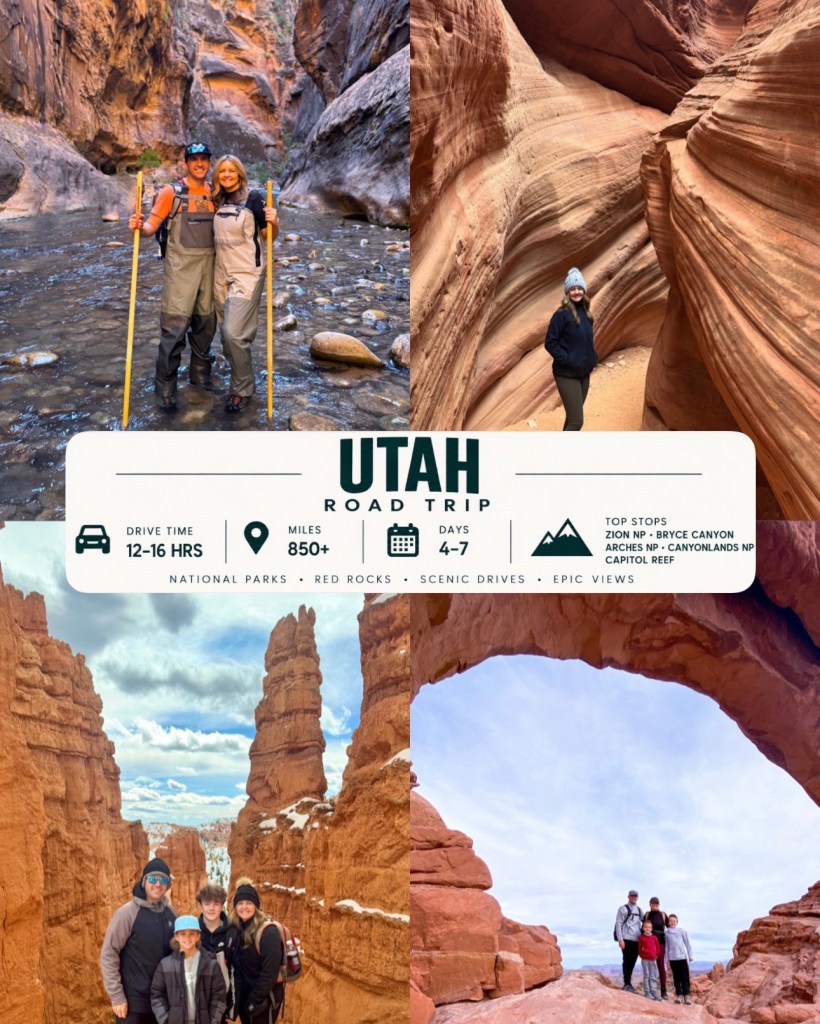
Utah Drive time: Approximately 14–17+ hours depending on destination Best for: 5–7+ days Don’t miss: Zion, Bryce Canyon, Arches, Canyonlands and Capitol Reef
Road Trip Queen Tip: These drive times are approximate from the Dallas area and will vary depending on your exact destination, route, traffic and stops. On our longer road trips, we sometimes break up the drive with an overnight stop—and that can be part of the adventure too!
1. Texas Road Trip
Best for: Long weekend to 5 days Drive time from Dallas: Approximately 3–8 hours, depending on where you’re headed Highlights: Canyons • Lakes • Mountains • Sand Dunes
Before you even leave Texas, there are some wildly different landscapes to explore.
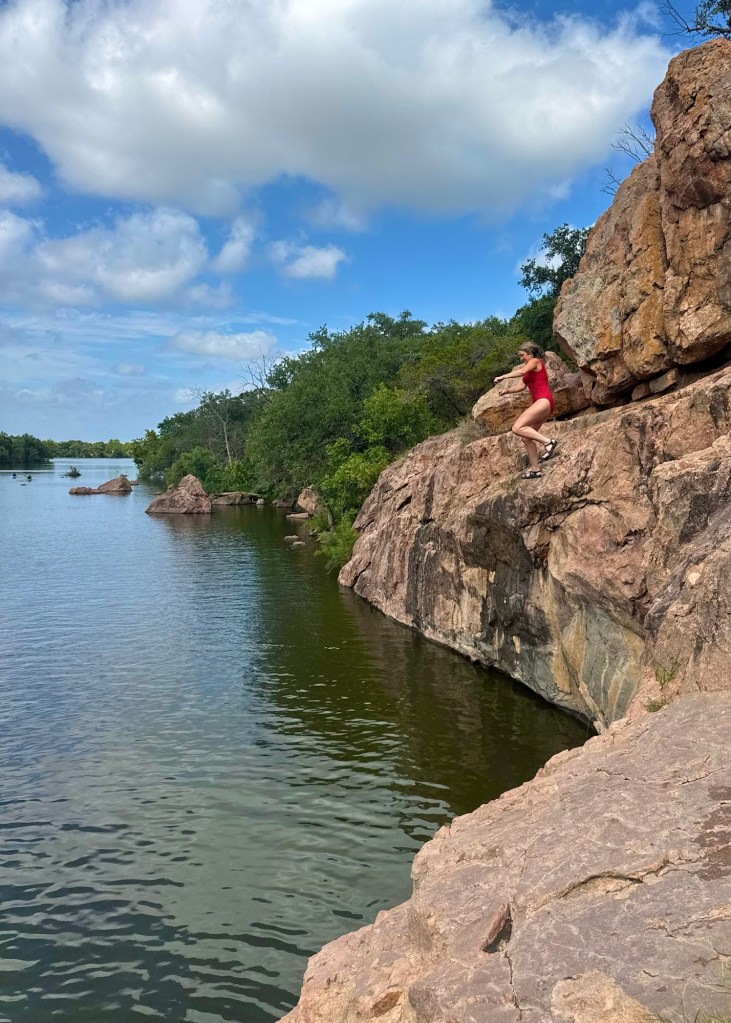
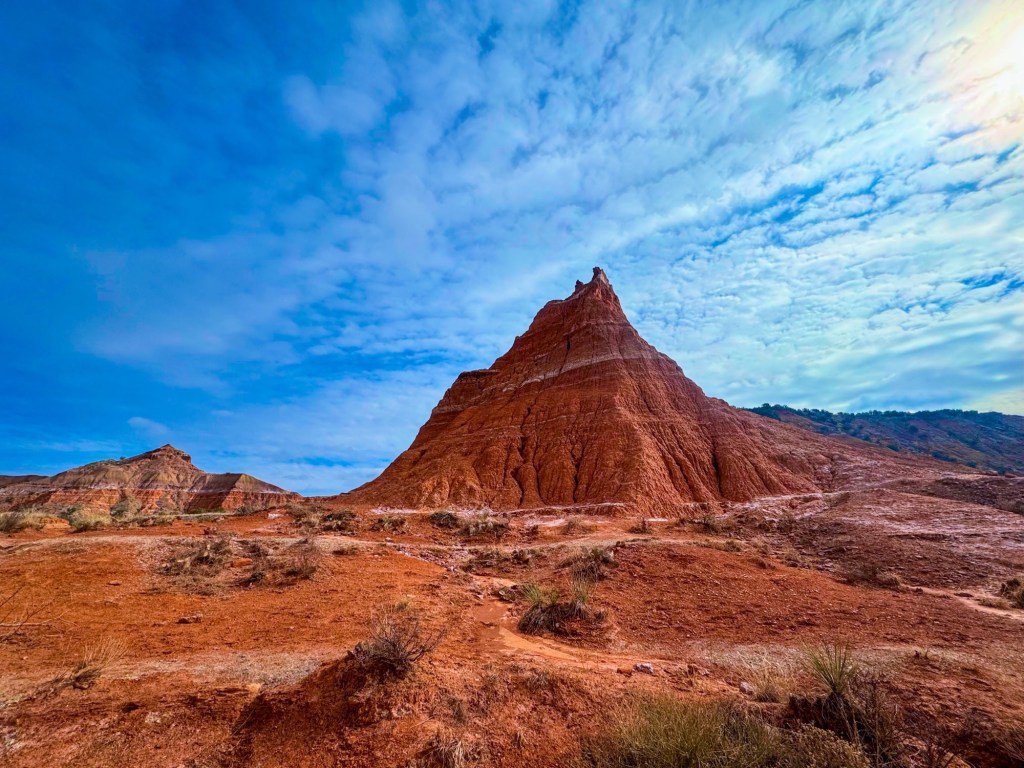
One of the things I love about Texas road trips is just how different one part of the state can look from another. You can hike through the second-largest canyon system in the United States, jump from rocky cliffs into the water, climb a mountain and slide down giant sand dunes—all without crossing the state line.
Palo Duro Canyon State Park
If you’ve never visited Palo Duro Canyon, put it on your Texas bucket list.
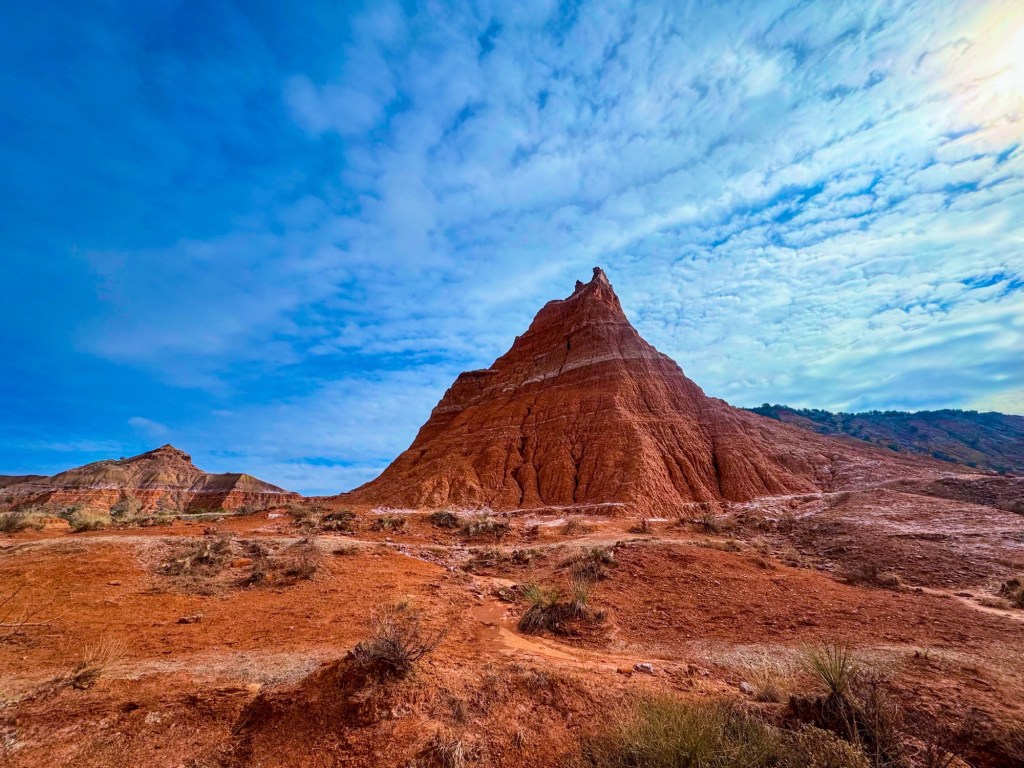
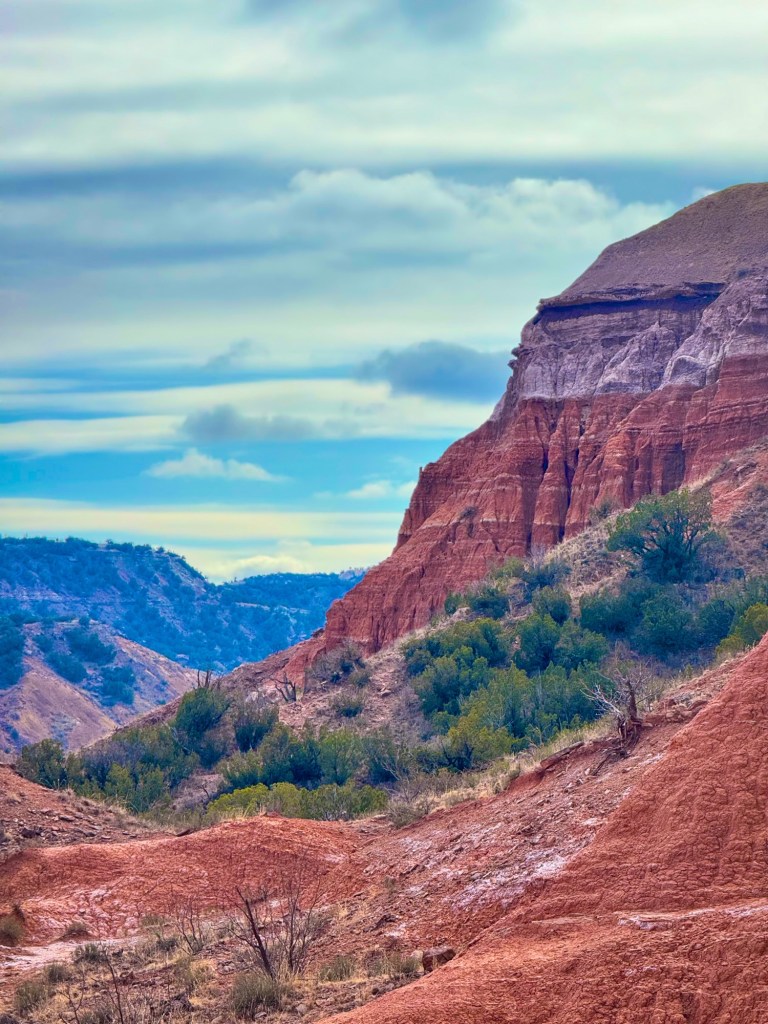
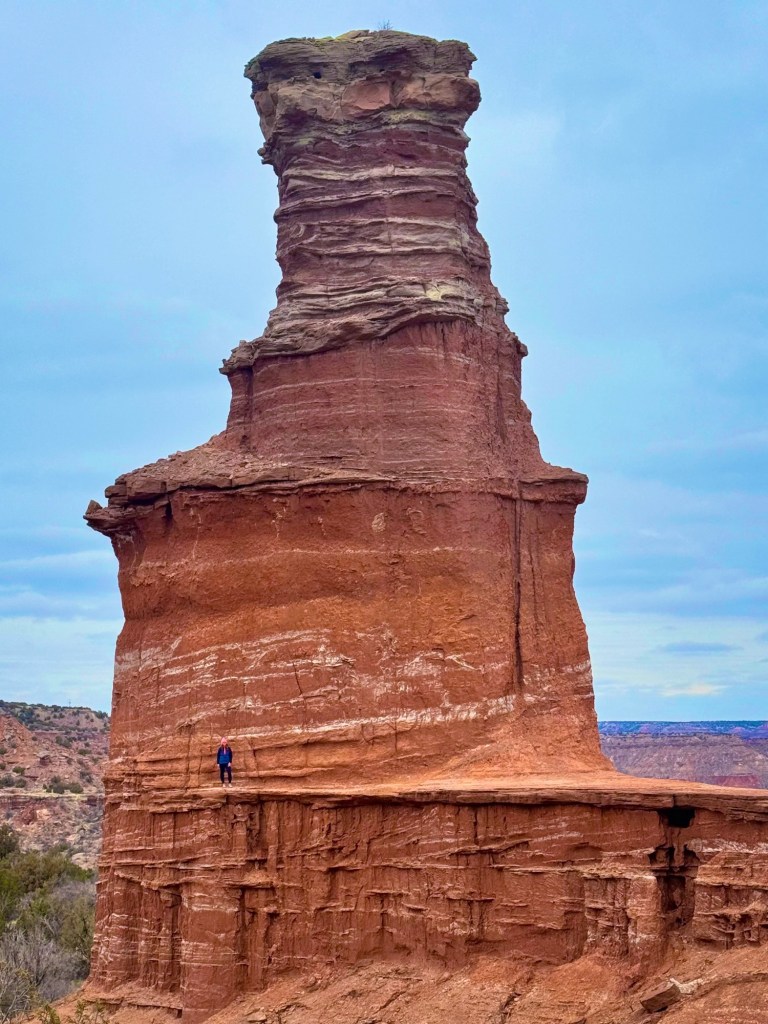
Located near Amarillo, Palo Duro is often called the Grand Canyon of Texas, and it’s one of those places that makes you wonder if you’re actually still in Texas.
Spend your time hiking through colorful canyon walls, stopping at scenic overlooks and driving the park road down onto the canyon floor.
Don’t miss: The Lighthouse Trail, scenic overlooks and the drive through the canyon.
Inks Lake State Park
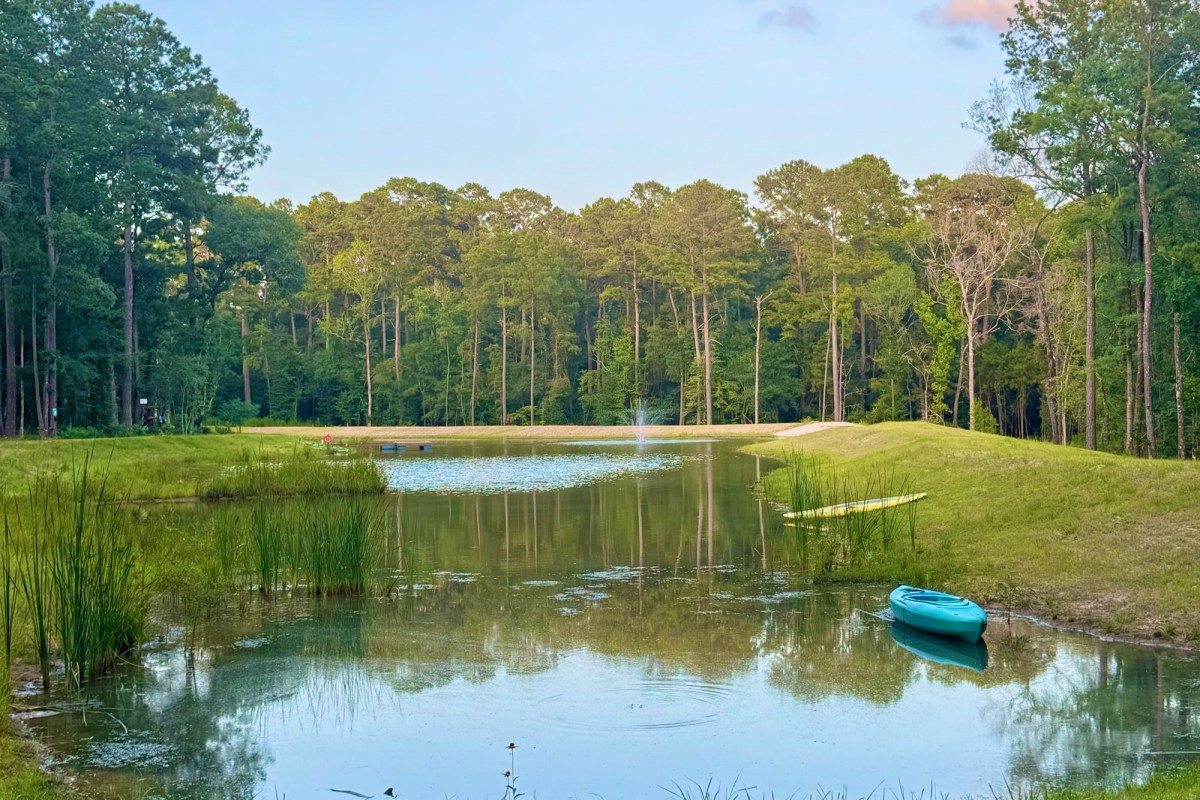
Inks Lake is one of my favorite warm-weather road trips from Dallas.
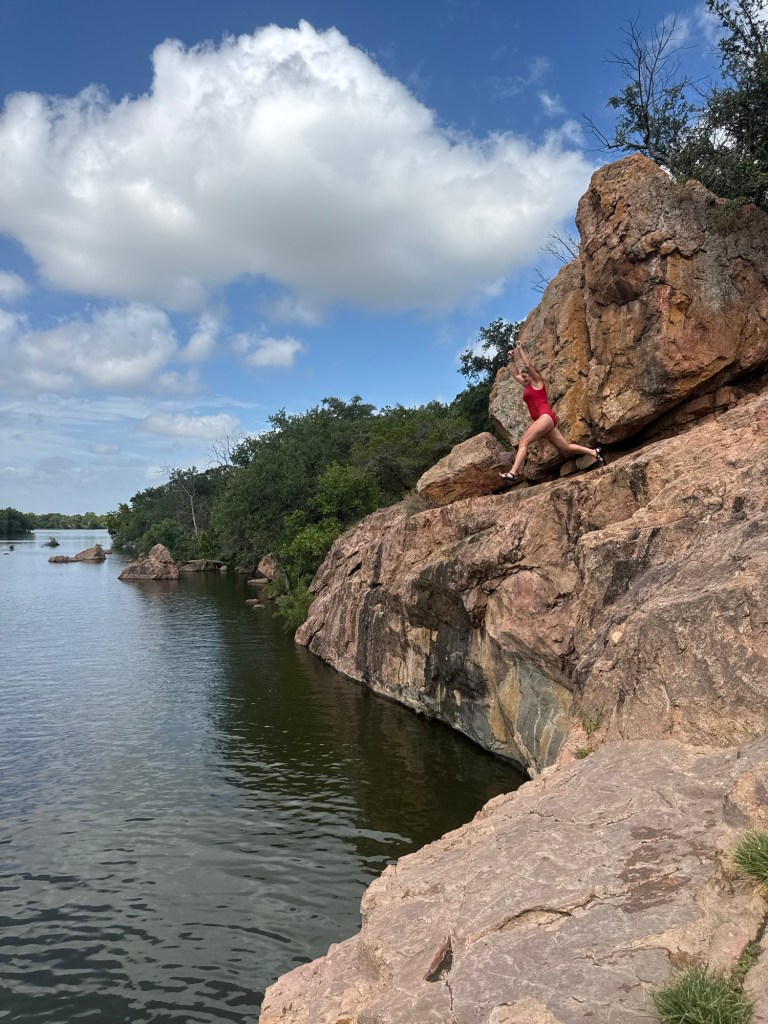
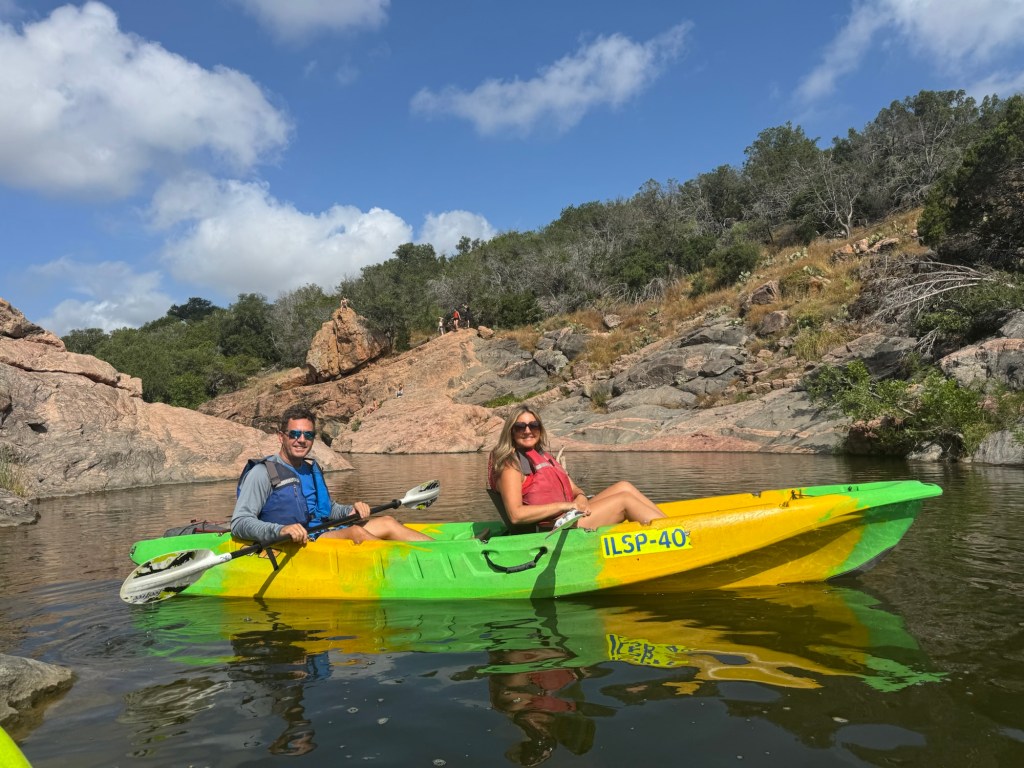
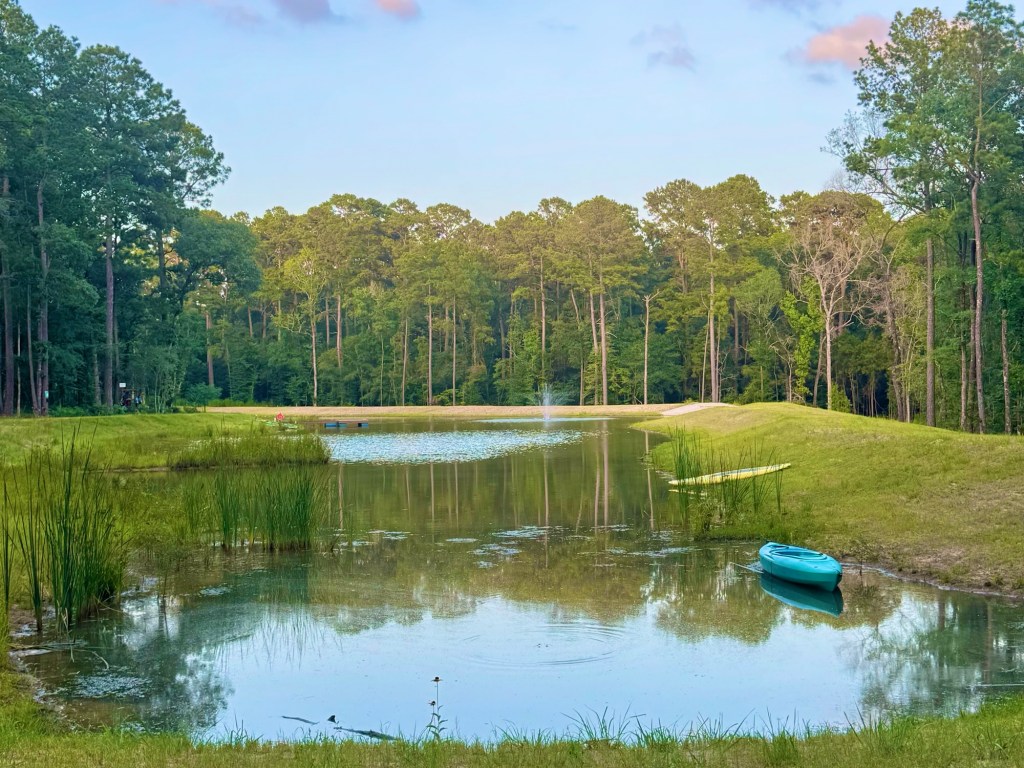
The big attraction for us is Devil’s Waterhole, where you’ll find beautiful blue water surrounded by pink granite rock formations. Kayaking is a great way to explore the lake, and there are hiking trails throughout the park too.
This is an especially good choice when you want a Texas road trip that combines outdoor adventure with time on the water.
Guadalupe Mountains National Park
Yes, Texas has mountains!
Guadalupe Mountains National Park in West Texas is home to the highest point in the state and offers a completely different landscape from what most people picture when they think of Texas.
Serious hikers can tackle Guadalupe Peak, but you don’t have to summit the mountain to enjoy this national park. There are shorter hikes, scenic desert landscapes and beautiful mountain views throughout the area.
Bonus: Carlsbad Caverns National Park is close enough that I highly recommend combining the two parks into one trip.
Monahans Sandhills State Park
Imagine enormous rolling sand dunes in the middle of West Texas. That’s Monahans Sandhills.
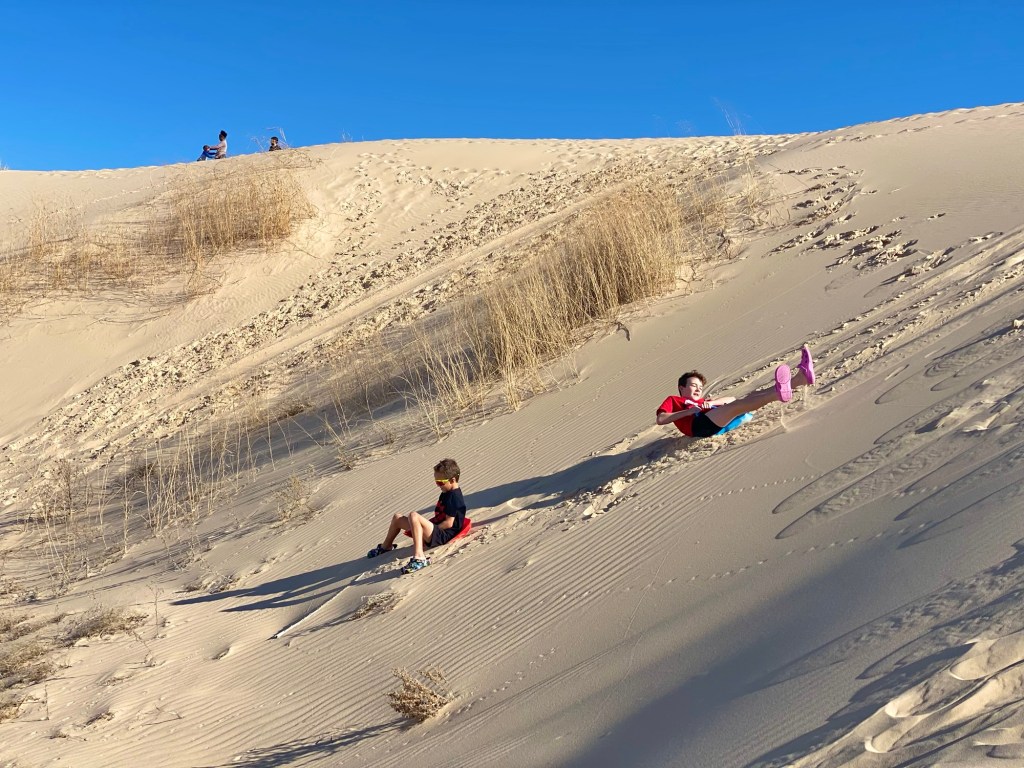
Bring or rent a sand disk and spend a few hours sliding down the dunes. This makes an especially fun stop when you’re already heading west toward Guadalupe Mountains, Carlsbad Caverns or New Mexico.
How I’d Plan It
You don’t need to combine all four destinations into a single trip. Think of this section as four great Texas road trips from Dallas that can stand alone or be incorporated into a larger West Texas itinerary.
2. Arizona Road Trip
Best for: 5–7 days Drive time from Dallas: Approximately 13–16+ hours depending on your first stop Highlights: Deserts • Red Rocks • National Parks • Epic Views
Arizona is easily one of my favorite states for a road trip because the scenery changes constantly.
You can go from towering saguaros to red-rock mountains to alpine forests to the Grand Canyon, all in one trip.
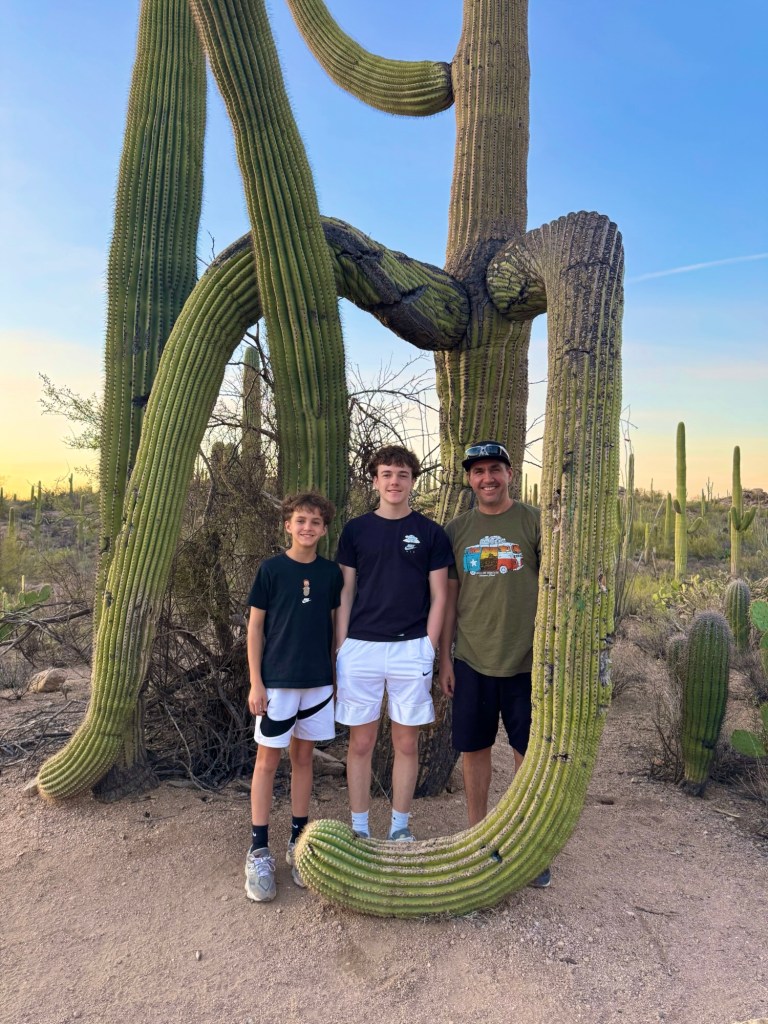
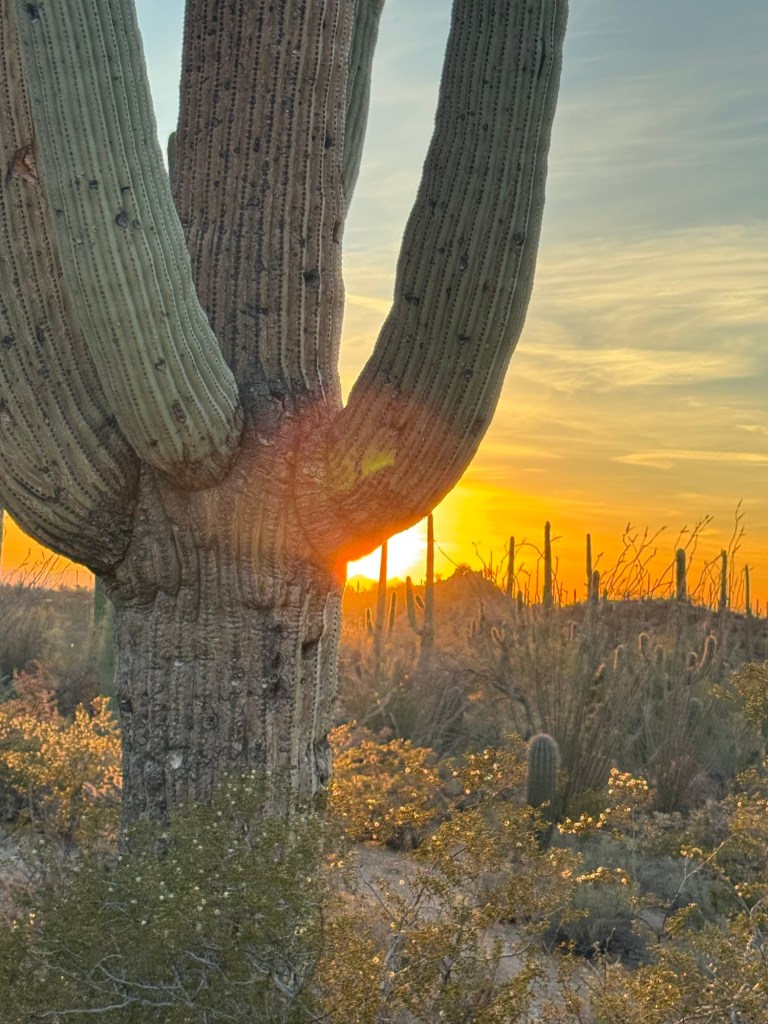
Saguaro National Park
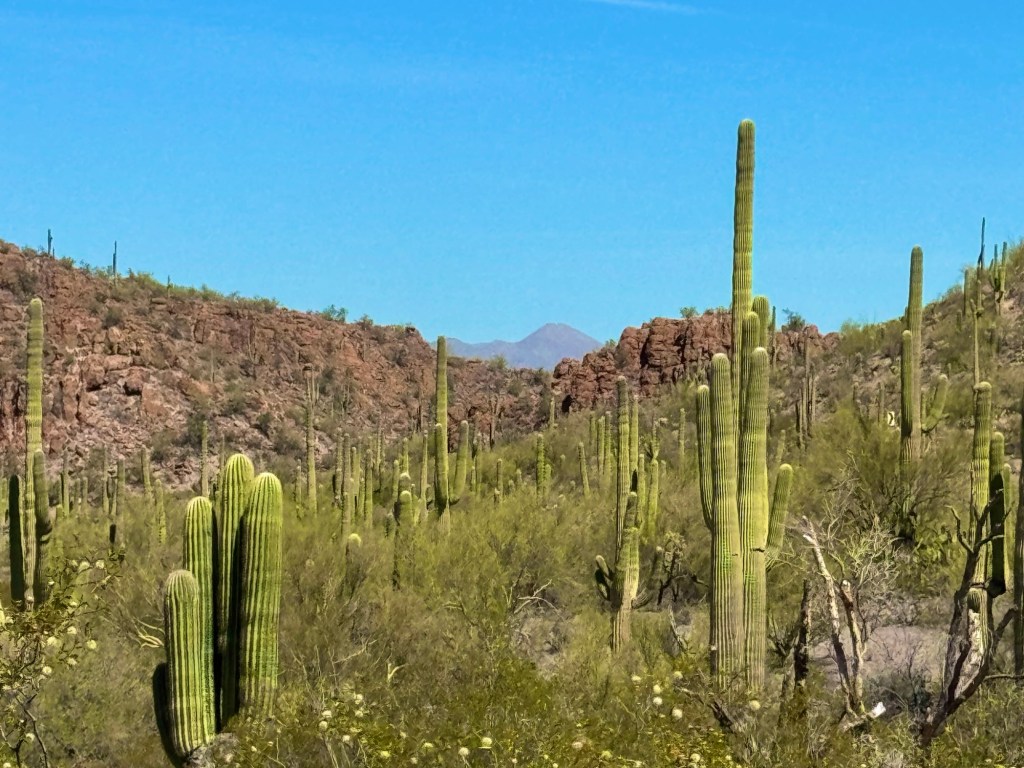
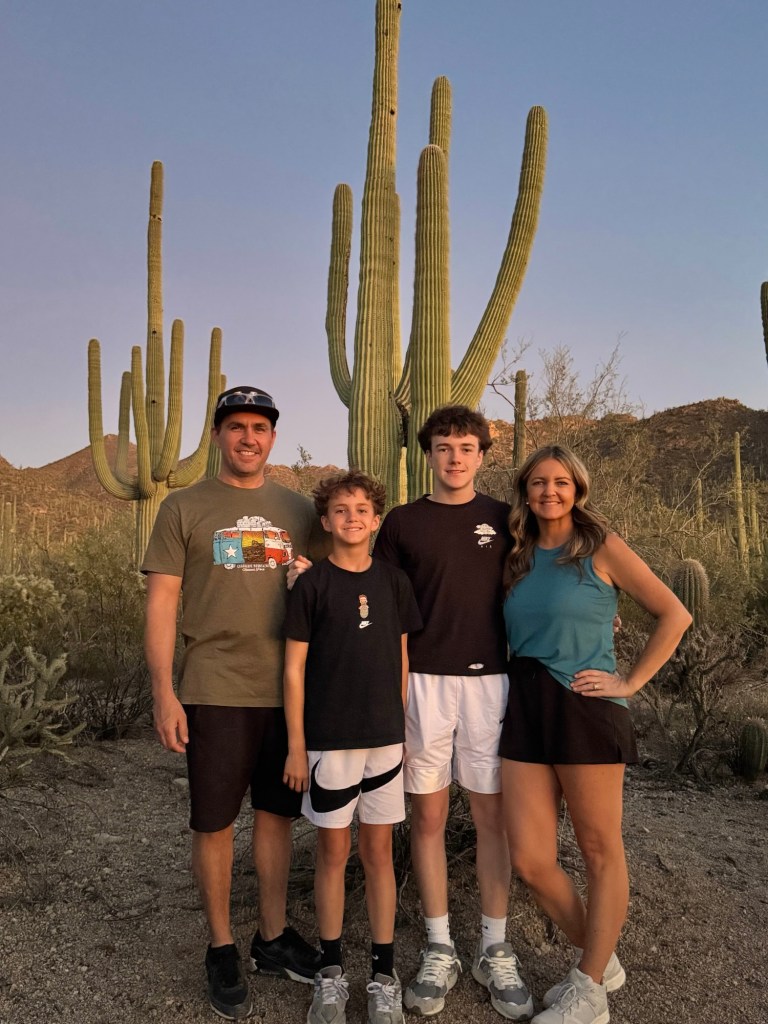
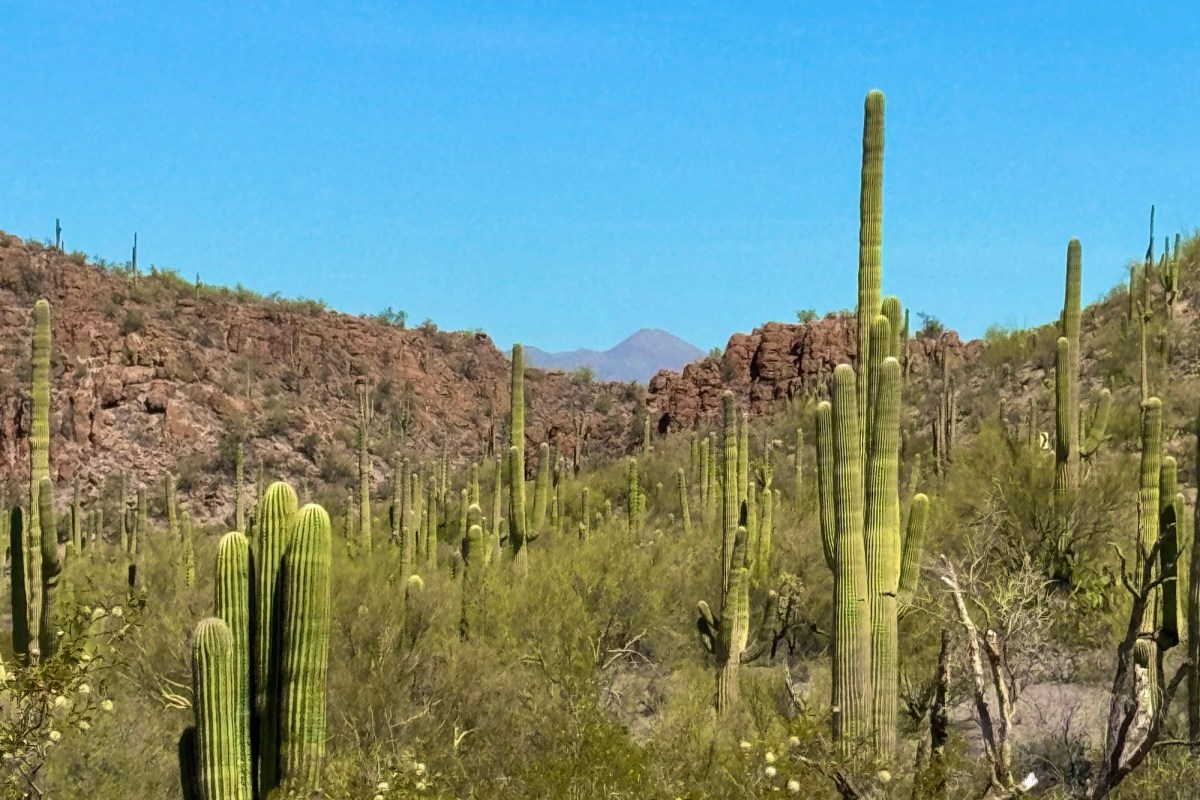
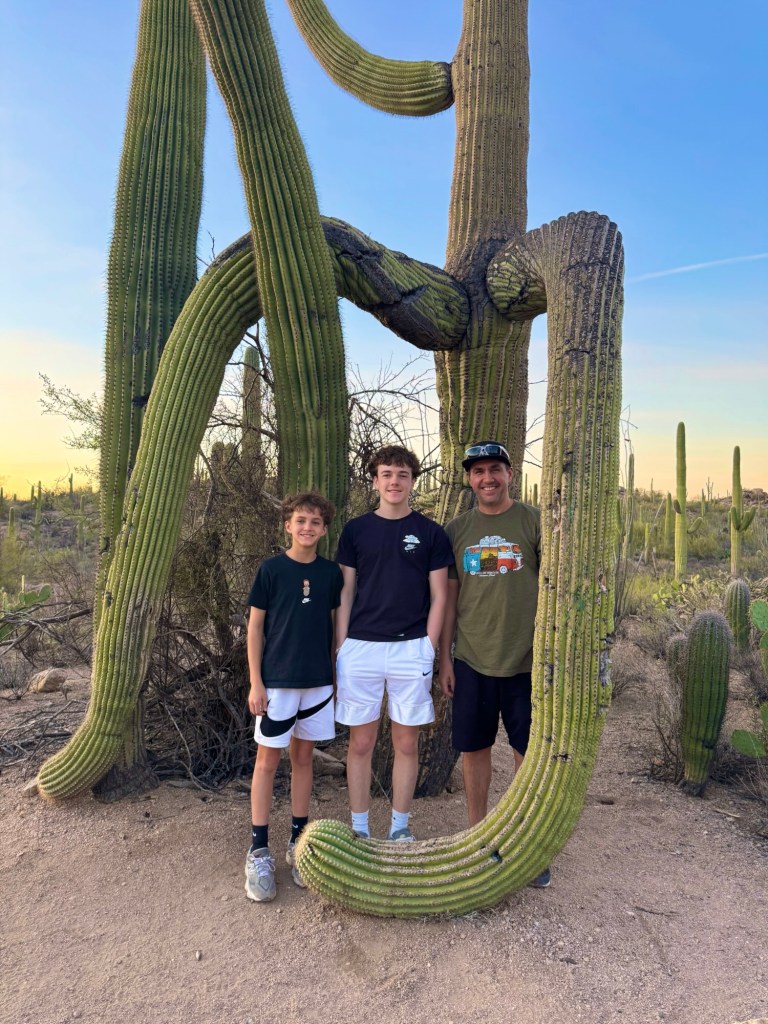
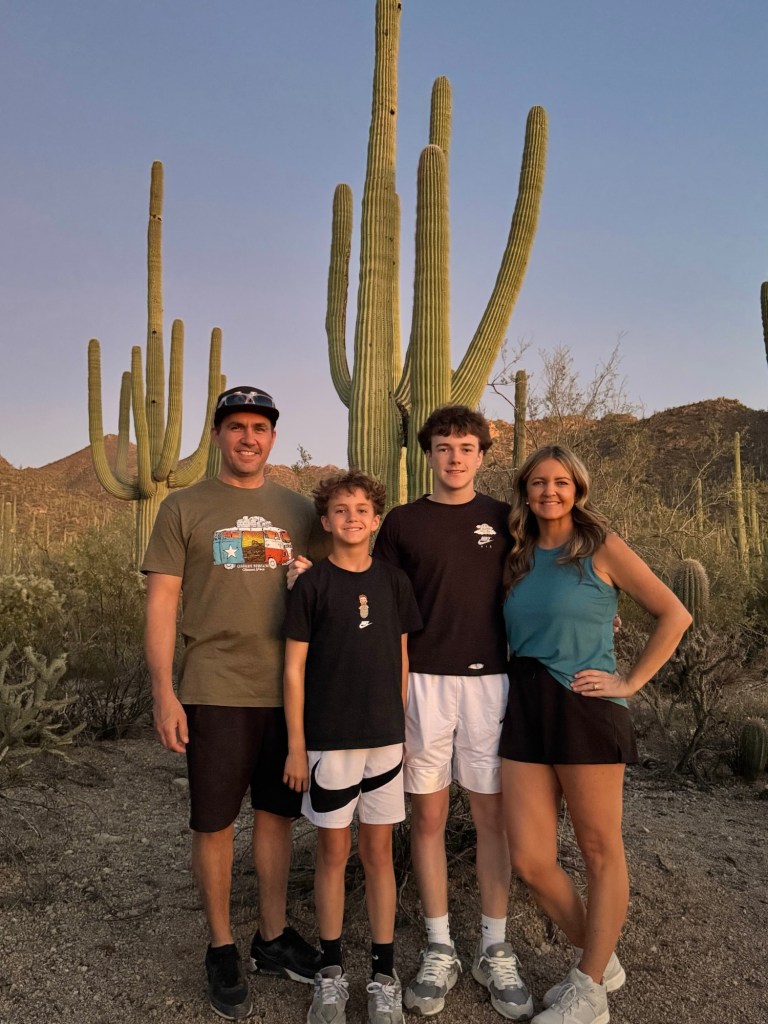
If you’ve never stood beside a giant saguaro cactus, photos don’t really prepare you for how impressive they are.
Saguaro National Park surrounds Tucson and is divided into two districts. We especially loved the classic Arizona desert scenery here.
Go around sunrise or sunset if you can—the desert light is incredible.
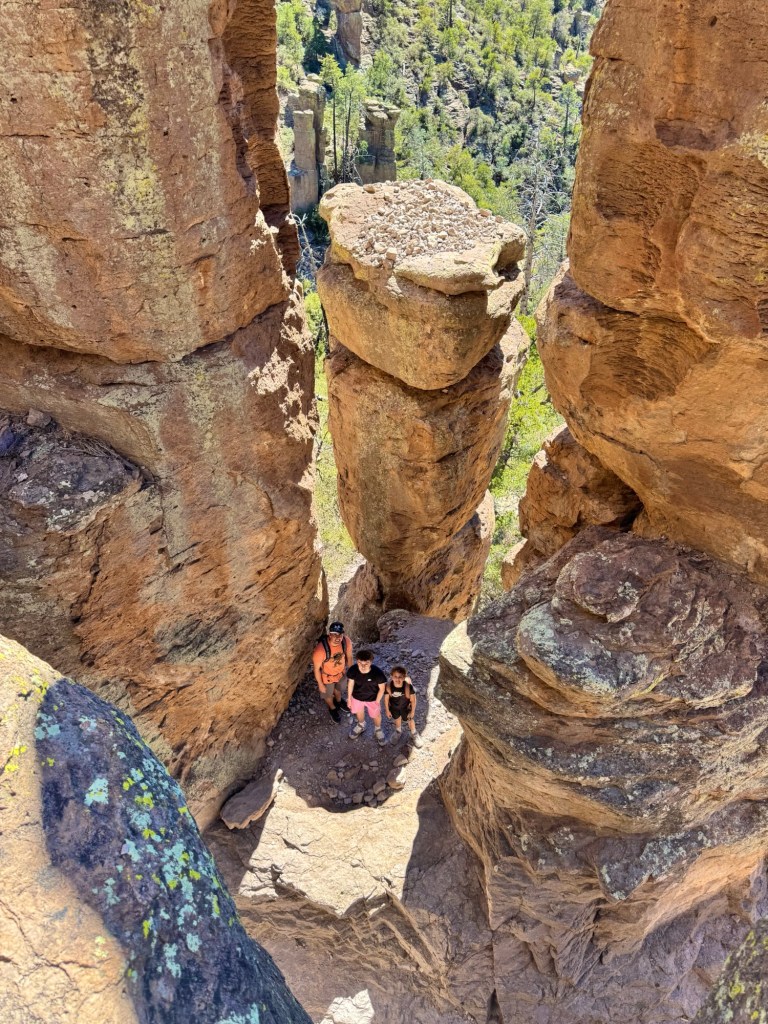
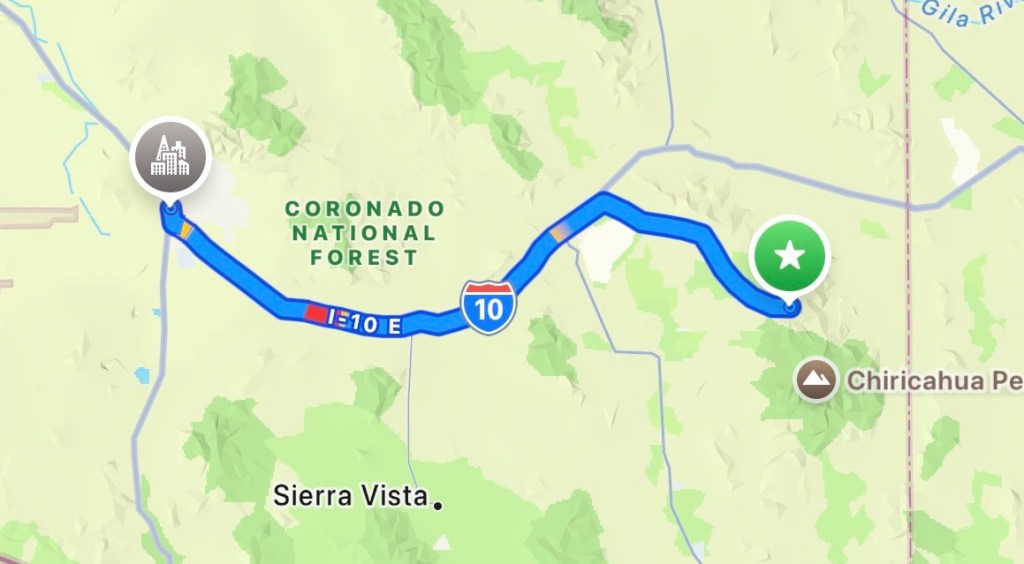
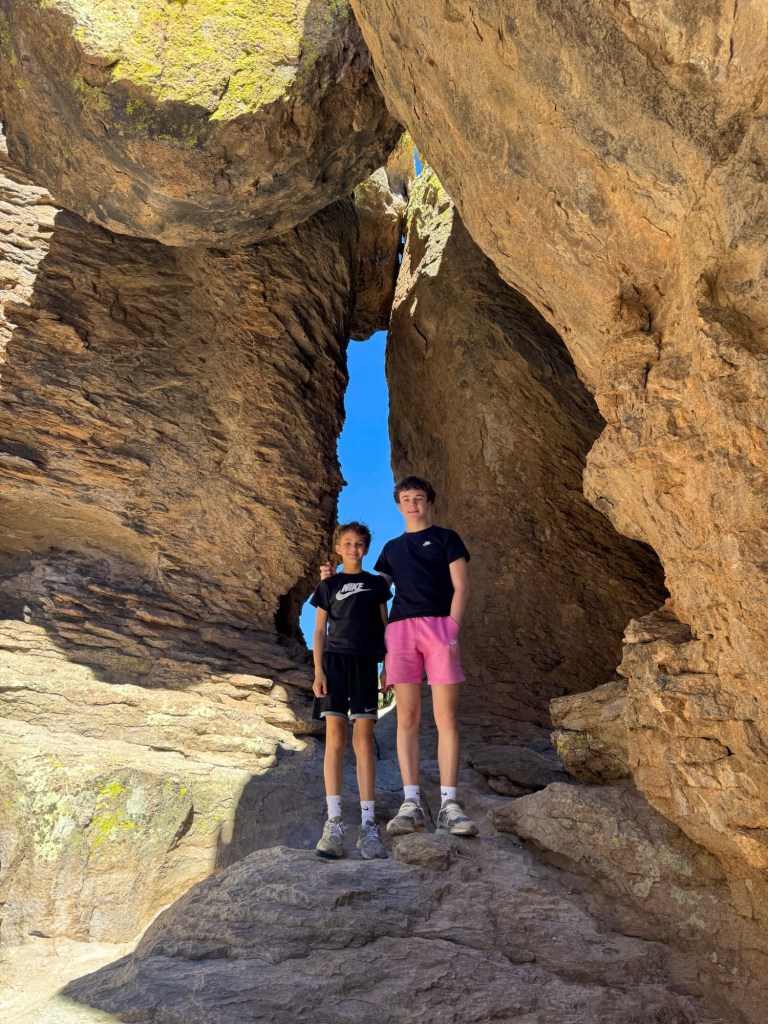
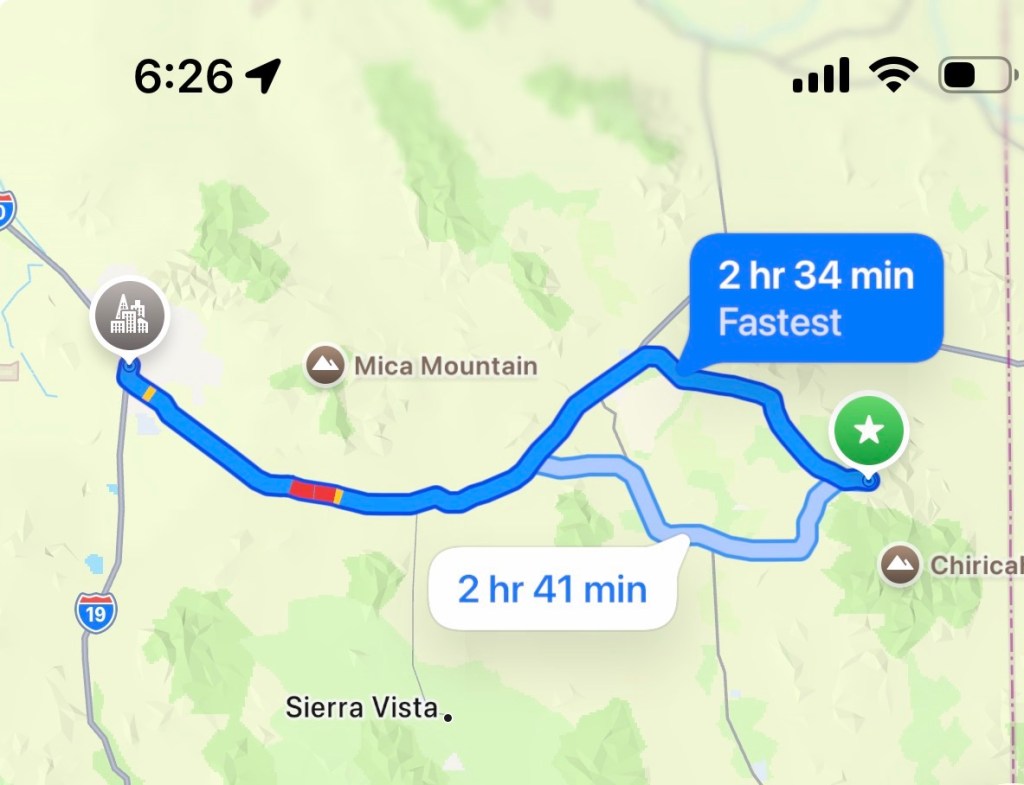
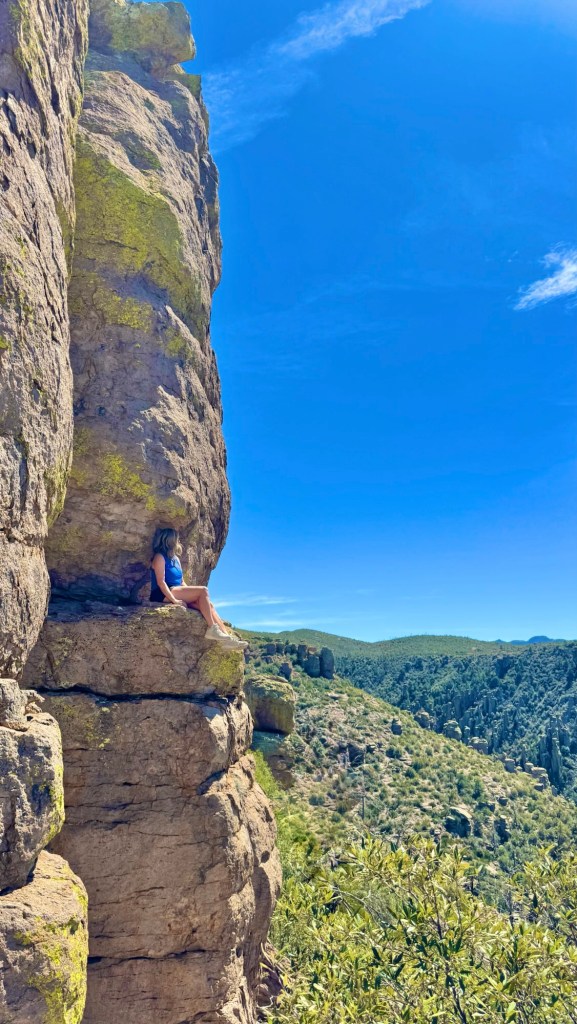
Chiricahua National Monument
This is one of Arizona’s most underrated destinations.
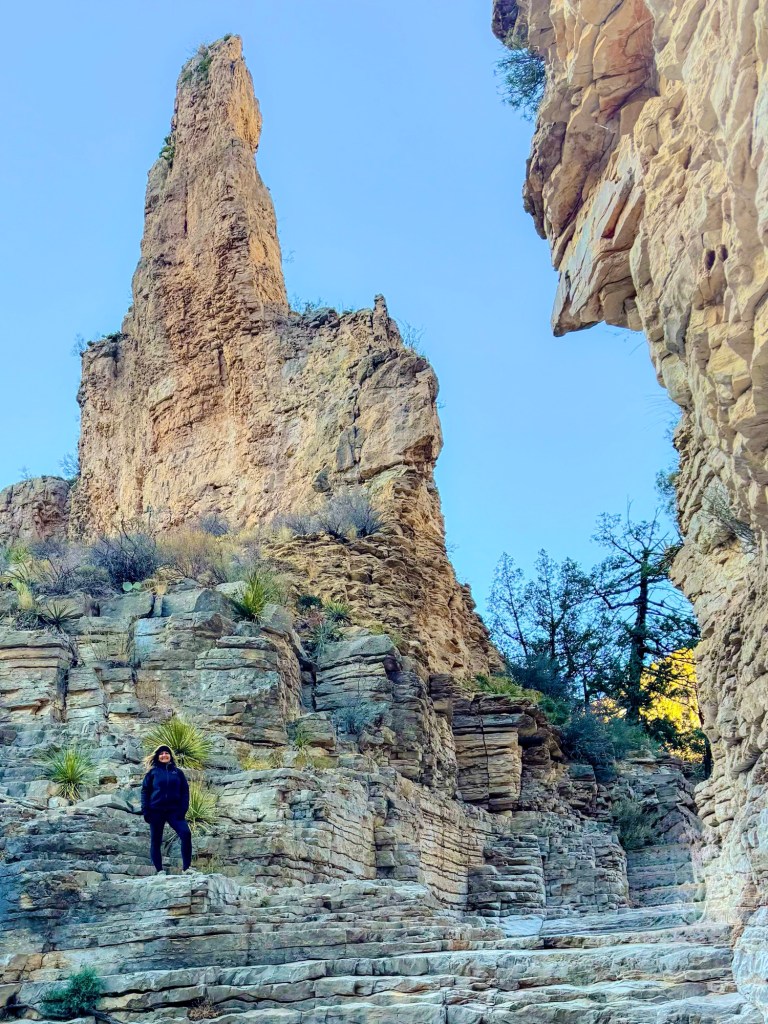
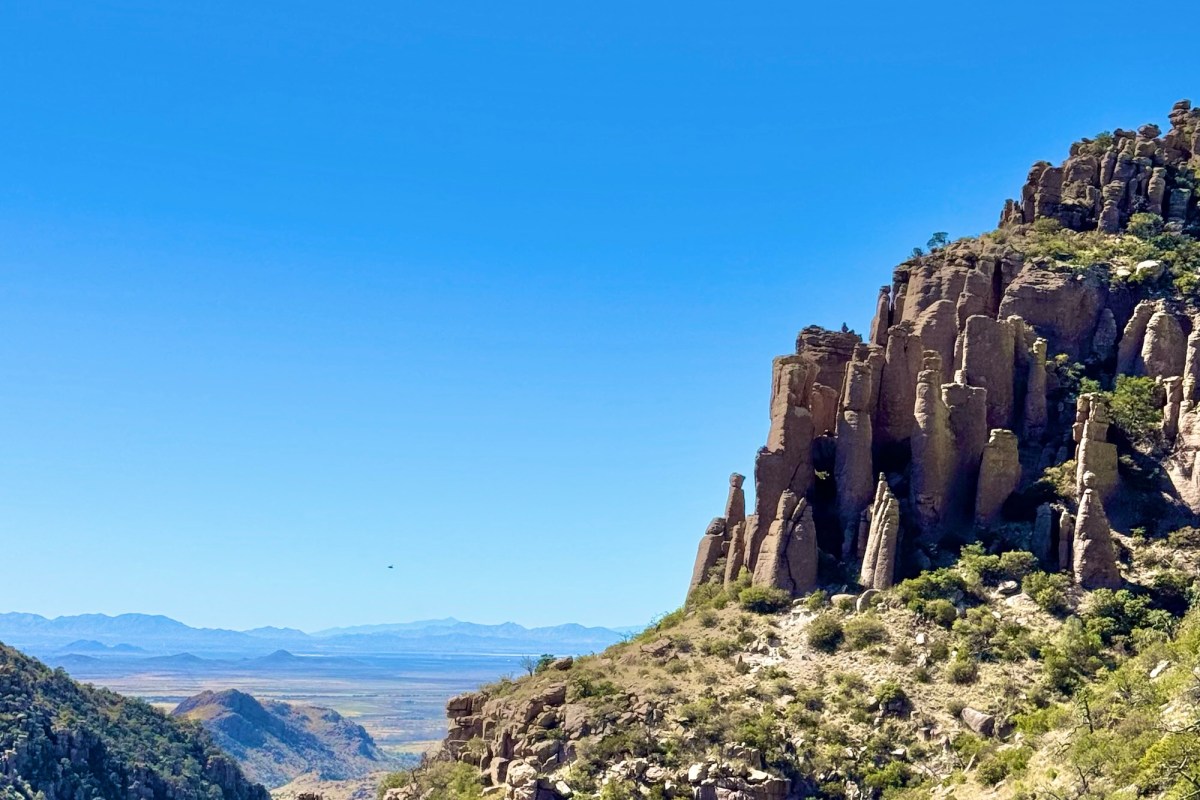
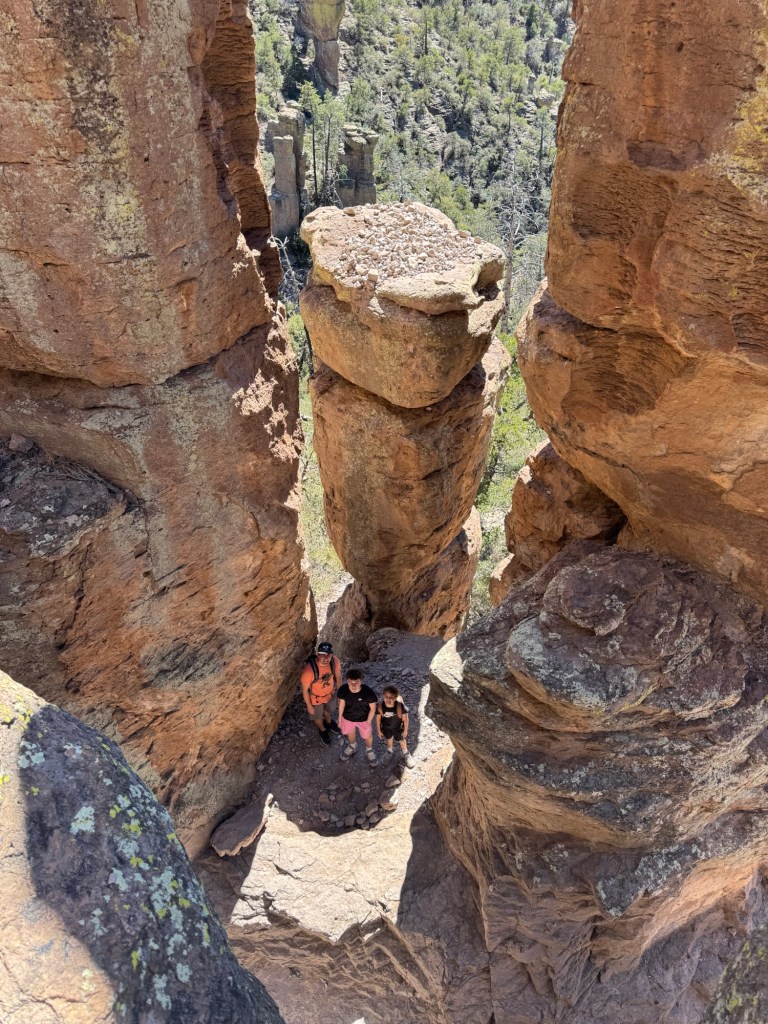
Chiricahua is filled with towering rock formations and hoodoos that make the landscape look almost otherworldly.
The Echo Canyon Loop is a great way to experience the rock formations up close.
Sedona
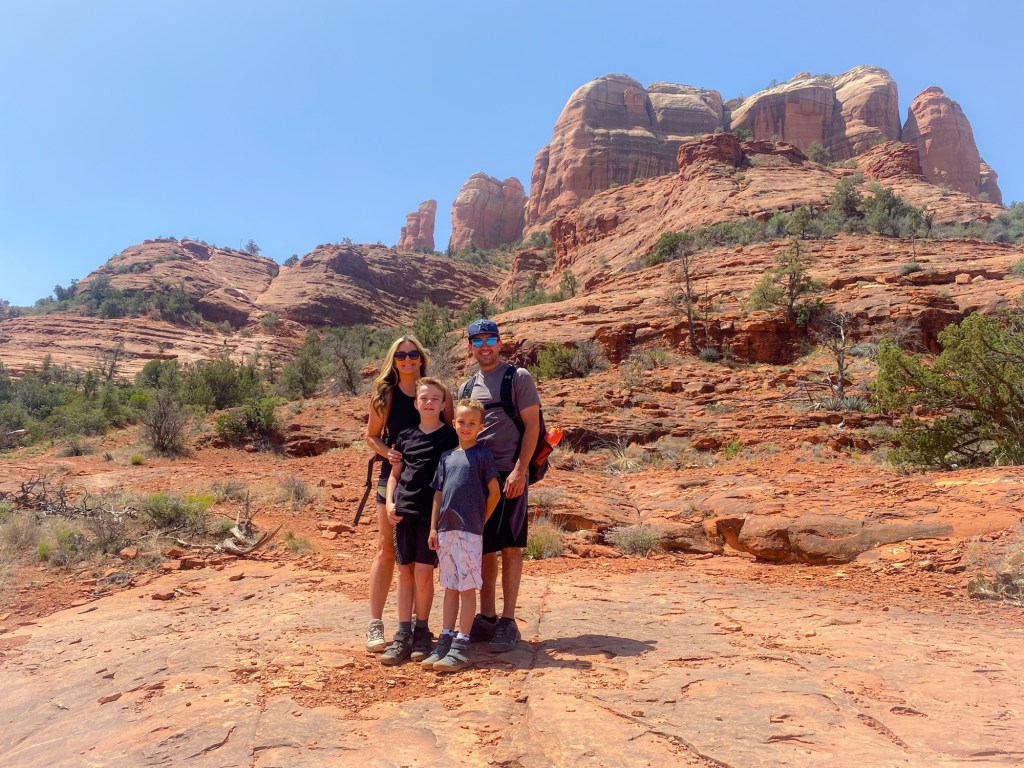
Sedona absolutely deserves the hype.
The red-rock scenery is gorgeous from practically everywhere in town, and there are hikes for a wide range of ability levels.
Even if you only have one day, take time for a scenic drive, hike and sunset among the red rocks.
Grand Canyon National Park
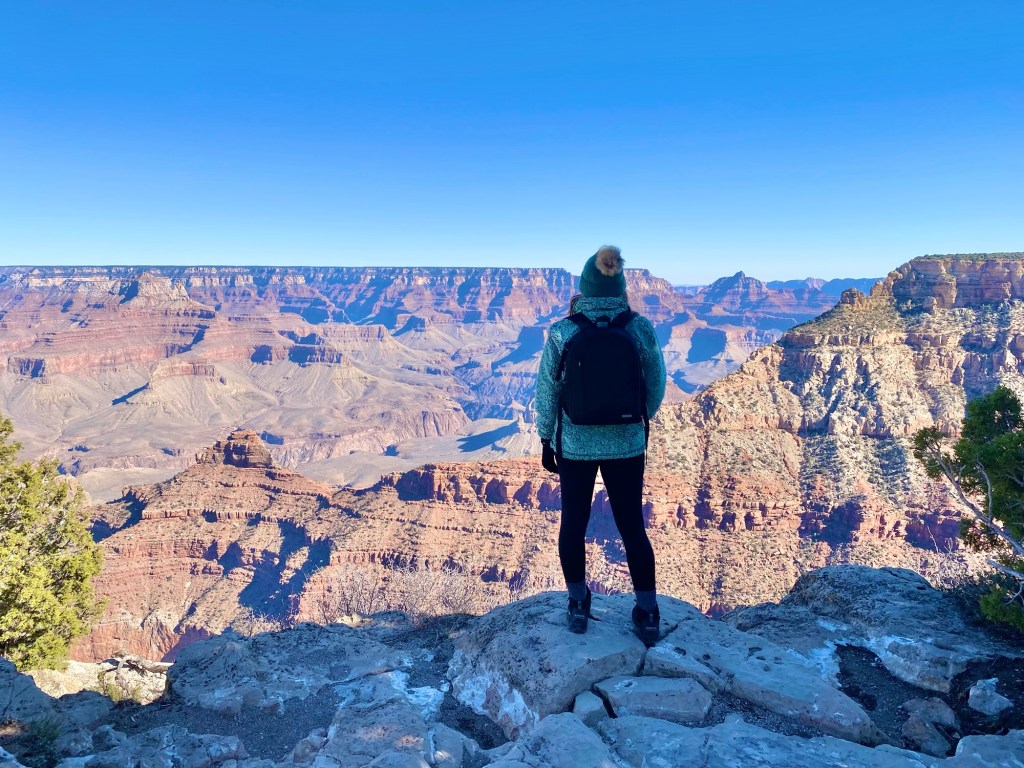
There’s a reason the Grand Canyon is on so many bucket lists.
No matter how many photos you’ve seen, standing at the rim for the first time is completely different.
Give yourself time to walk along the rim, stop at multiple viewpoints and watch how the colors of the canyon change throughout the day.
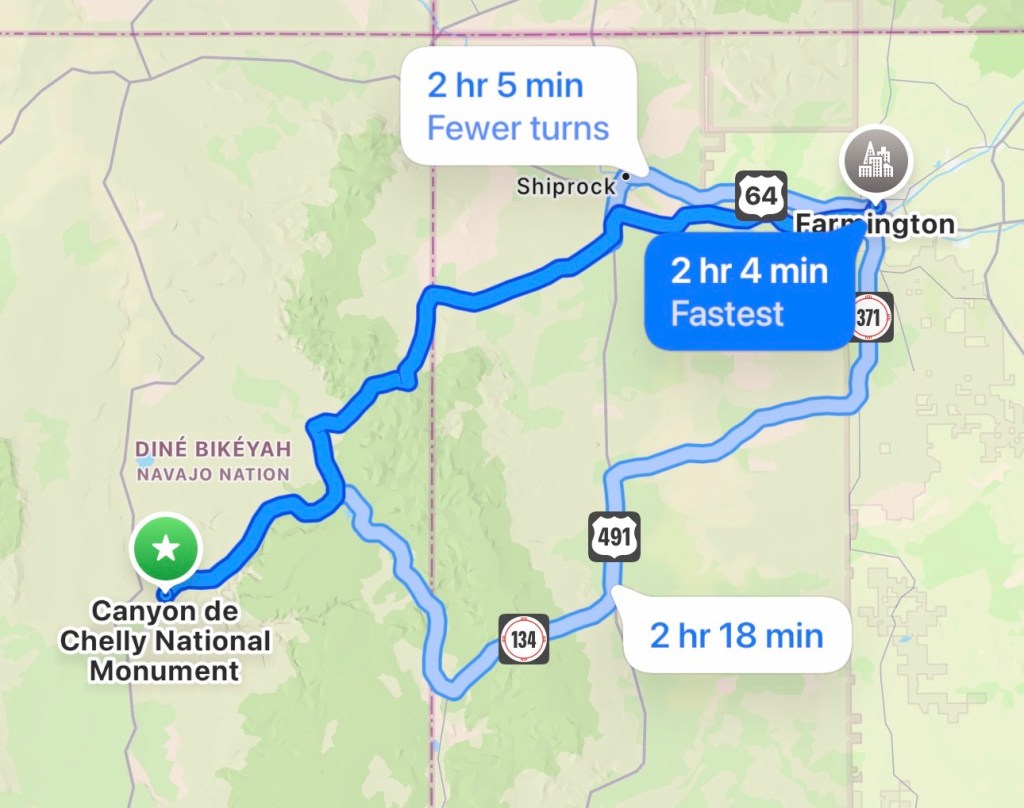
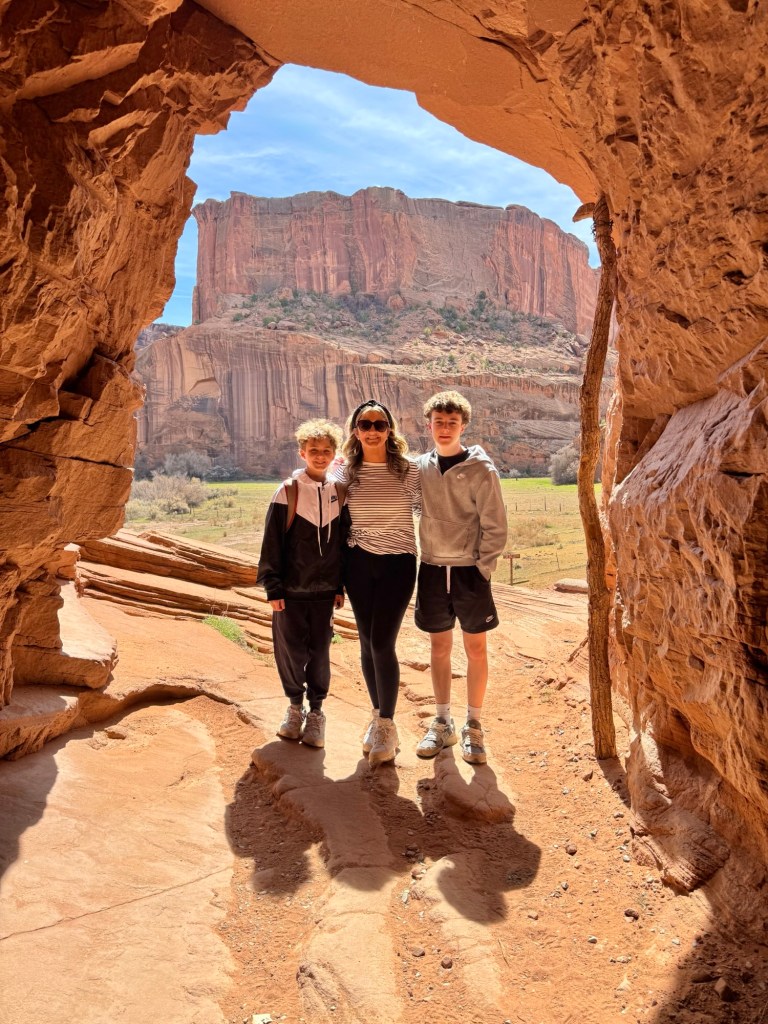
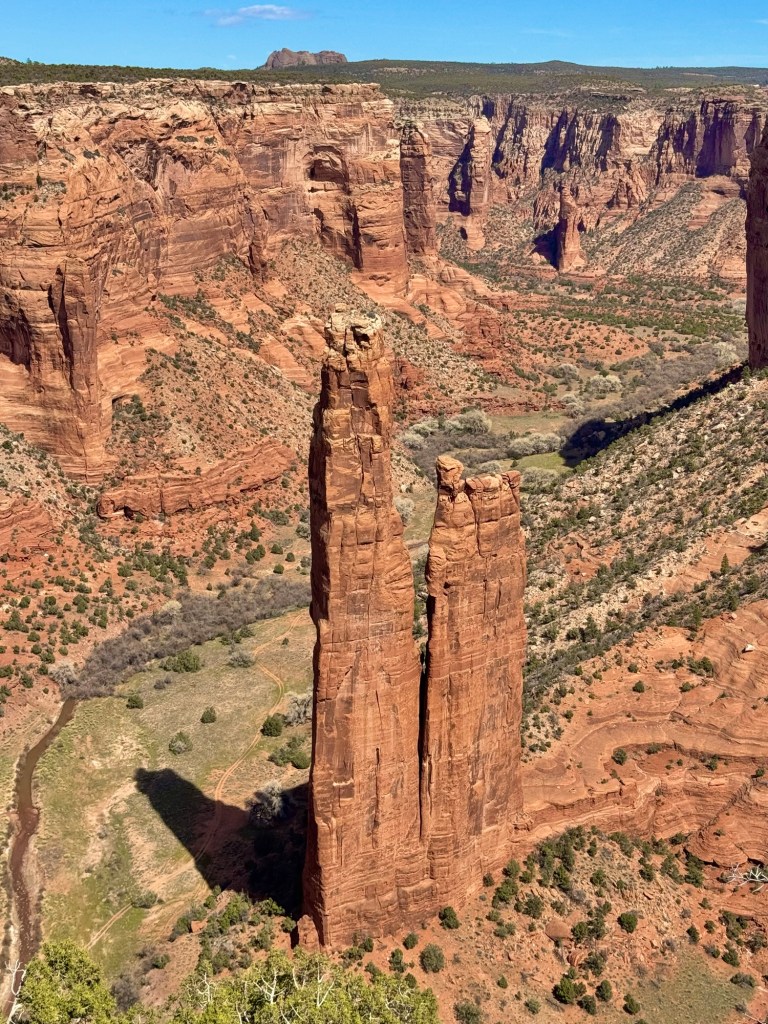
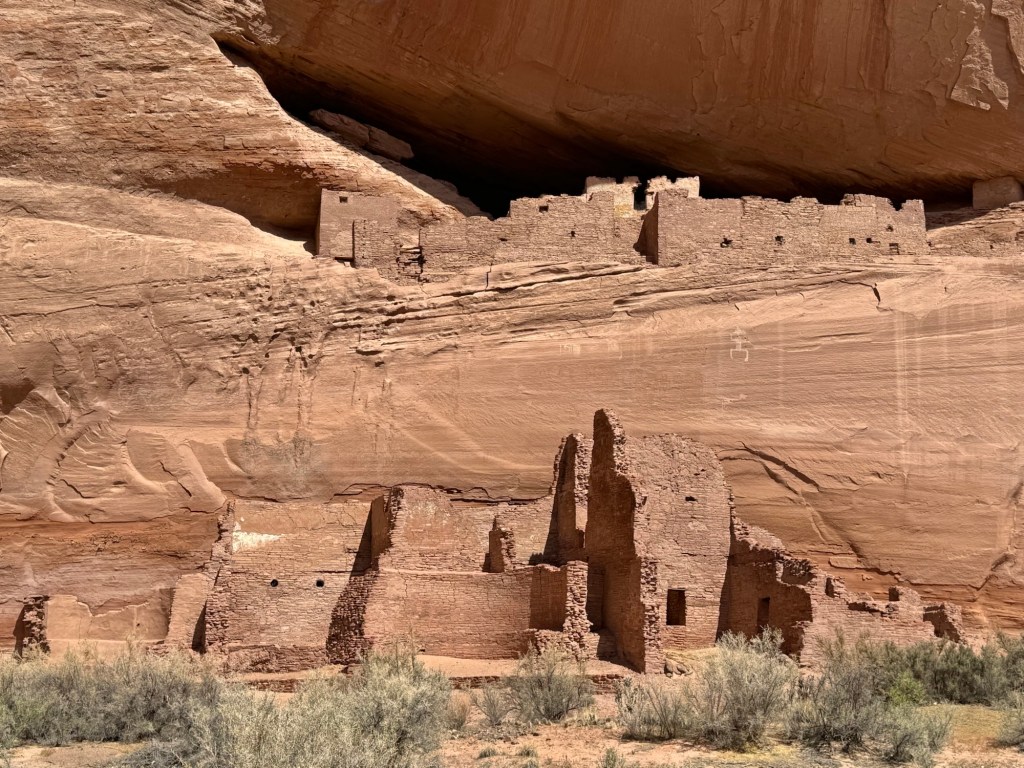
Bonus Stop: Canyon de Chelly National Monument
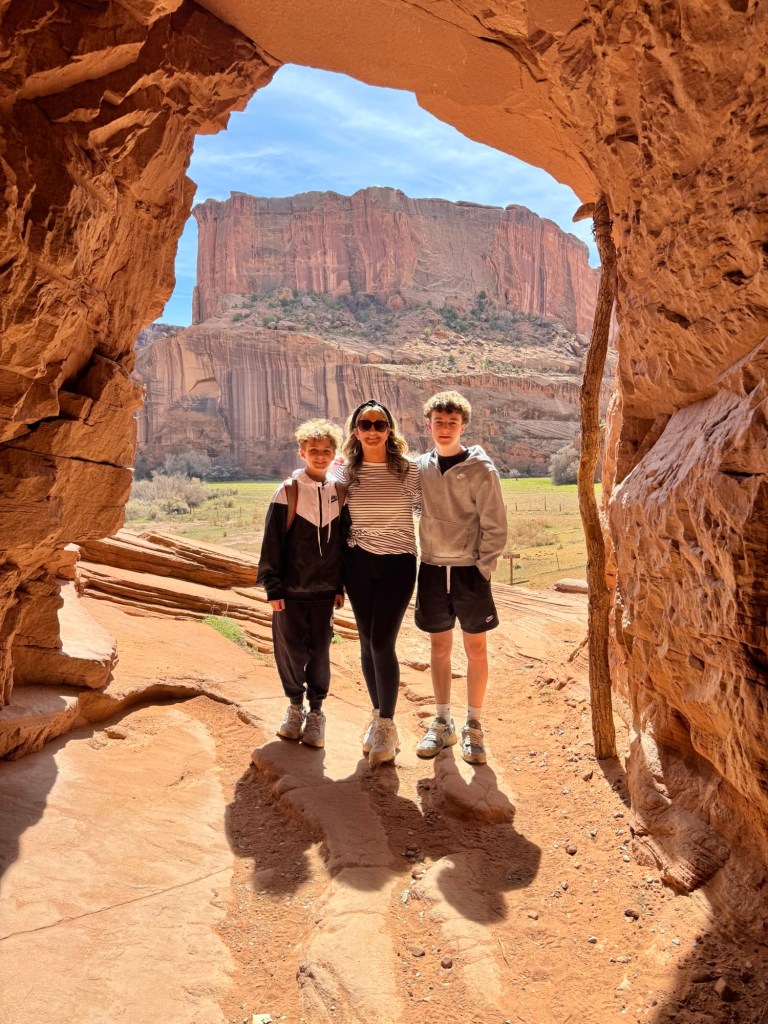
If your route allows, Canyon de Chelly is another incredible Arizona stop and one that many Southwest itineraries overlook.
The canyon’s scenery is spectacular, but its cultural and historical significance makes it especially worth visiting.
How I’d Plan It
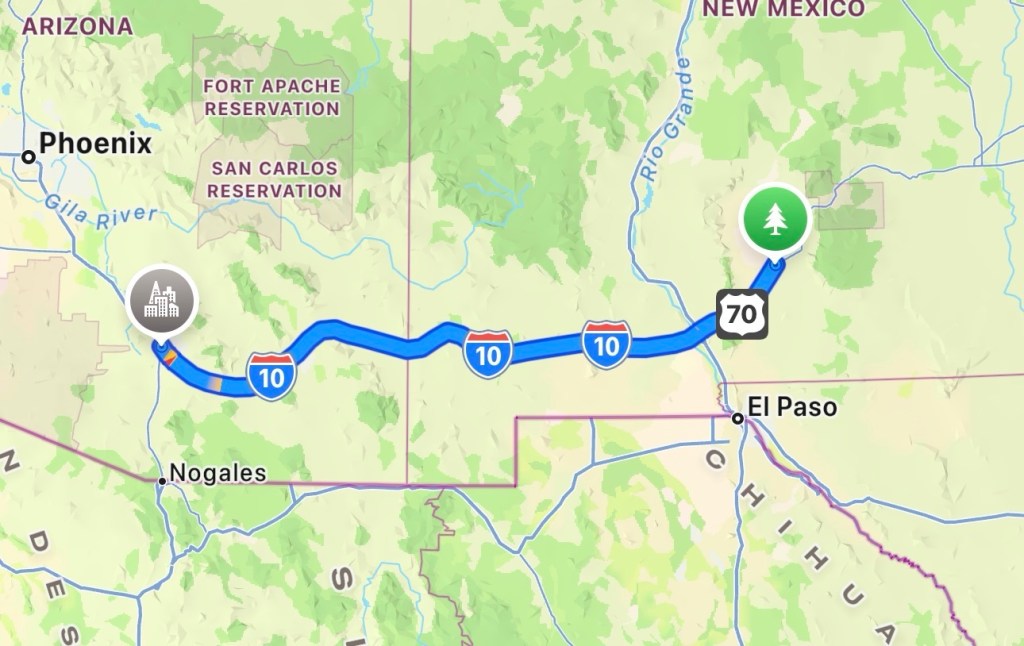
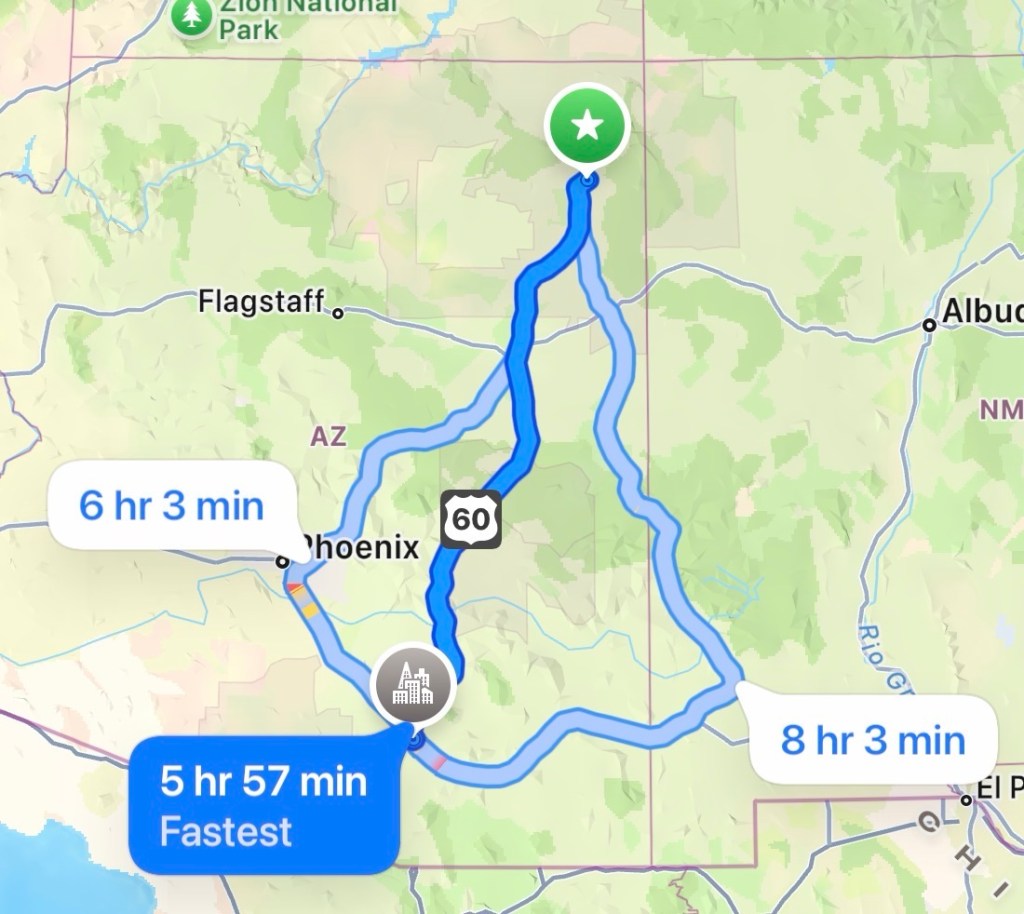
For a weeklong Arizona road trip from Texas, I’d build a route through Tucson/Saguaro → Chiricahua → Sedona → Grand Canyon, adding Canyon de Chelly if you have enough time.
3. Oklahoma Road Trip
Best for: 2–4 days Drive time from Dallas: Approximately 2.5–4 hours for many of these destinations Highlights: Mountains • Waterfalls • Caves • Wildlife
Oklahoma is one of my favorite answers when someone asks me where they can go for a quick road trip from Dallas.
You can leave North Texas and be somewhere that feels completely different within a few hours.
Wichita Mountains Wildlife Refuge
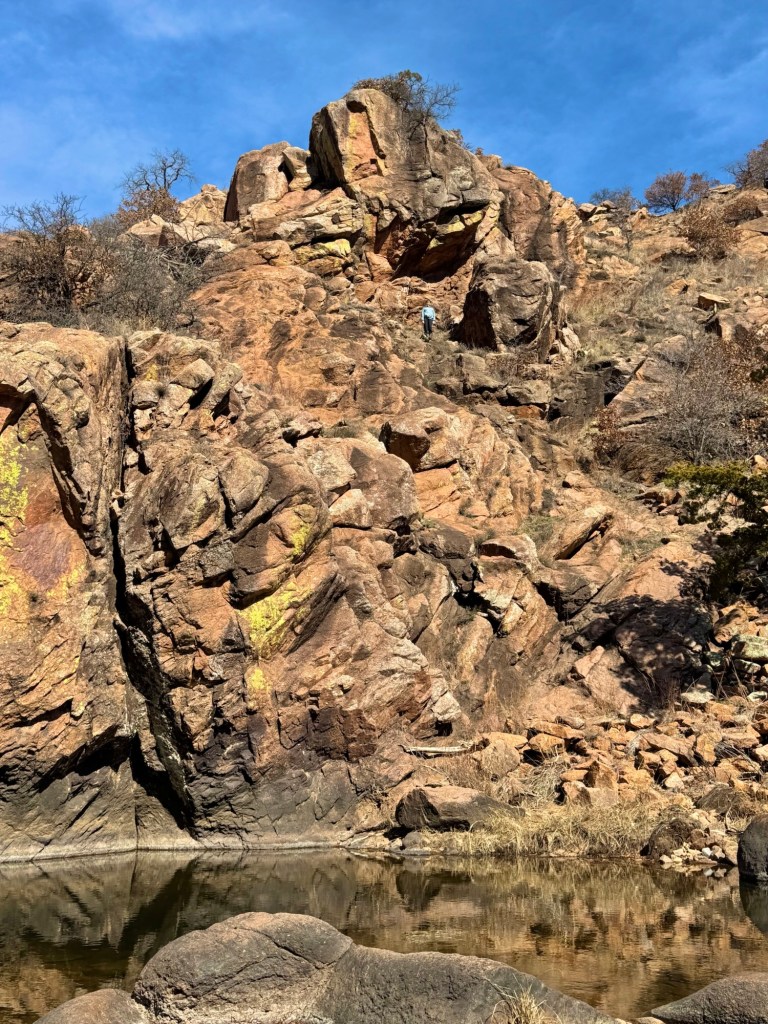
The Wichita Mountains are one of my favorite easy road trips from Dallas.
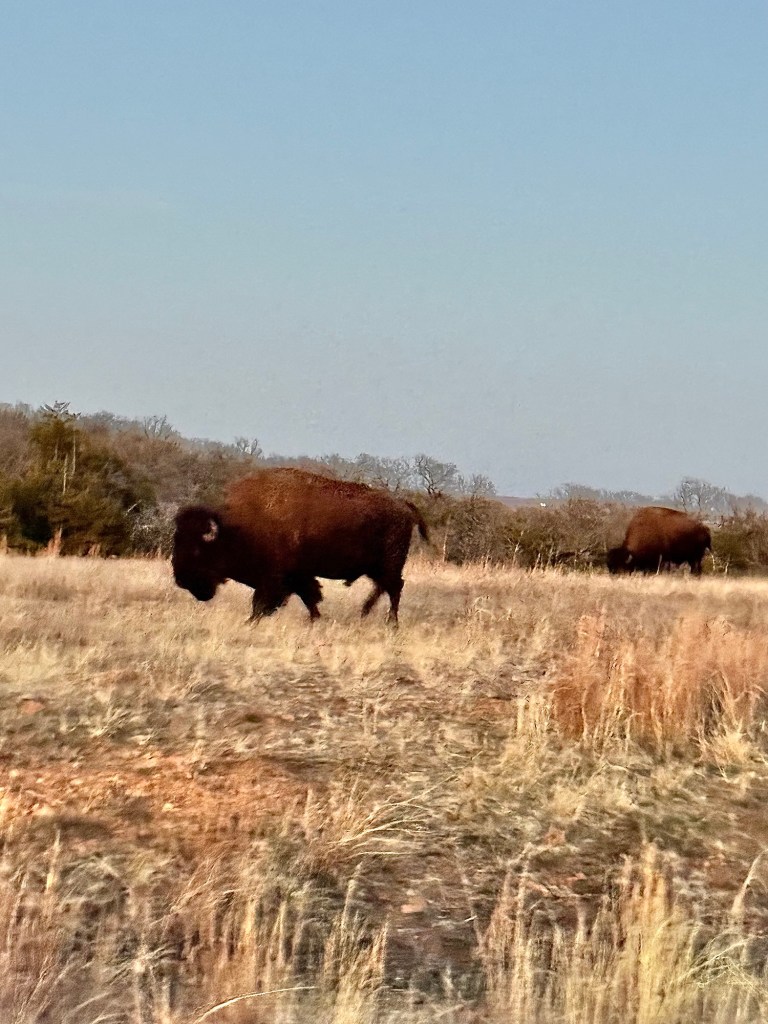
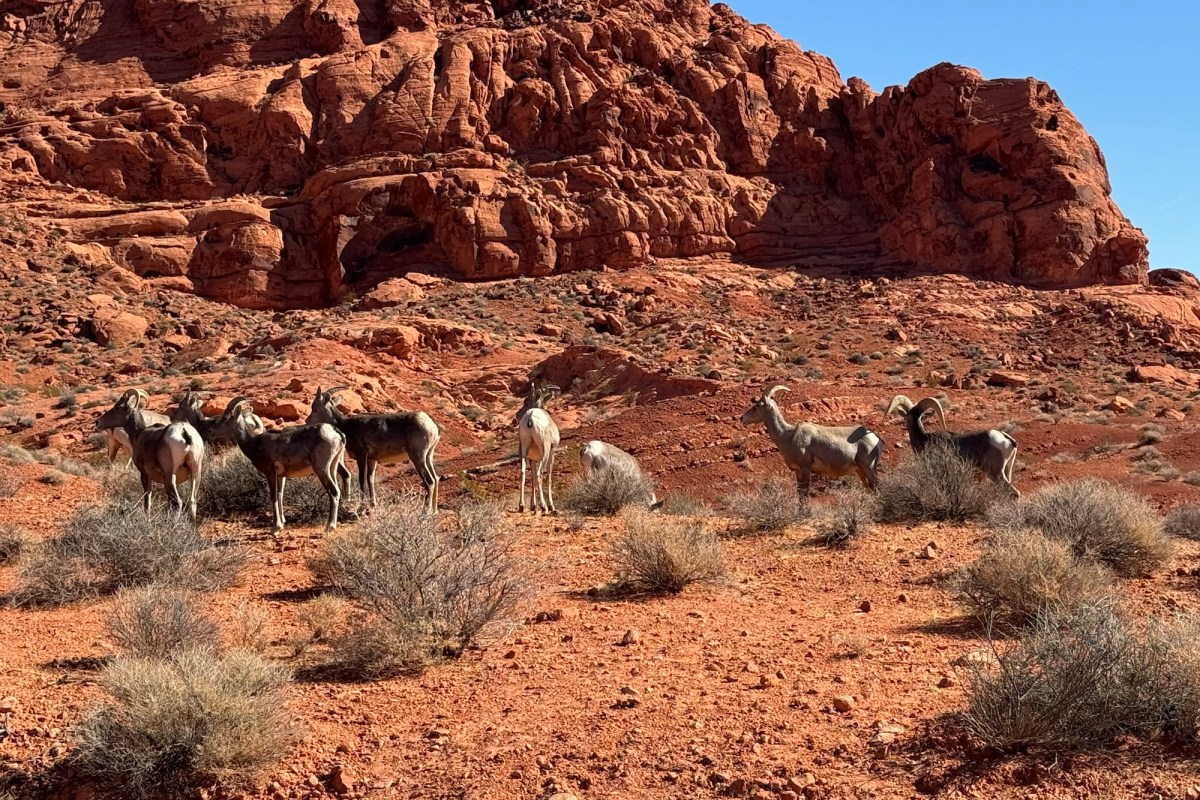
Expect rugged mountains, hiking trails, scenic drives and wildlife—including bison and longhorn cattle.
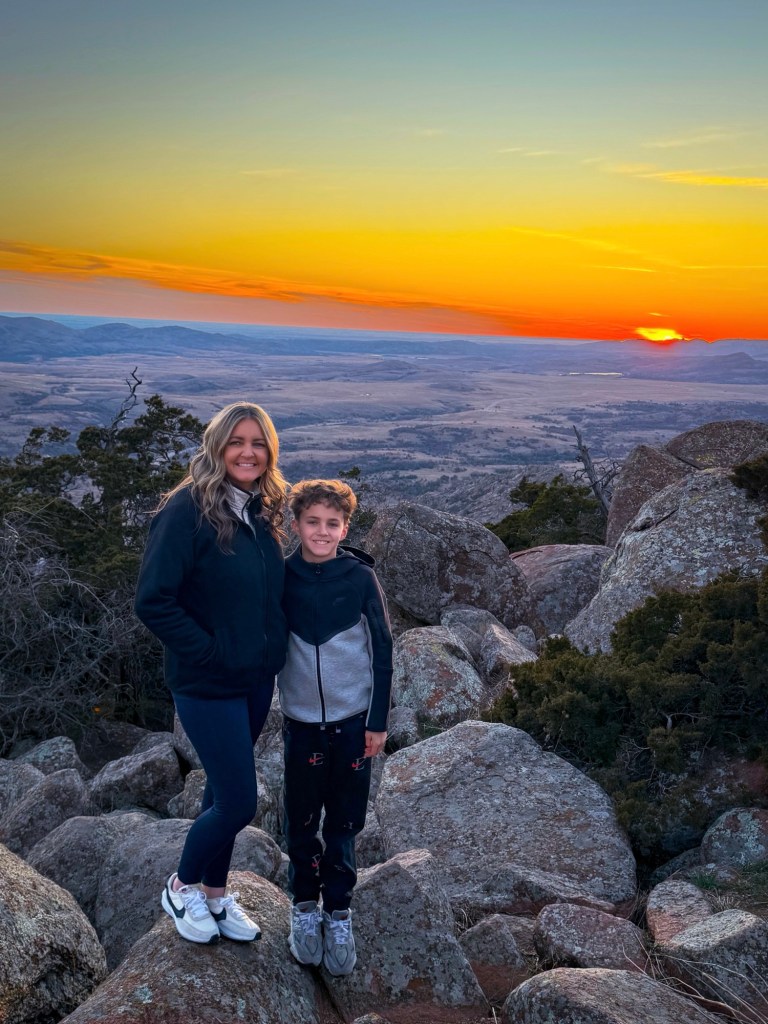
Drive up Mount Scott for incredible views, hike among the rocks and make time to explore the refuge.
Turner Falls Park
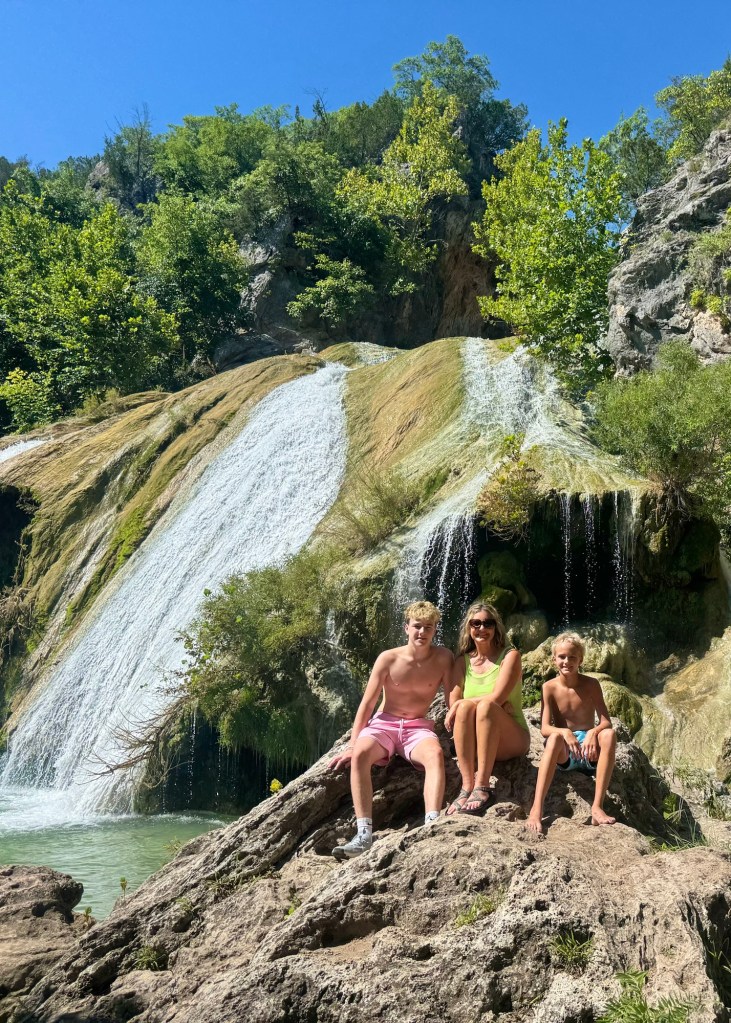
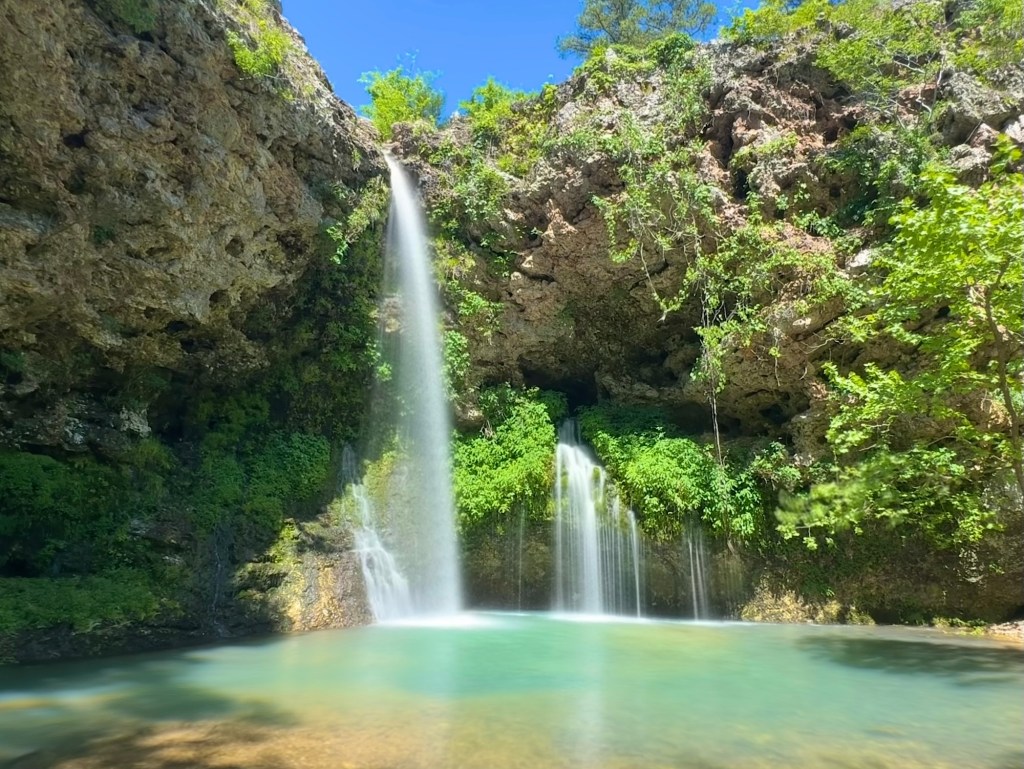
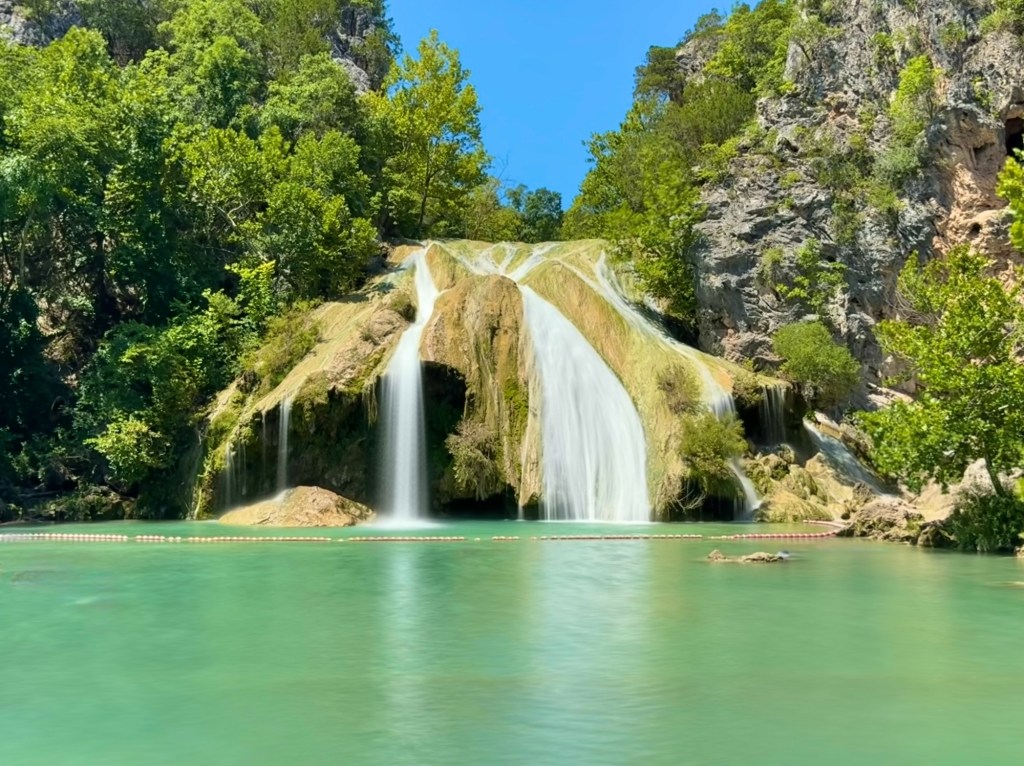
Turner Falls is home to a 77-foot waterfall and is an easy getaway from Dallas.
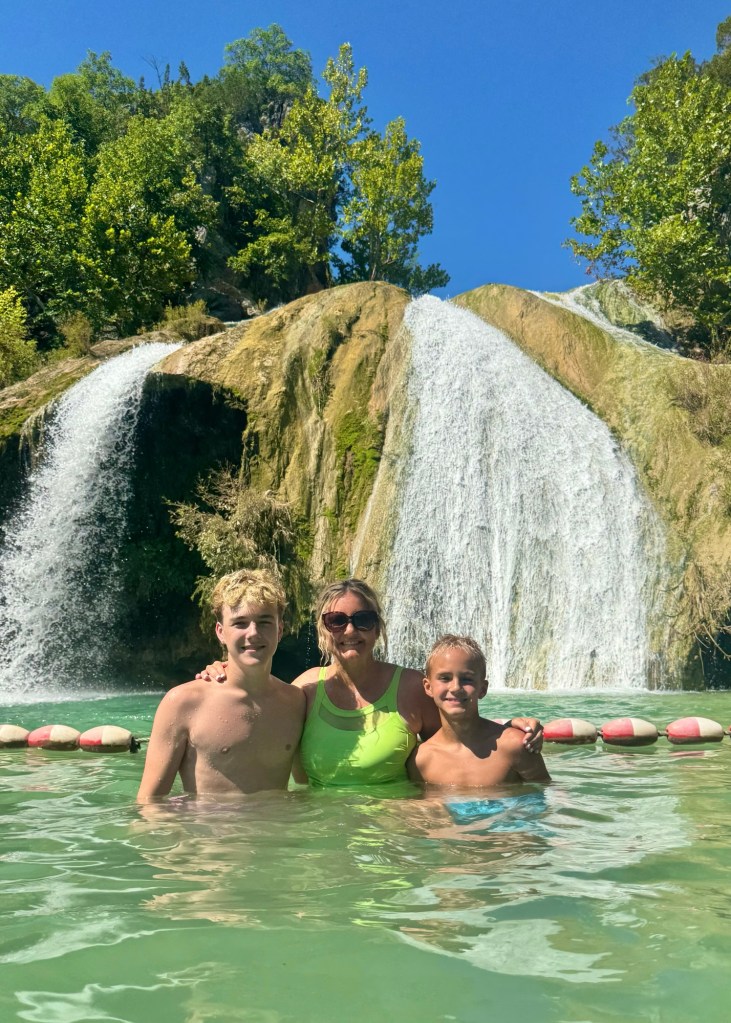
In warmer weather, the swimming areas make this especially fun for families. You’ll also find caves, trails and the ruins of Collings Castle to explore.
Natural Falls State Park
Head farther northeast and Oklahoma gets surprisingly green.
Natural Falls State Park features a beautiful 77-foot waterfall surrounded by lush vegetation. It’s a completely different Oklahoma experience from the Wichita Mountains.
Alabaster Caverns State Park
Here’s another Oklahoma surprise: you can go underground.
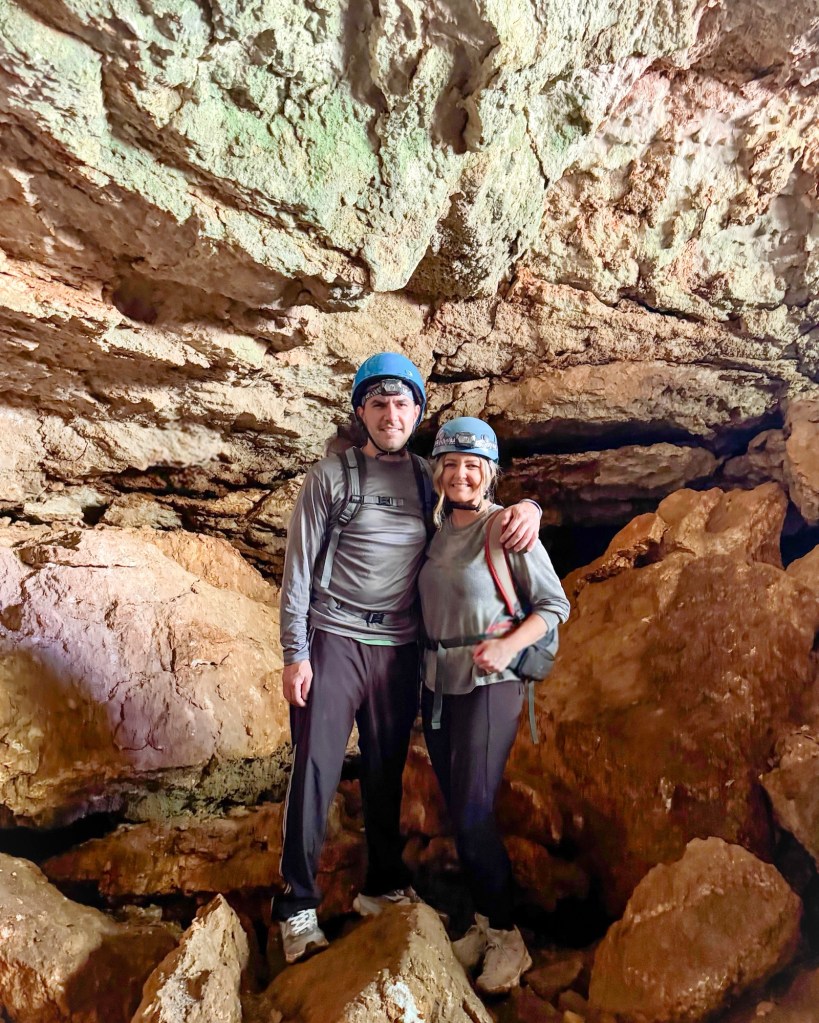
Alabaster Caverns State Park is home to a gypsum cave system and makes a really unique addition to an Oklahoma road trip.
How I’d Plan It
I wouldn’t try to combine all four into one rushed weekend because they’re spread across the state.
Instead, use these as building blocks for multiple Oklahoma road trips from Dallas. Wichita Mountains + Turner Falls works particularly well for a shorter trip, while Natural Falls and Alabaster Caverns can anchor separate Oklahoma adventures.
4. New Mexico Road Trip
Best for: 4–7 days Drive time from Dallas: Approximately 7–10+ hours depending on your first destination Highlights: Deserts • Caves • Ancient Landscapes • National Parks
New Mexico might be one of the most underrated road-trip states near Texas.
And it’s not just desert.
Within one road trip you can walk across bright white gypsum dunes, descend deep underground into enormous caverns, explore ancient Pueblo history and hike through unusual volcanic landscapes.
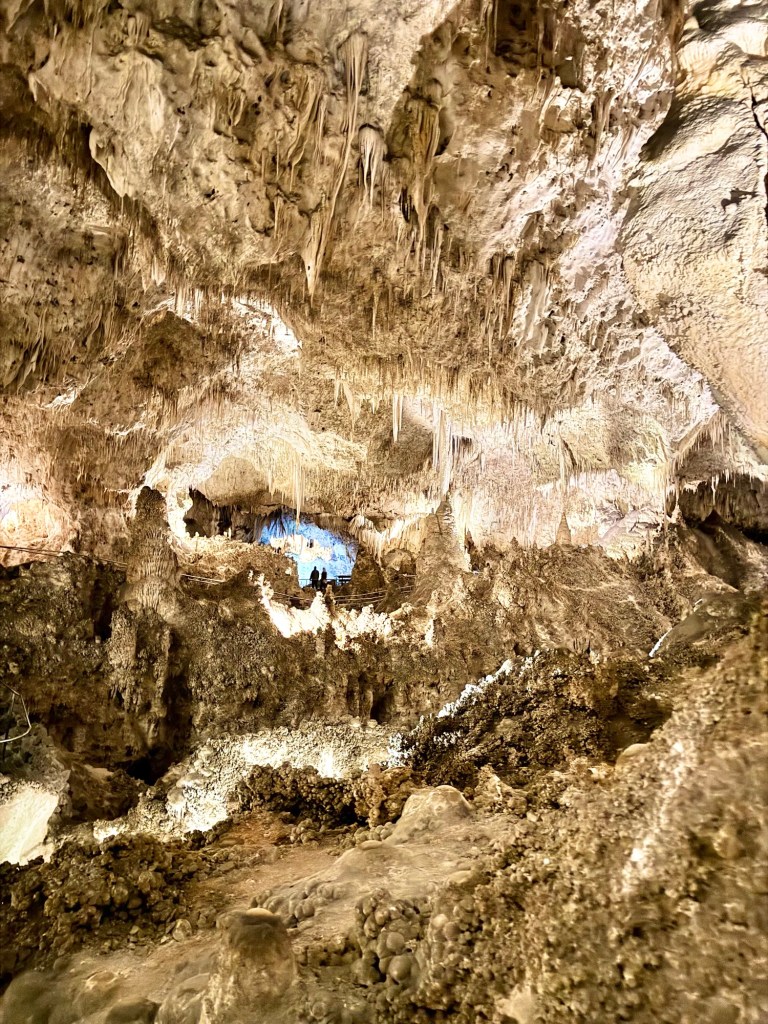
Carlsbad Caverns National Park
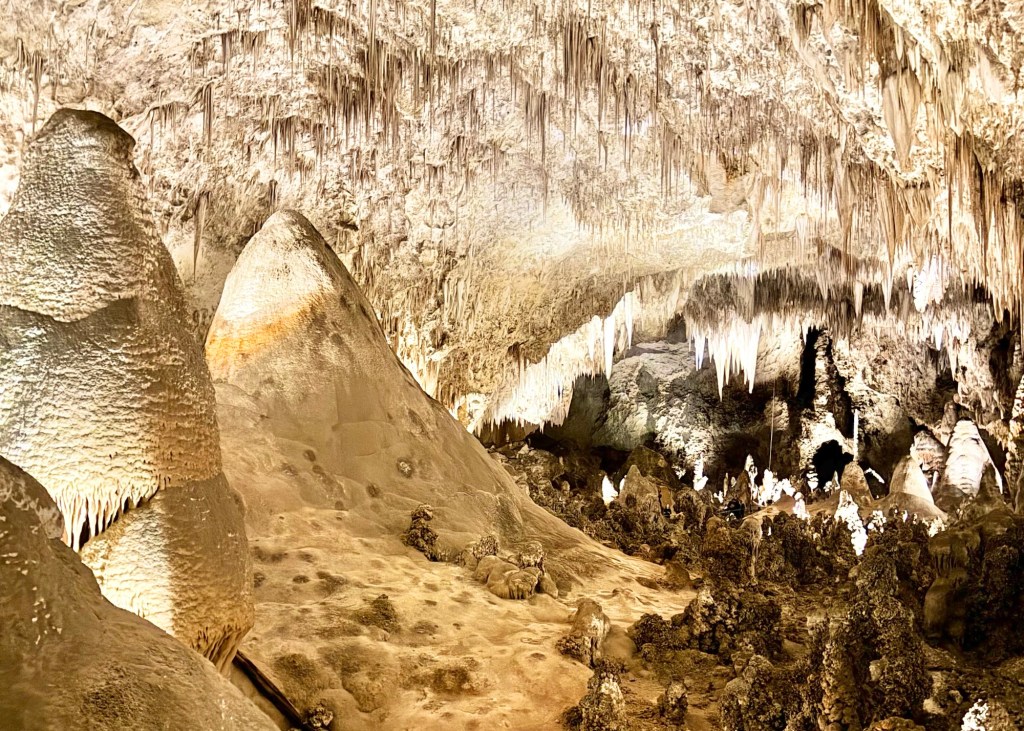
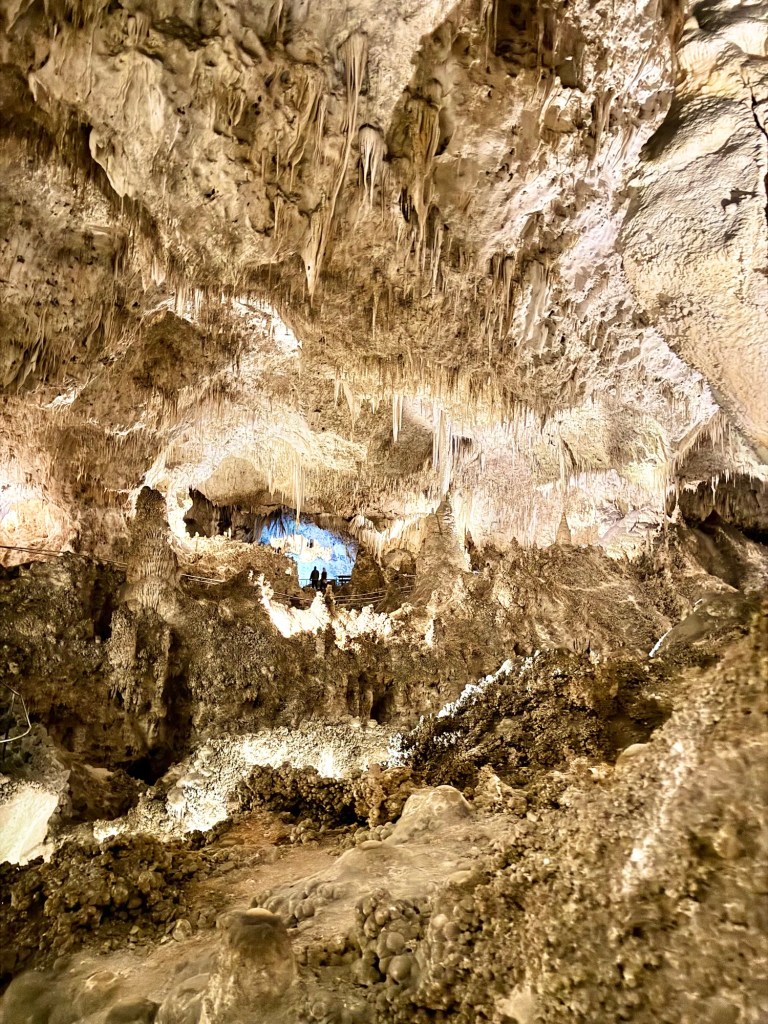
Carlsbad Caverns is one of those places that’s hard to appreciate until you’re actually standing inside it.
The caverns are enormous.
If you’re able, I recommend entering through the Natural Entrance rather than only taking the elevator down. Once inside, explore the Big Room before taking the elevator back to the surface.
White Sands National Park
White Sands looks like snow in the middle of the desert.
Miles of brilliant white gypsum dunes stretch toward the mountains, creating one of the most unusual landscapes in the Southwest.
Bring or buy a sled because sledding down the dunes is part of the fun.
Sunset here is incredible.
Bandelier National Monument
Bandelier combines outdoor adventure with fascinating history.
Trails lead through Frijoles Canyon past ancestral Pueblo structures, cliff dwellings and petroglyphs.
One of the things we loved about Bandelier was that it felt completely different from White Sands and Carlsbad despite being part of the same New Mexico trip.
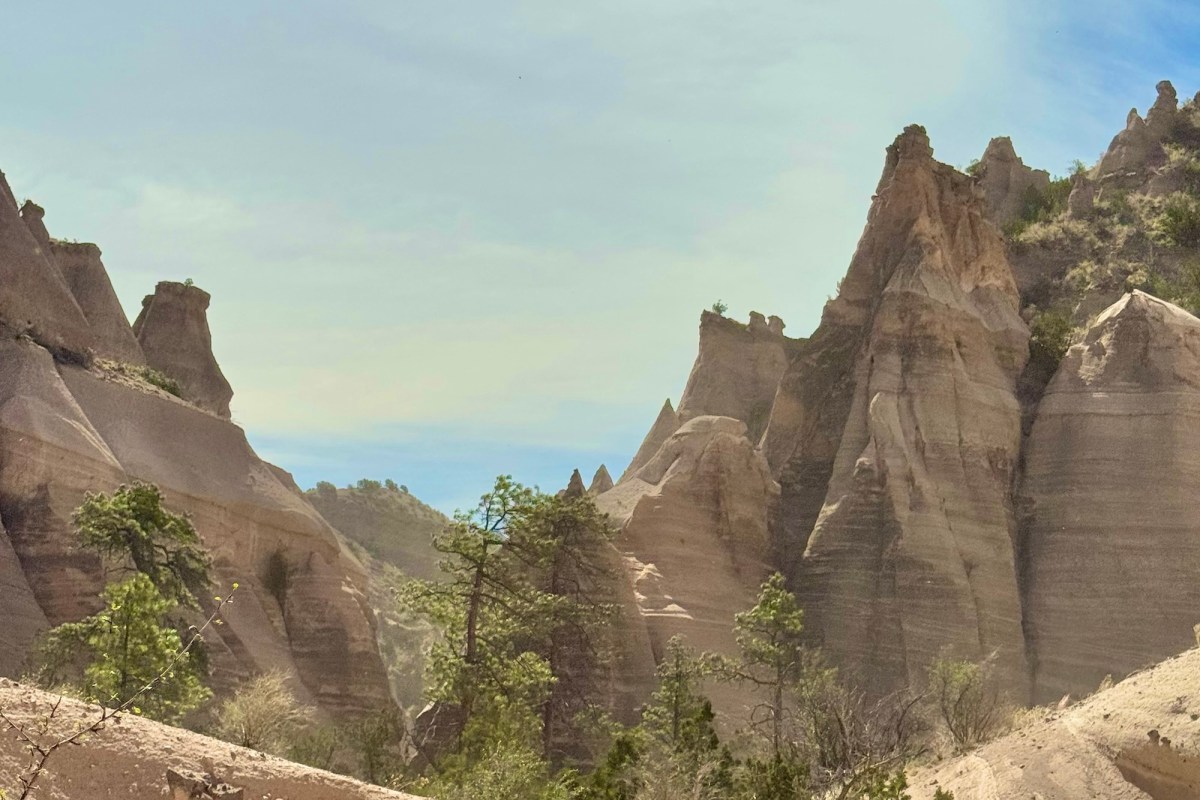
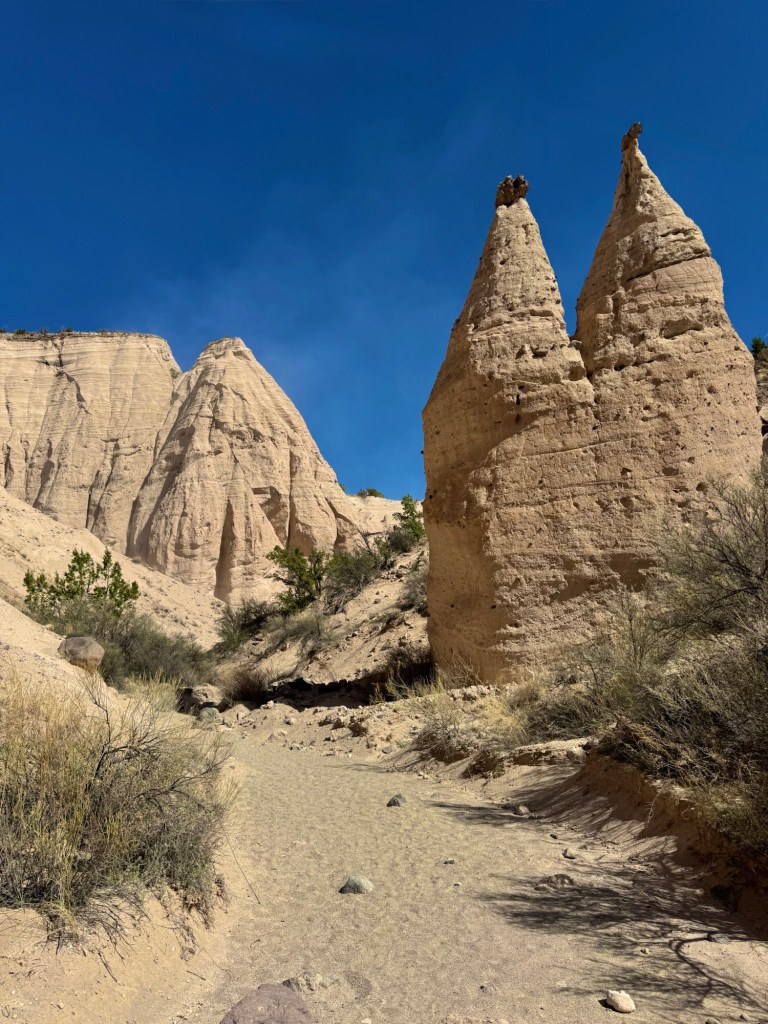
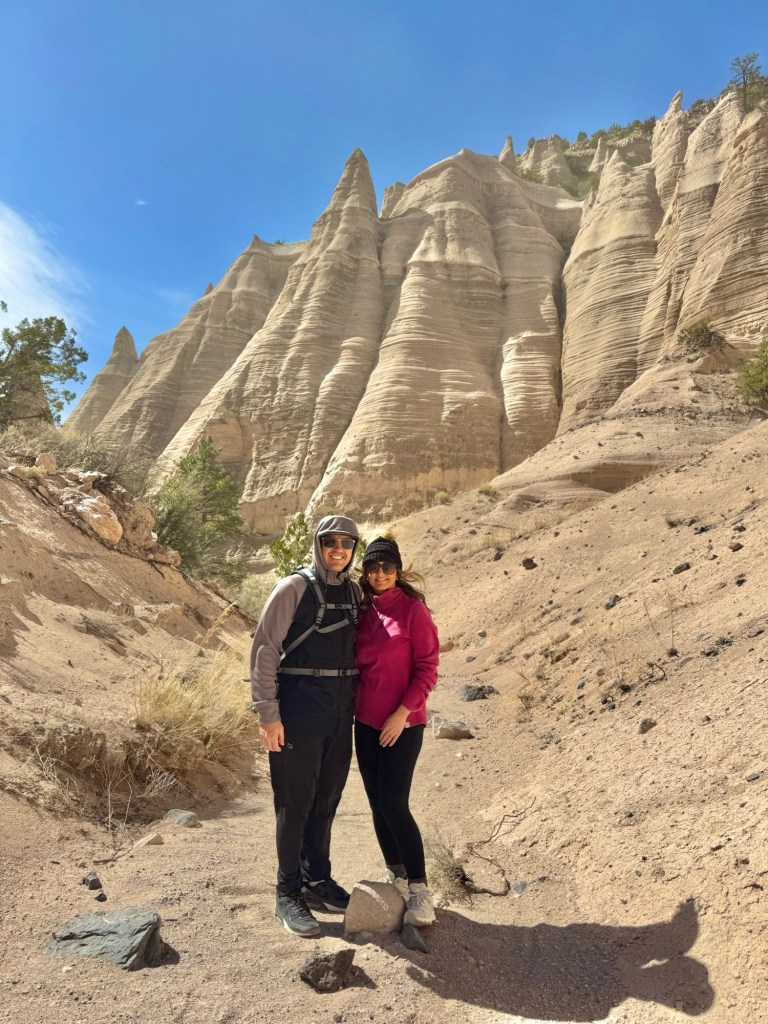
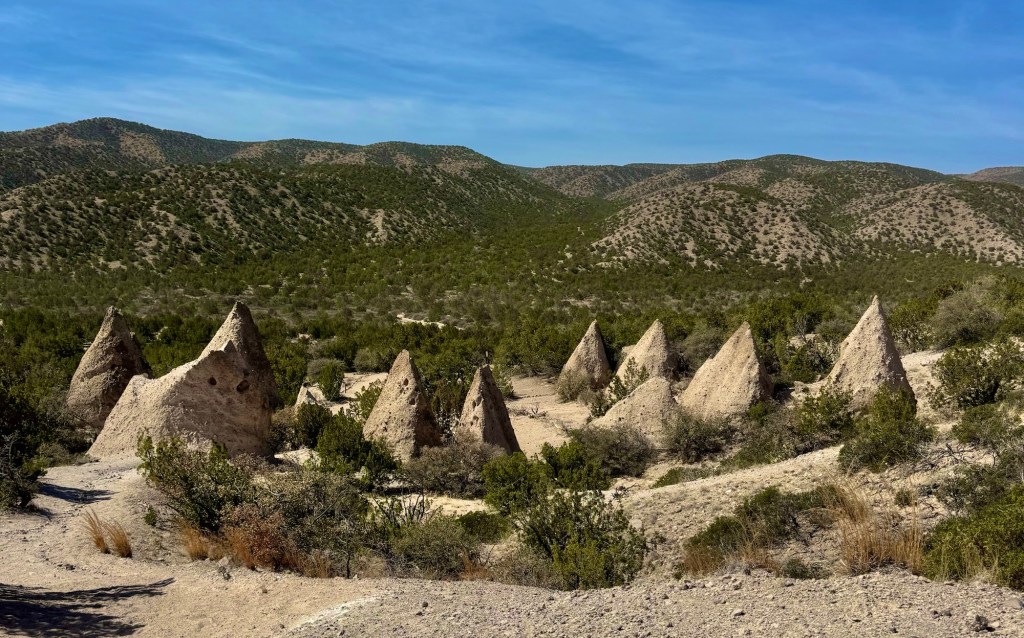
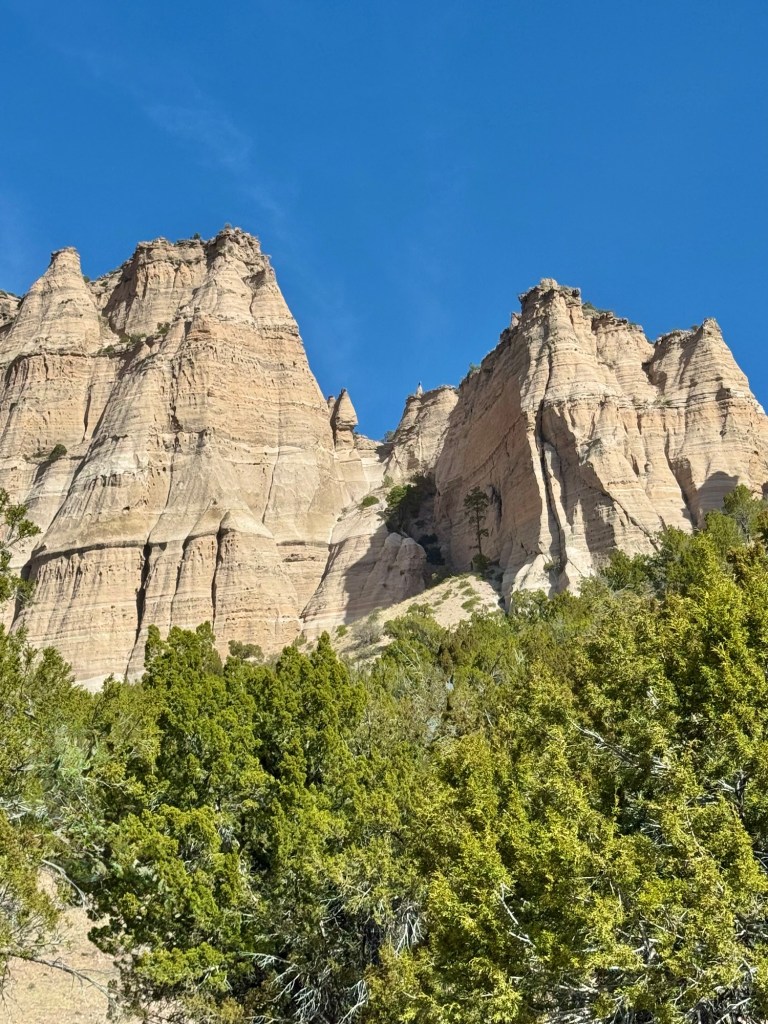
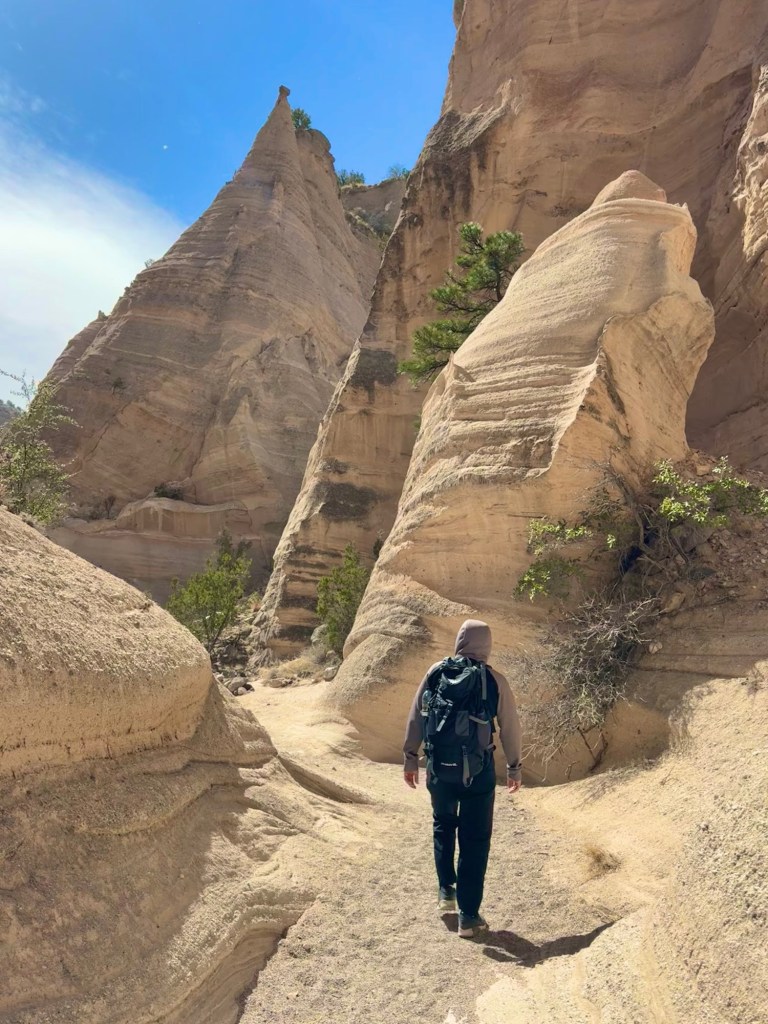
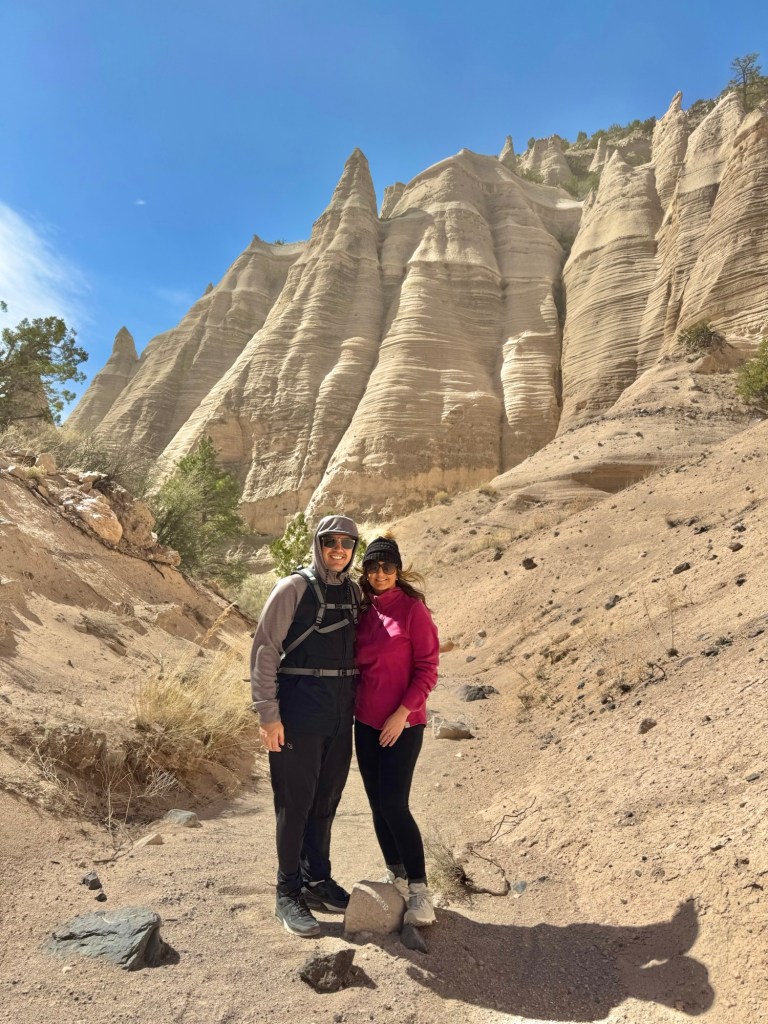
Kasha-Katuwe Tent Rocks National Monument
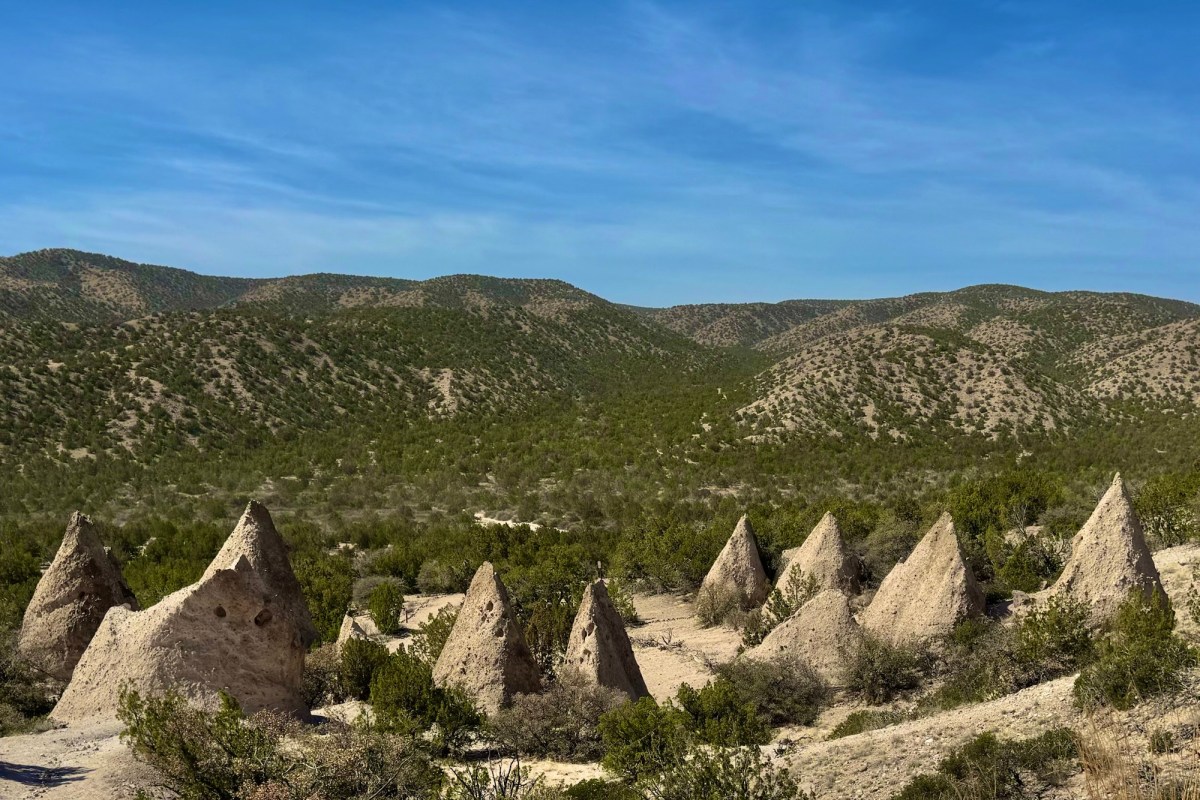
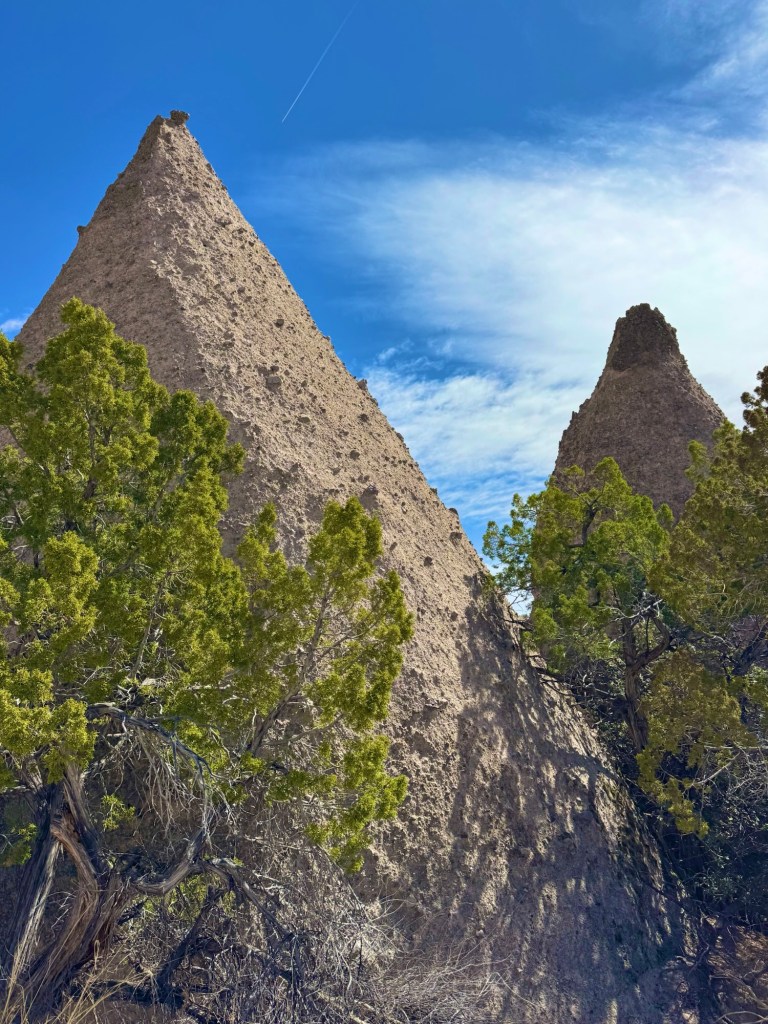
Tent Rocks is another landscape that doesn’t quite look real.
Cone-shaped rock formations rise from the desert, and the area is known for its unique geology and beautiful scenery.
Important: Access, hours and reservation requirements at Tent Rocks have changed over the years, so check current visiting information before building it into your itinerary.
How I’d Plan It
For a larger New Mexico loop from Dallas, consider:
You could also pair Carlsbad Caverns with nearby Guadalupe Mountains National Park in Texas.
5. Colorado Road Trip
Best for: 4–7+ days Drive time from Dallas: Approximately 10–14+ hours depending on destination Highlights: Mountains • National Parks • Scenic Drives • Mountain Towns
If we’re talking about road trips that are truly worth the drive from Texas, Colorado has to be on the list.
Colorado gives you the dramatic mountain scenery that we simply don’t have in North Texas—and summer can provide a welcome break from the Texas heat.
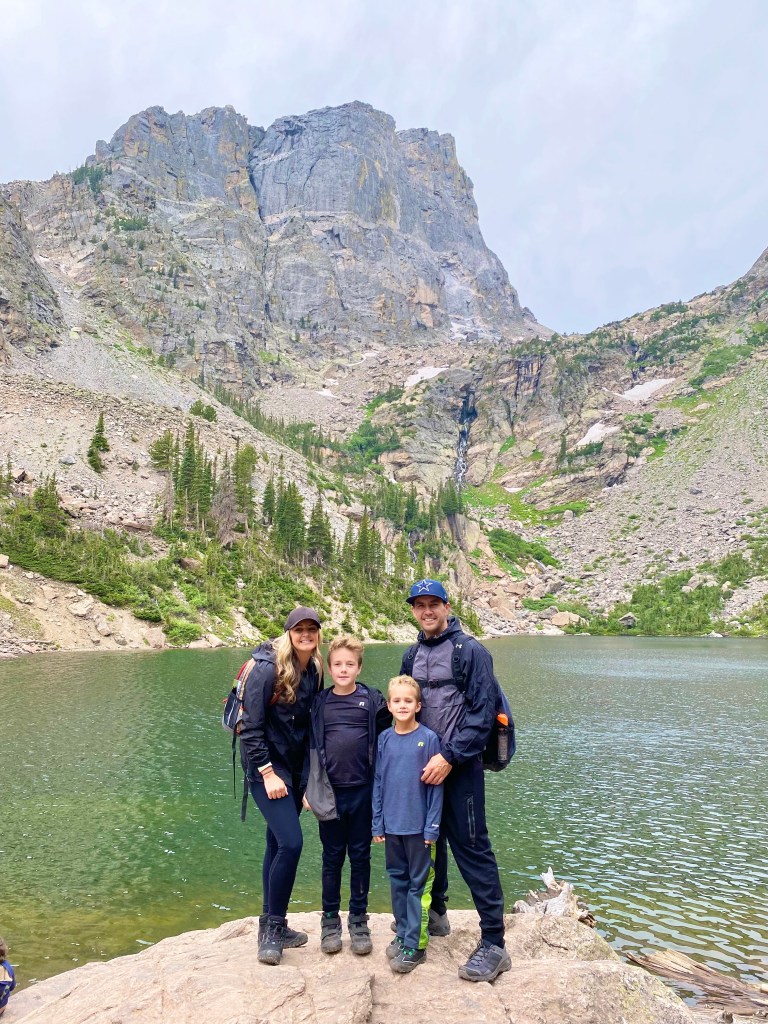
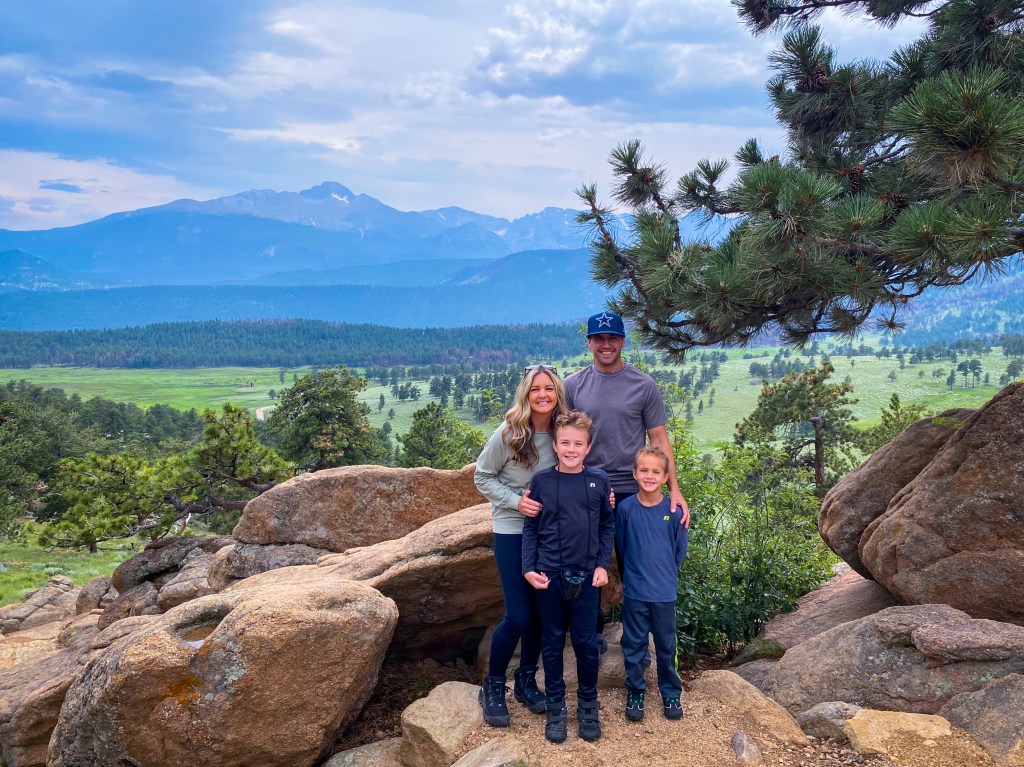
Rocky Mountain National Park
Rocky Mountain National Park is an obvious Colorado bucket-list stop for a reason.
Spend a day driving Trail Ridge Road, look for elk and other wildlife, and choose a hike around Bear Lake or one of the park’s many other trails.
Estes Park makes a convenient base for exploring the park.
Estes Park
Don’t treat Estes Park as just the gateway to RMNP.
Walk downtown, enjoy the mountain views and give yourself time to slow down between adventures.
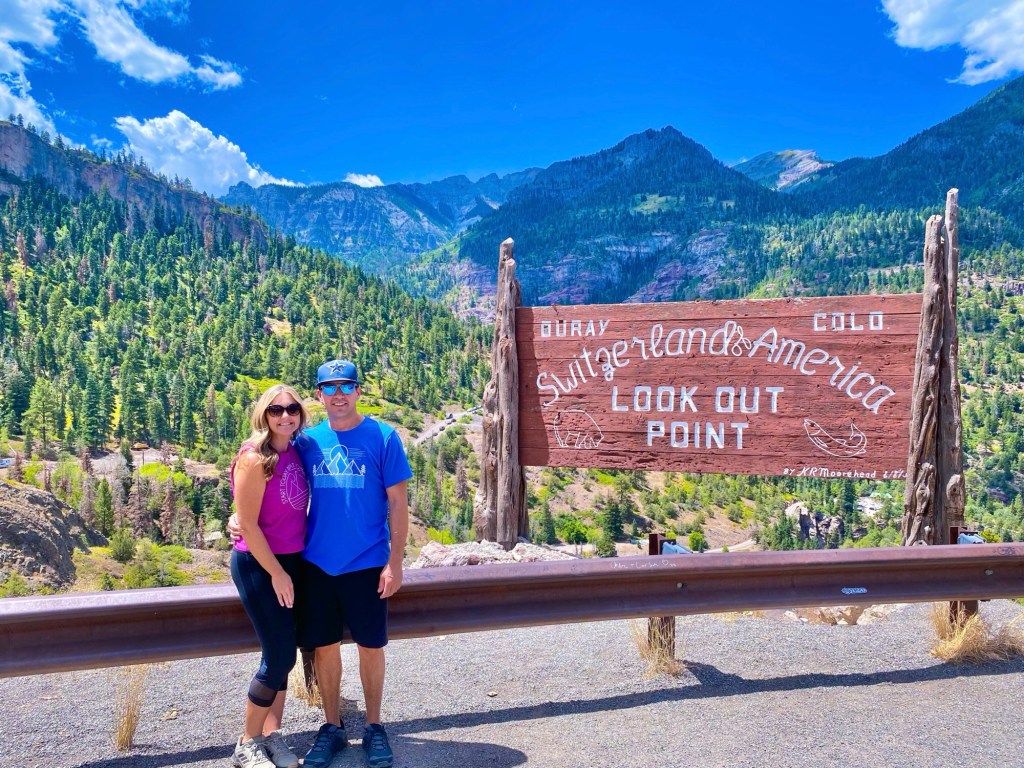
Ouray
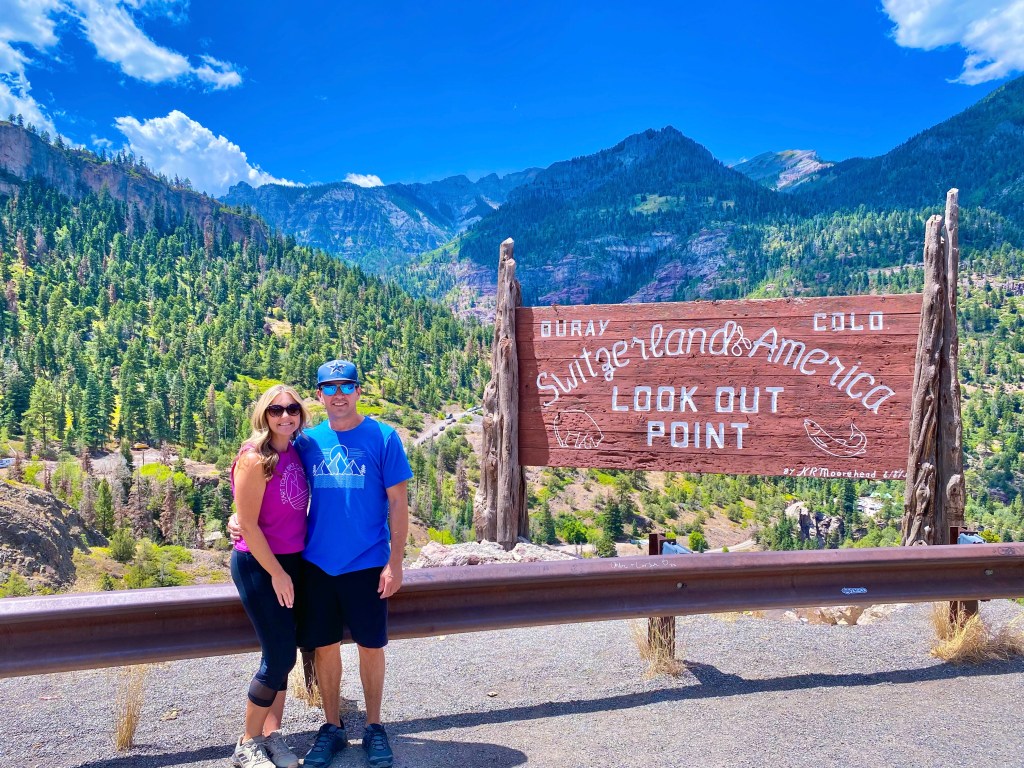
Ouray might be one of my favorite Colorado mountain towns.
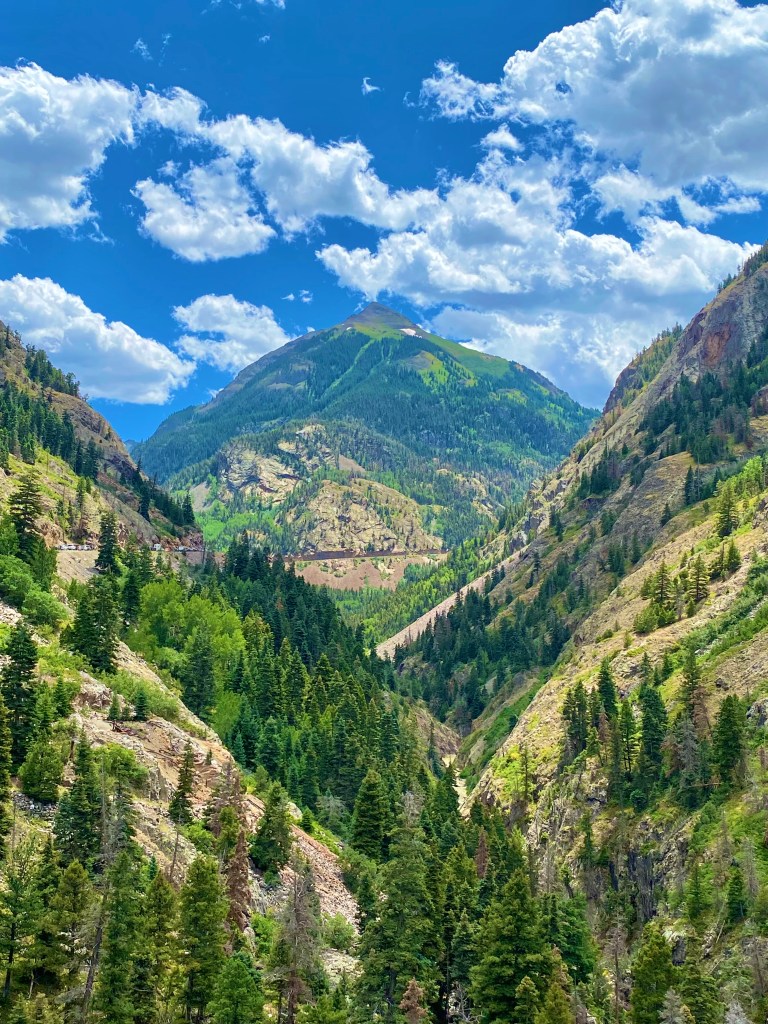
Nicknamed the Switzerland of America, it’s surrounded by mountains and waterfalls.
If you’re road-tripping through southwest Colorado, the drive itself becomes part of the experience.
Telluride
Telluride combines a gorgeous mountain setting with one of Colorado’s most recognizable mountain-town experiences.
Ride the gondola, explore downtown and take in the views.
Durango
Durango makes another great base for southwest Colorado, particularly if you’re combining mountain scenery with other destinations in the Four Corners region.
How I’d Plan It
Colorado is another state where I’d choose a region instead of trying to see everything.
For a shorter trip, concentrate on Estes Park + Rocky Mountain National Park.
With a full week, southwest Colorado—Ouray + Telluride + Durango—makes an incredible road trip of its own.
6. Utah Road Trip
Best for: 5–7+ days Drive time from Dallas: Approximately 14–17+ hours depending on destination Highlights: National Parks • Red Rocks • Scenic Drives • Incredible Hikes
Utah is the road trip you take when you’re ready to go BIG.
The landscapes are almost ridiculous—in the best possible way.
Utah has five national parks, and each one feels completely different from the others.
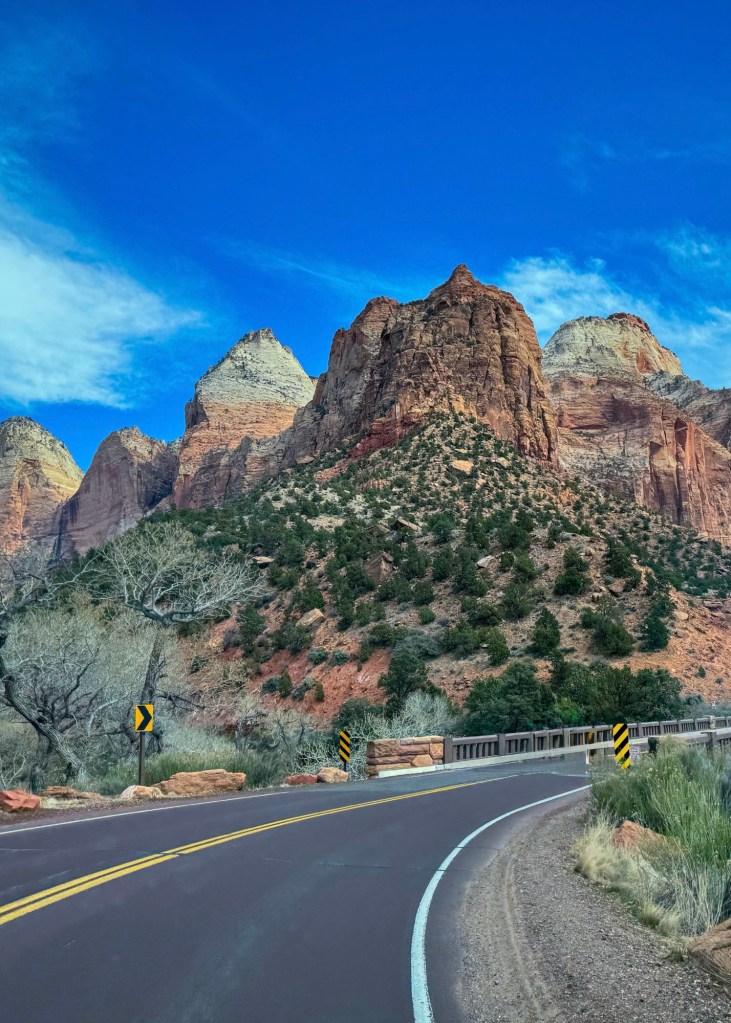
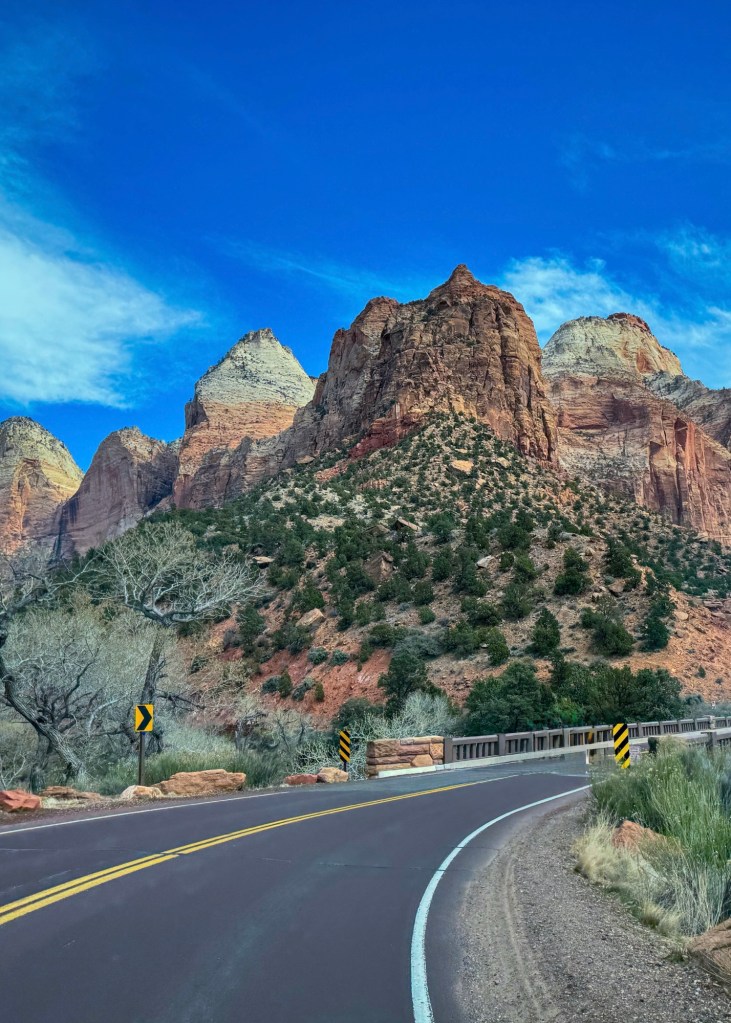
Zion National Park
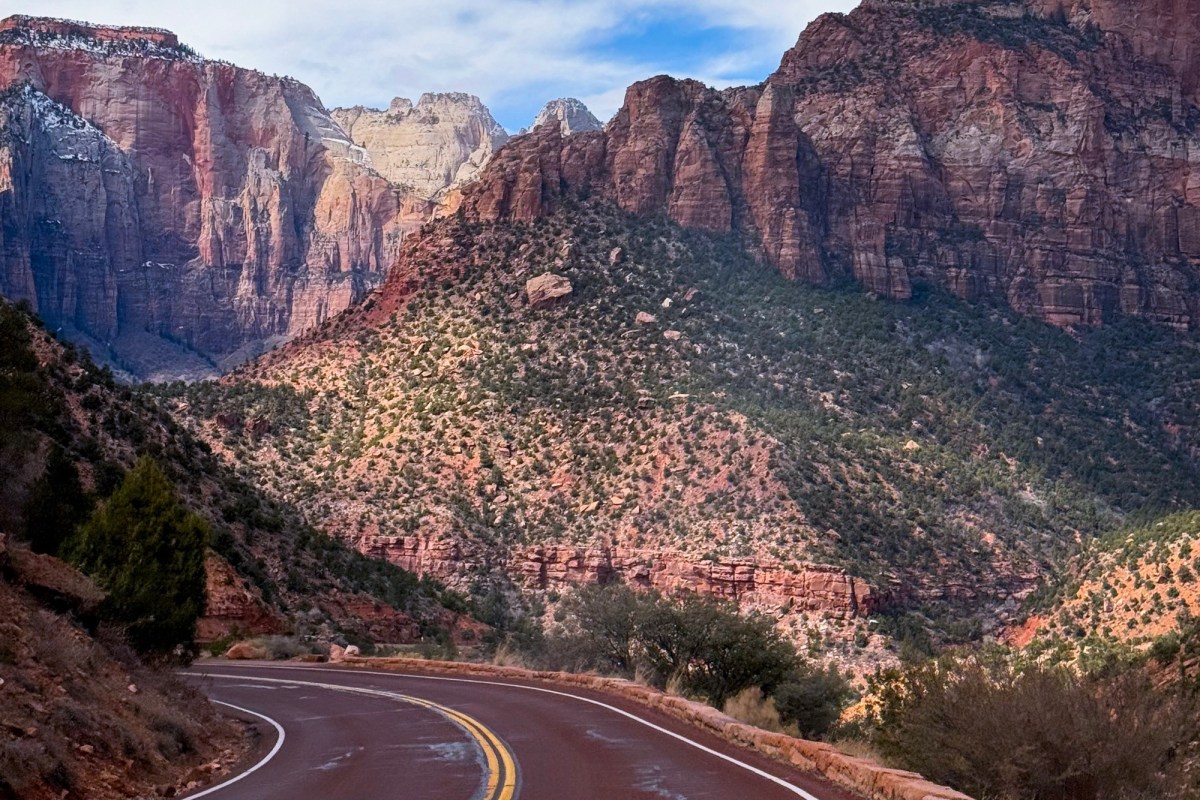
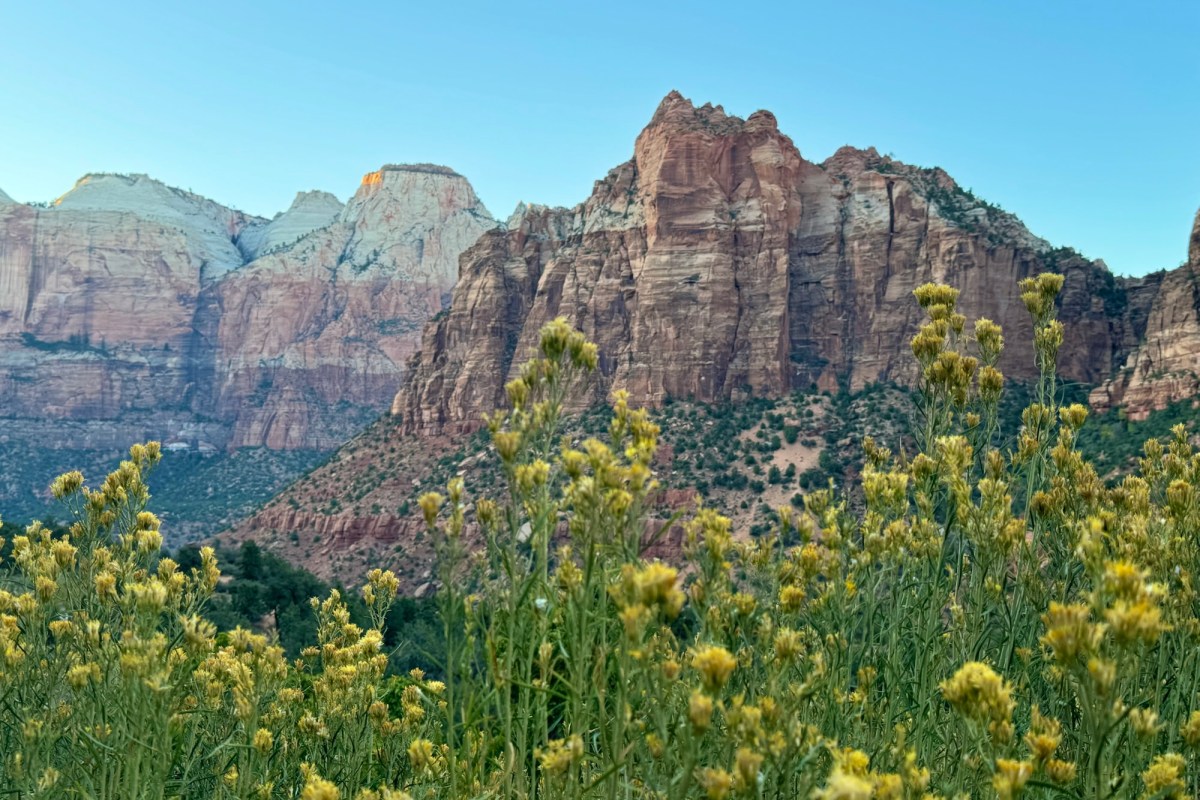
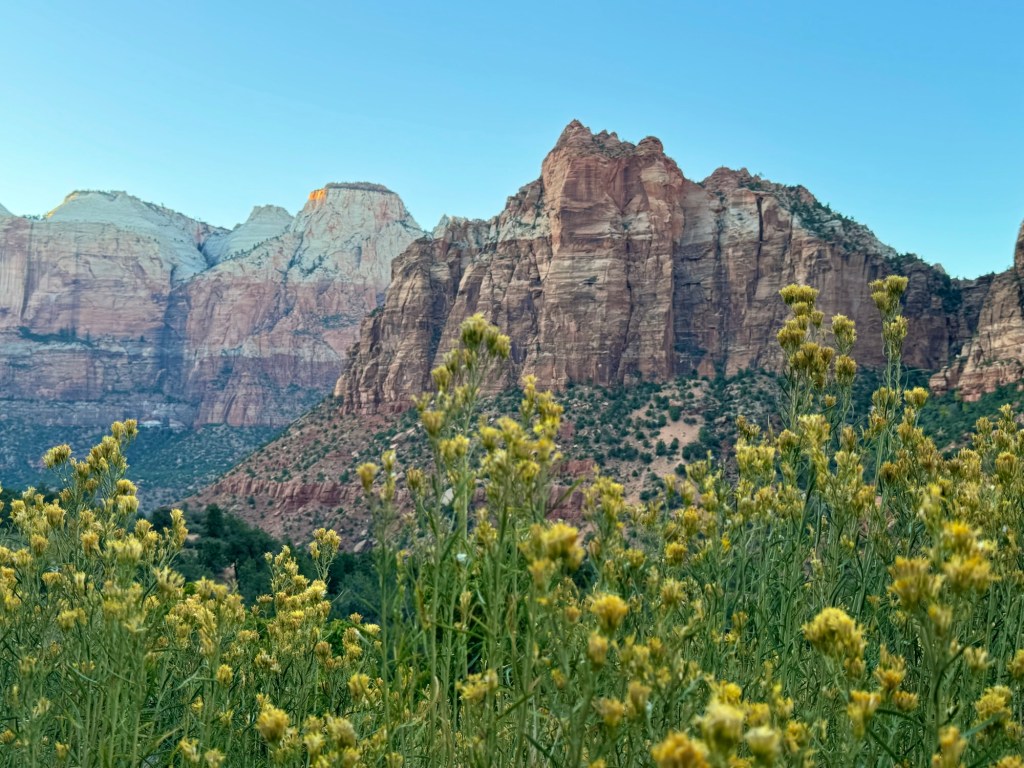
Zion is spectacular from the moment you drive into the park.
Towering canyon walls surround you, and there are hikes ranging from relatively easy walks to bucket-list adventures.
Even simply driving through the area is unforgettable.
Bryce Canyon National Park
Bryce Canyon’s hoodoos make it unlike anywhere else on this list.
Walk along the rim, but if you’re able, hike down into the amphitheater. Seeing the formations from below gives you an entirely different perspective.
Arches National Park
Arches is home to more than 2,000 documented natural stone arches.
Delicate Arch may be the icon, but there are formations and viewpoints throughout the park worth exploring.
Canyonlands National Park
Canyonlands feels enormous and wild.
If you’re staying around Moab, the Island in the Sky district makes it relatively easy to combine Canyonlands with Arches.
Capitol Reef National Park
Capitol Reef sometimes gets overshadowed by Utah’s better-known national parks, which is exactly why I think it deserves a spot on a road trip.
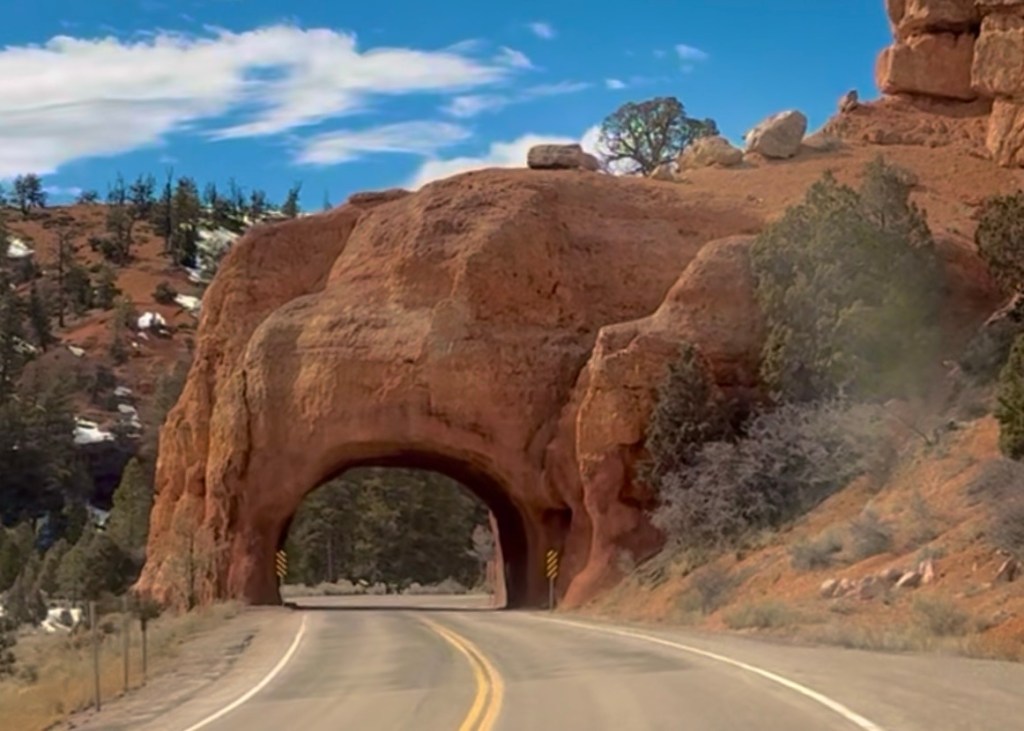
The scenic drives, red-rock formations and relative quiet make it a great addition between Bryce Canyon and the Moab area.
If you only have 5–7 days including your drive from Texas, I would not try to cram all five parks into the trip. Pick two or three and actually enjoy them.
Which Road Trip From Dallas Should You Choose?
If you only have a weekend, start with Texas or Oklahoma.
If you have 4–5 days, look at New Mexico or one region of Colorado.
If you have a full week, Arizona, Colorado or Utah become much more realistic.
And if you’re looking for the biggest Southwest road-trip adventure, it’s hard to beat Arizona or Utah.
But here’s the thing I’ve learned after years of road trips:
You don’t need two weeks of vacation or a plane ticket to have an incredible adventure.
Sometimes you just need a few days, a full tank of gas and somewhere new to point the car.
Road Trip Tips From a Texas Family Who Actually Drives These Routes
Start early. We often leave Dallas early enough that the first long driving day still gets us somewhere interesting by afternoon or evening.
Don’t judge a road trip only by the final destination. Some of our favorite memories have happened at stops we added along the way.
Build in breathing room. Trying to check off every attraction usually makes a road trip less enjoyable, not more.
Download offline maps. Cell service can disappear quickly in national parks and remote areas of the Southwest.
Check park requirements before leaving. National park reservations, timed-entry systems, road closures and shuttle requirements can change.
Pack for changing weather. Desert temperatures can swing dramatically, and mountain weather can change quickly.
Let the drive be part of the trip. Scenic highways, roadside stops and unexpected detours are part of why we road trip in the first place.
Ready to Hit the Road?
Whether you have a three-day weekend or an entire week, there are so many incredible road trips from Dallas, Texas that don’t require getting on an airplane.
Start close to home with Texas or Oklahoma, head west into New Mexico, or make the longer drive to Colorado, Arizona or Utah.
We’ve made some of our favorite family memories on these roads—and there are still plenty more left to explore.
Which road trip would you take first?
Save this guide for later, send it to your favorite road-trip partner, and follow Road Trip Queen for more real road trips from Texas.
Looking for an unforgettable weekend getaway without spending all day in the car? These five destinations are all less than four hours from Dallas and offer everything from waterfalls and wildlife to kayaking, cabins, hiking, and charming Texas towns.
Whether you’re planning a quick day trip or a full weekend adventure, here’s everything you need to know before you go!
1. Wichita Mountains Wildlife Refuge (Oklahoma)
🕒 Drive Time: Approximately 3 hours from Dallas
Why You’ll Love It
If you’ve ever wanted to see wild bison roaming freely, climb granite mountains, or watch a Texas sunset from the top of a peak, this is the place.
Best Things to Do
Drive the Wildlife Loop to see bison, elk, prairie dogs, and longhorn cattle
Hike Elk Mountain Trail
Summit Mount Scott for incredible panoramic views
Explore The Narrows hiking area
Visit Parallel Forest
Swim or picnic at Lake Lawtonka
Favorite Tips
Visit early in the morning for the best wildlife viewing.
Keep a safe distance from bison—they are wild animals.
Cell service can be limited throughout the refuge.
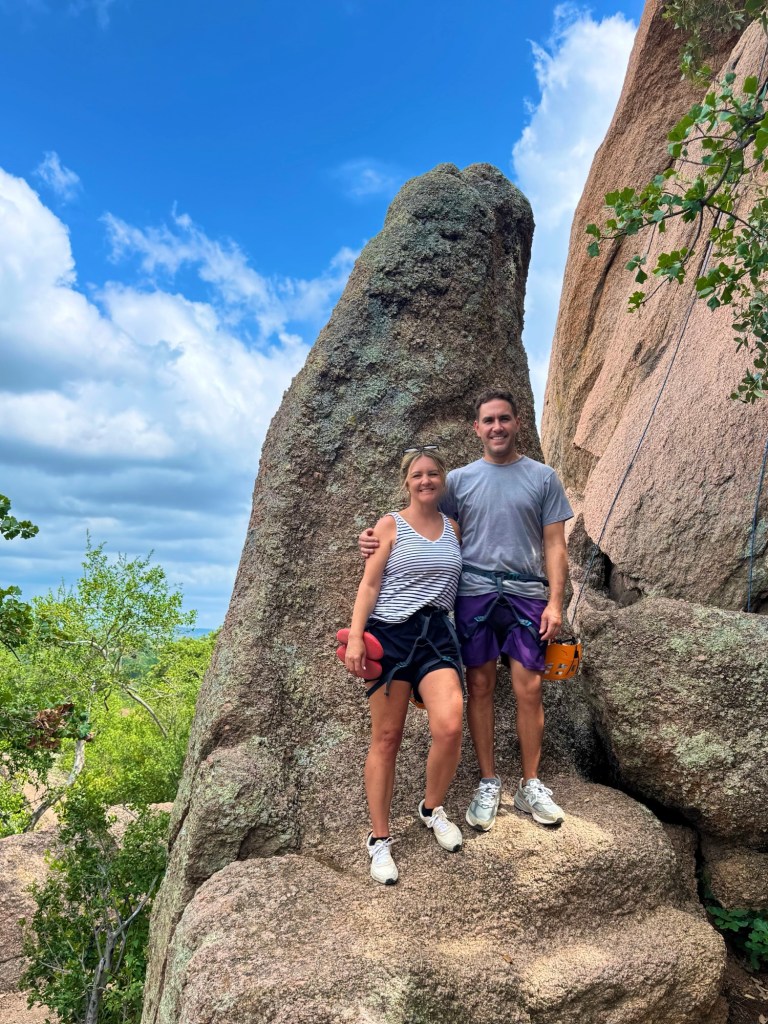
If you’re visiting Llano, don’t miss a guided climbing adventure at Rock About Climbing Adventures.
Whether you’re a complete beginner or an experienced climber, their guides provide all the equipment and instruction you need for an unforgettable experience at Enchanted Rock. It was easily one of the highlights of our Hill Country road trip.
You don’t have to drive eight hours to experience an incredible adventure. From swimming beneath Oklahoma’s tallest waterfall to kayaking across crystal-clear Texas lakes and spotting wild bison roaming free, these five destinations prove that some of the best road trips from Dallas are only a few hours away.
Which destination is first on your list? Let me know in the comments!
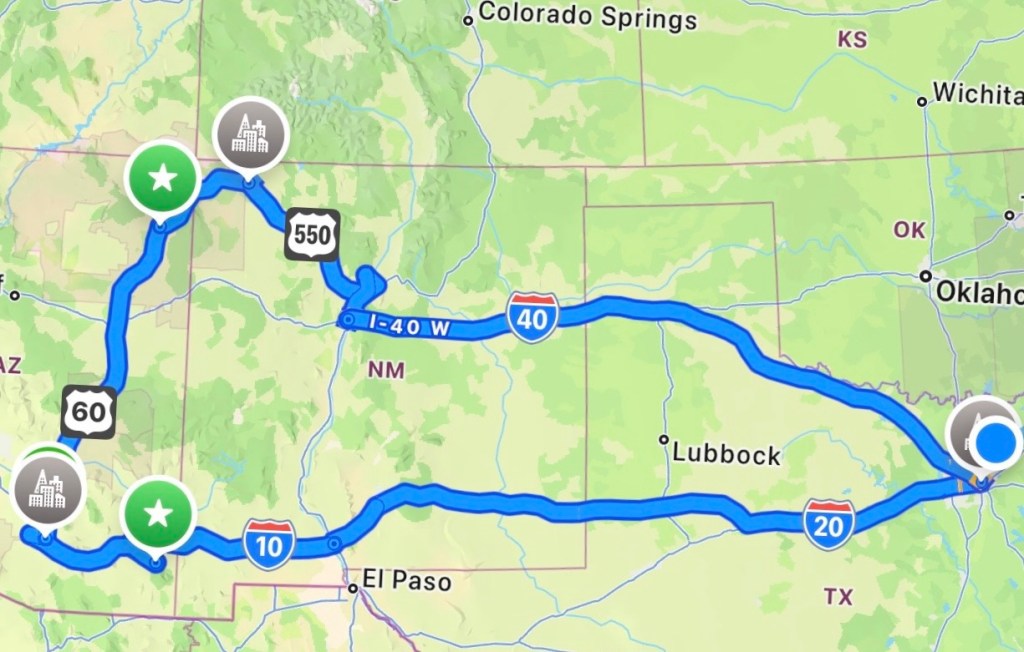
If you’re looking for an unforgettable road trip from Dallas packed with caves, mountains, white sand dunes, slot canyons, cliff dwellings, and one of the most beautiful canyons in Texas, this Southwest loop needs to be on your list.
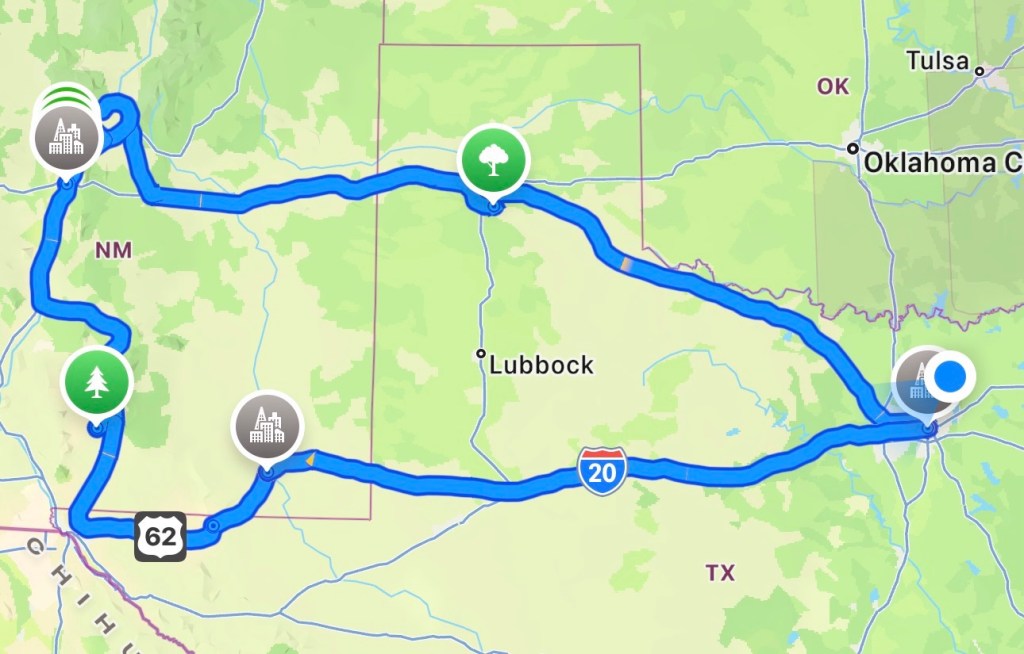
This itinerary takes you from Dallas through some of the best stops in West Texas and New Mexico, including Carlsbad Caverns, Guadalupe Mountains National Park, White Sands National Park, Kasha-Katuwe Tent Rocks, Bandelier National Monument, and Palo Duro Canyon.
It’s the perfect road trip for families, national park lovers, hikers, and anyone who wants a big adventure without flying.
Ultimate Southwest Loop Route from Dallas
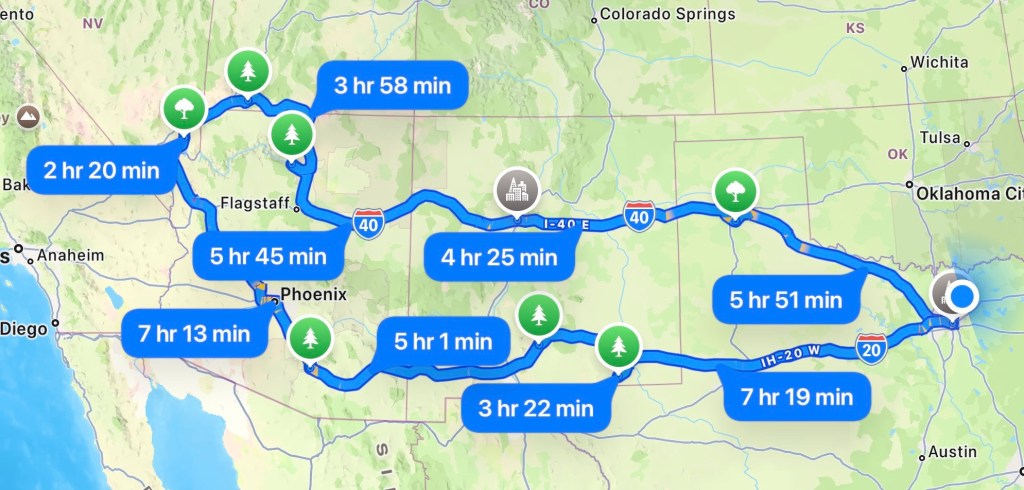
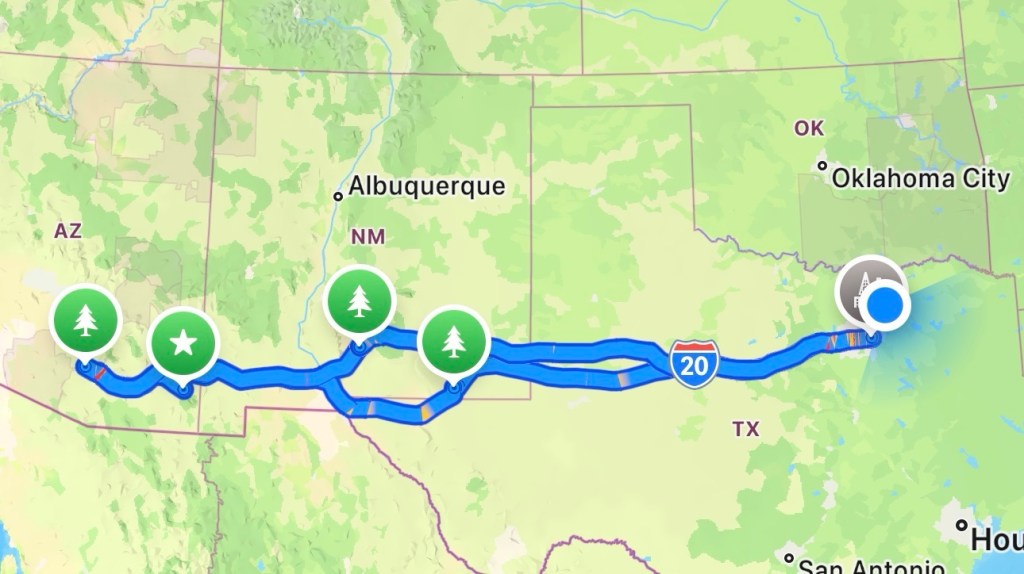
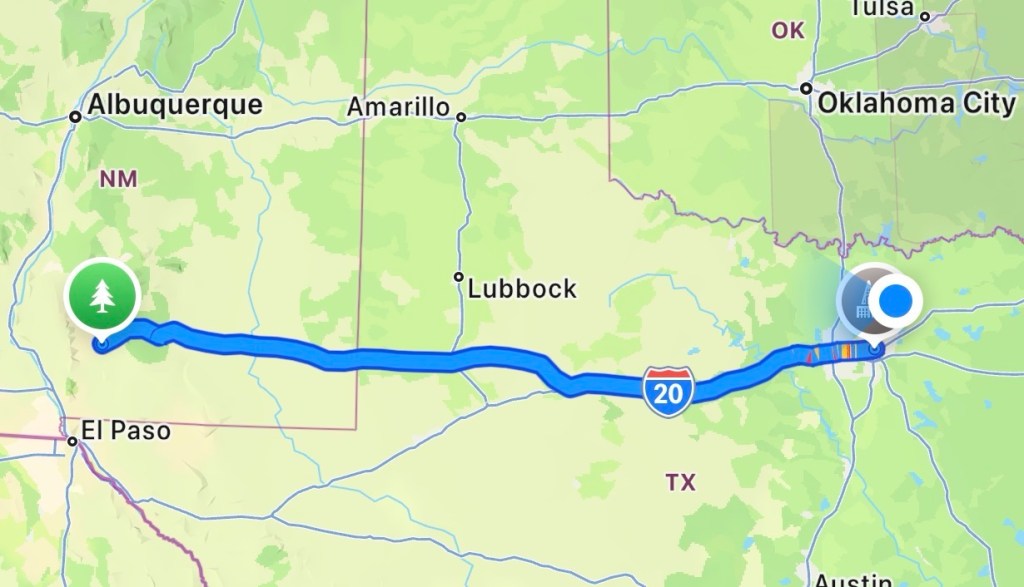
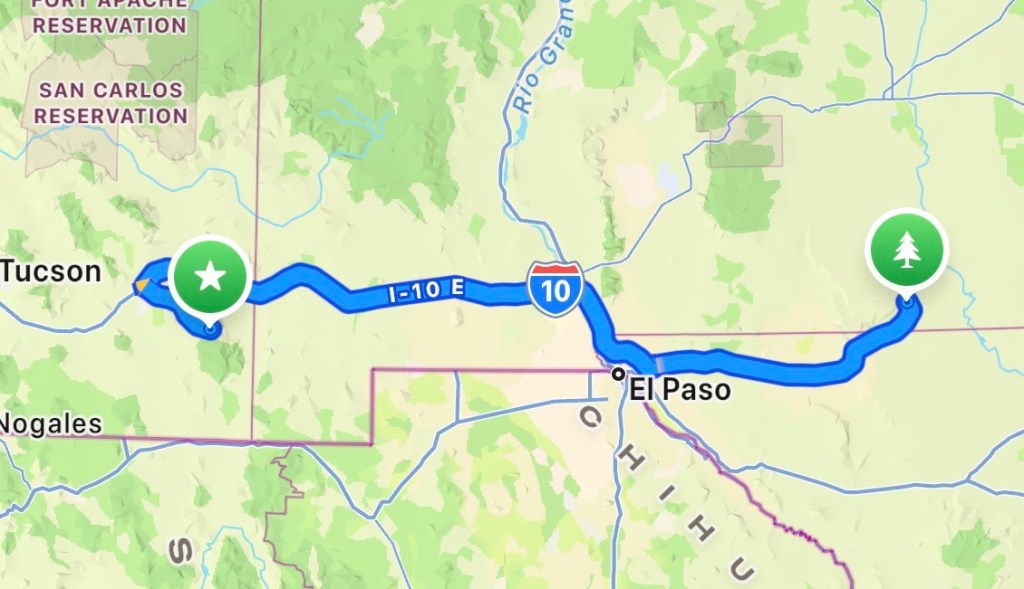
Route: Dallas, TX → Carlsbad, NM → Guadalupe Mountains National Park → Alamogordo, NM → Tent Rocks → Bandelier National Monument → Palo Duro Canyon → Dallas, TX
Best trip length: 7–9 days Best time to go: Spring or fall Total drive time: About 27–30 hours, depending on exact hotels and detours Best for: Families, hiking, national parks, scenic drives, caves, and unique landscapes
Day 1: Drive from Dallas to Carlsbad, New Mexico
Start your trip with the long drive from Dallas to Carlsbad, New Mexico. This is the biggest driving day on the front end, so pack snacks, download movies or podcasts, and leave as early as possible.
Drive time from Dallas to Carlsbad: About 7.5–8 hours
Where to Stay in Carlsbad
Carlsbad is the best base for visiting Carlsbad Caverns and Guadalupe Mountains National Park.
Good options to check:
Hyatt House Carlsbad
Hampton Inn & Suites Carlsbad
Home2 Suites by Hilton Carlsbad
The Trinity Hotel if you want something more unique
Where to Eat in Carlsbad
YellowBrix Restaurant
Blue House Bakery & Cafe
The Trinity Hotel Restaurant
Guadalupe Mountain Brewing Company
Travel Tip
Get to Carlsbad before dinner if possible. You’ll want to rest up because the next two days include two major park stops.
Carlsbad Caverns is one of the most unique national parks in the country because the main attraction is underground. The cave is massive, and the Big Room is absolutely worth the trip.
Must Do
Walk the Big Room Trail
Take the Natural Entrance Trail if your family is up for a steeper walk
Watch the Bat Flight Program if you visit during bat season
Stop at the visitor center for park info and passport stamps
How Much Time Do You Need?
Plan for at least half a day at Carlsbad Caverns. If you want to do the Natural Entrance and Big Room, give yourself 3–4 hours.
Best Tips for Visiting Carlsbad Caverns
Reserve cave entry ahead of time if required.
Bring a light jacket because the cave stays cool.
Wear comfortable shoes with good traction.
Do not bring food into the cave.
Check bat flight season before planning your evening.
Optional Add-On
If you finish early, you can explore more of Carlsbad or take a short scenic drive near the park.
Guadalupe Mountains National Park is about an hour from Carlsbad and is home to the highest point in Texas. This park is rugged, beautiful, and much less crowded than many other national parks.
Drive time from Carlsbad to Guadalupe Mountains: About 1 hour
Must Do
Hike Devil’s Hall Trail
Hike Guadalupe Peak if you want a major challenge
Visit the Pine Springs Visitor Center
Explore McKittrick Canyon if you have extra time
Best Hikes
Devil’s Hall Trail A great option if you want a memorable hike without committing to Guadalupe Peak. Expect rocky sections and some scrambling.
Guadalupe Peak Trail This is the big one. It takes you to the highest point in Texas, but it is strenuous and best for experienced hikers or older kids/teens who are prepared.
McKittrick Canyon Beautiful in the fall and a great option if you want something scenic and less intense than Guadalupe Peak.
Where to Stay
You can either stay another night in Carlsbad or drive toward Alamogordo after your hike.
If you want a less stressful day, stay in Carlsbad again. If you want to get ahead for White Sands, drive to Alamogordo in the evening.
Drive time from Guadalupe Mountains to Alamogordo: About 3.5 hours
White Sands National Park is one of the most magical places in New Mexico. The bright white gypsum dunes look like snow, but it’s actually sand.
Best base: Alamogordo, NM
Must Do
Go sledding on the dunes
Drive Dunes Drive
Stay for sunset
Walk the Interdune Boardwalk
Take photos during golden hour
Where to Stay in Alamogordo
Hampton Inn Alamogordo
Home2 Suites by Hilton Alamogordo
The Classic Desert Aire Hotel
White Sands Motel
Where to Eat in Alamogordo
D.H. Lescombes Winery & Bistro
Rizo’s Mexican Restaurant
CJ’s Si Señor Restaurant
Caliche’s Frozen Custard
Best Tips for White Sands
Buy or bring a sled.
Wax the sled for better sliding.
Go early morning or late afternoon to avoid the heat.
Bring sunglasses because the white sand is bright.
Pack water, sunscreen, and snacks.
Sunset is one of the best times to visit.
Optional Add-Ons Near Alamogordo
New Mexico Museum of Space History
PistachioLand
Alameda Park Zoo
Day 5: Drive to Tent Rocks / Santa Fe Area
Next, head north toward the Santa Fe area. This is a good day to break up the drive and enjoy northern New Mexico.
Drive time from Alamogordo to Santa Fe area: About 4–4.5 hours
You can stay in Santa Fe, Albuquerque, Bernalillo, or Los Alamos depending on your plans. Santa Fe is the best choice if you want great restaurants, walkable areas, and more hotel options.
Where to Stay Near Tent Rocks
Santa Fe options:
Drury Plaza Hotel in Santa Fe
Inn of the Governors
La Fonda on the Plaza
Hilton Santa Fe Historic Plaza
Budget-friendly nearby options:
Bernalillo hotels
Albuquerque north side hotels
Los Alamos hotels if you want to be closer to Bandelier
Where to Eat in Santa Fe
The Shed
Plaza Cafe
Tia Sophia’s
Cowgirl BBQ
Tomasita’s
Pantry Restaurant
Travel Tip
If you want a slower pace, make this a Santa Fe afternoon. Walk the plaza, eat a great New Mexican meal, and save Tent Rocks for the next morning.
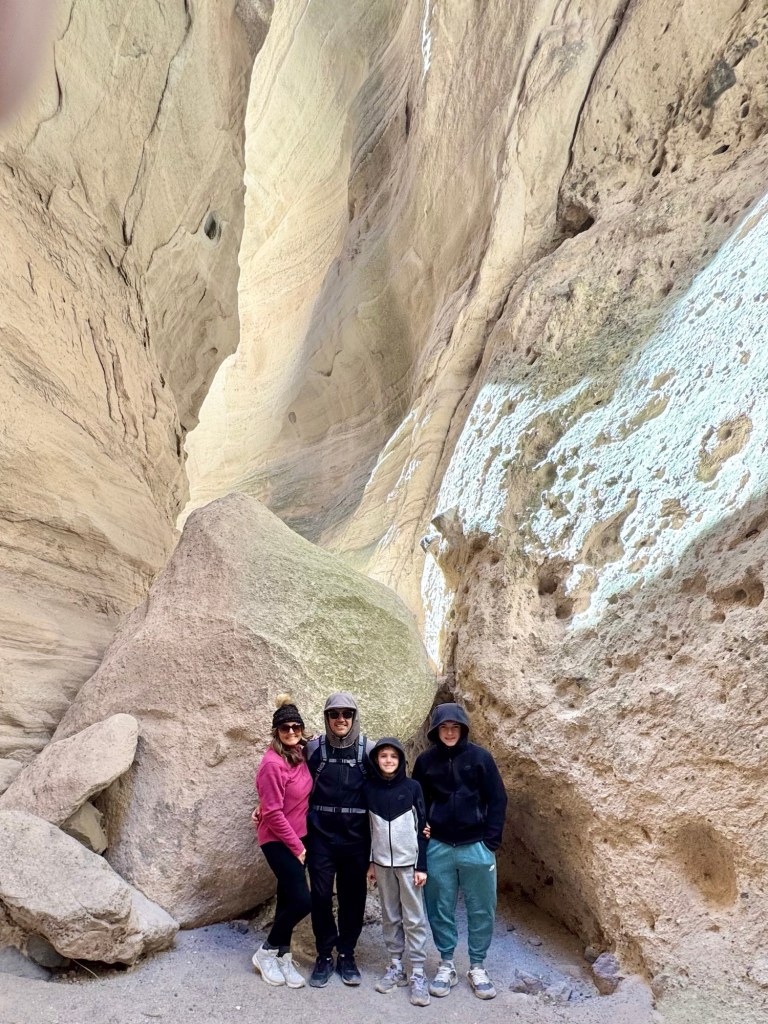
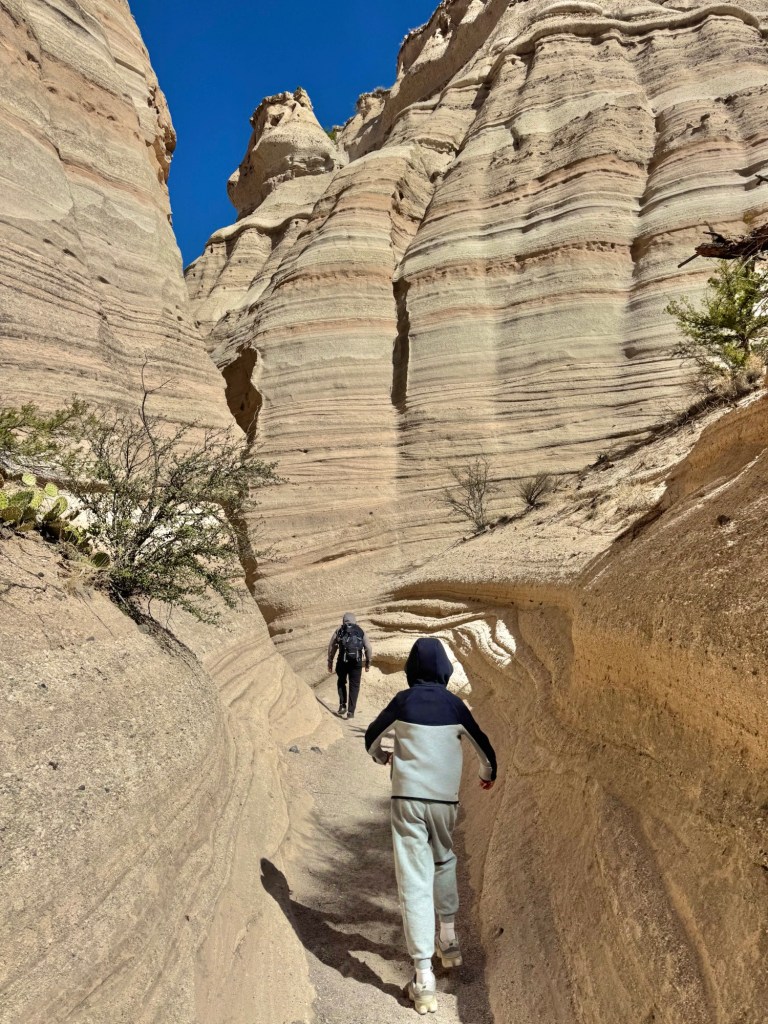
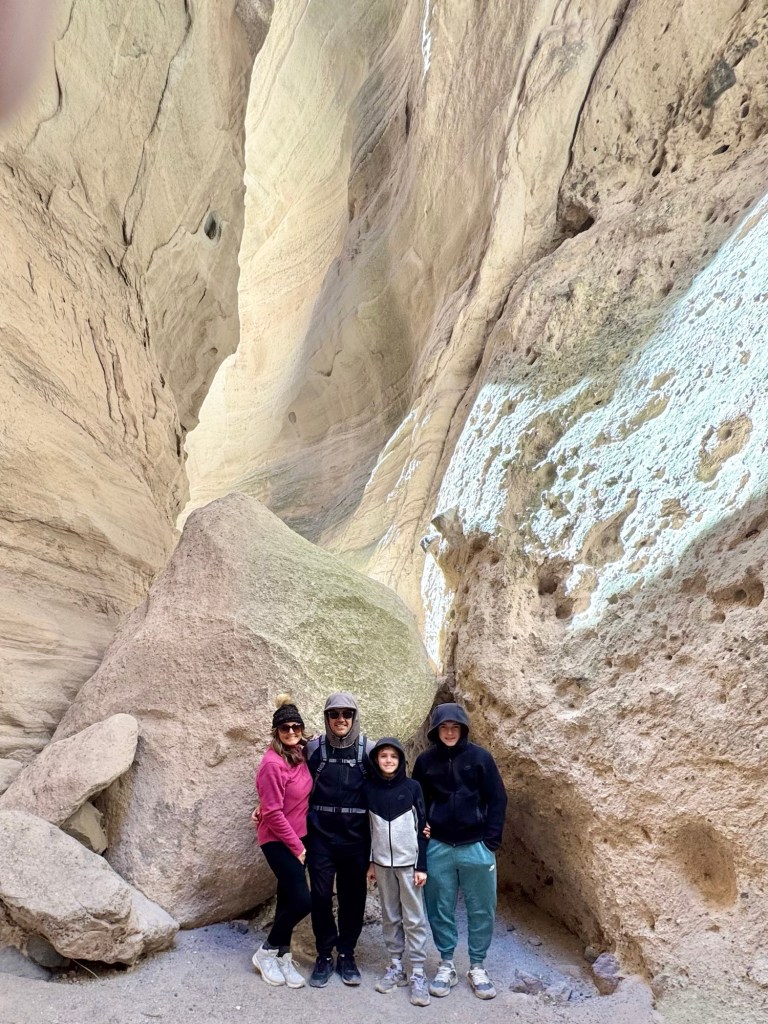
Tent Rocks is one of the most unique stops on this loop. The cone-shaped rock formations and slot canyon trail make it feel completely different from the other parks on this itinerary.
Location: Cochiti Pueblo, New Mexico
Must Do
Hike the slot canyon trail if open
See the cone-shaped tent rock formations
Take photos along the canyon walls
Enjoy the overlook if your group is up for the climb
Important Tent Rocks Tip
Tent Rocks has limited access and requires reservations. Check the official site before your trip and book early. Do not assume you can just show up.
What to Know Before You Go
Entry may be limited to certain days and time windows.
Reservations are required.
There may be both a federal reservation and a tribal access pass.
Bring water and sun protection.
Check road and trail conditions before driving out.
Where to Stay After Tent Rocks
You can stay in Santa Fe again or drive toward Los Alamos to be closer to Bandelier National Monument.
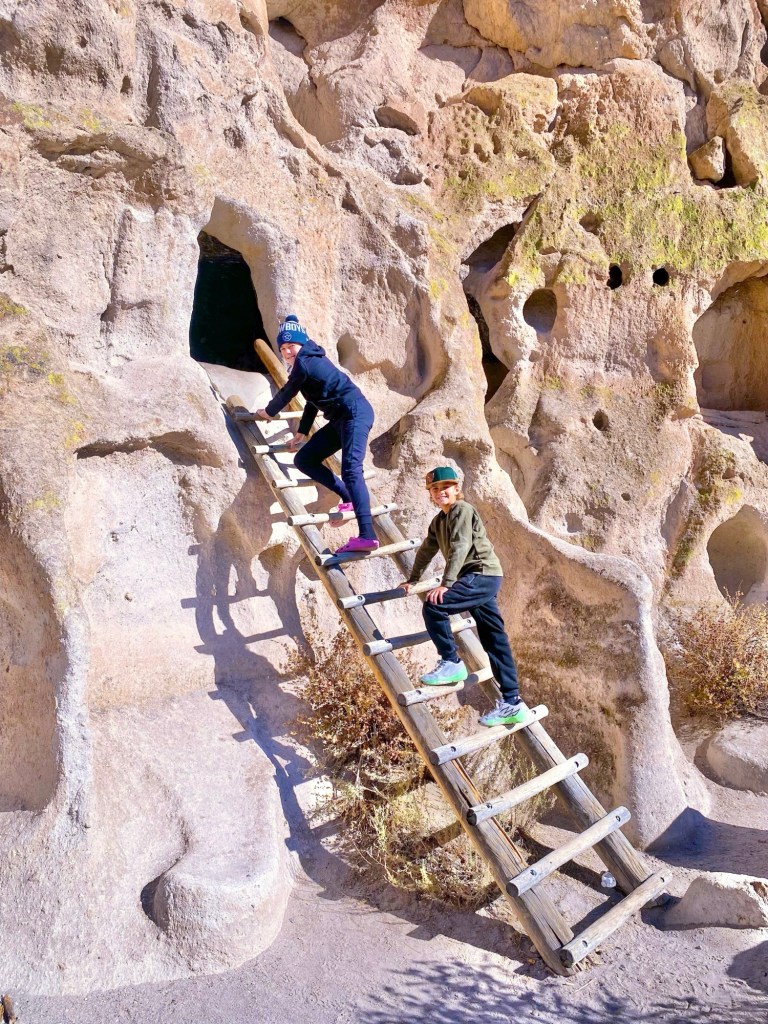
Bandelier National Monument is a beautiful and historic stop with cliff dwellings, petroglyphs, canyon views, and trails. It’s one of the best family-friendly stops on this route because the Main Loop Trail is manageable and memorable.
Location: Los Alamos, New Mexico
Must Do
Walk the Main Loop Trail
Climb ladders into cliff dwellings
See petroglyphs
Visit Alcove House if open and your group is comfortable with ladders
Stop at the visitor center
Best Tips for Bandelier
Go early, especially in busy seasons.
Check shuttle requirements before visiting.
Wear good walking shoes.
Bring water.
Make sure kids are comfortable with ladders before climbing.
Don’t touch or climb on areas that are not marked for visitors.
Where to Stay Near Bandelier
Hampton Inn & Suites Los Alamos White Rock
Holiday Inn Express & Suites Los Alamos Entrada Park
Comfort Inn & Suites Los Alamos
Santa Fe hotels if you prefer more dining and shopping
Where to Eat Near Bandelier / Los Alamos
Pig + Fig Cafe
Blue Window Bistro
El Parasol
Bathtub Row Brewing Co-op
Ruby K’s Bagel Cafe
Day 8: Drive to Palo Duro Canyon
Now it’s time to start making your way back toward Texas with one final epic stop: Palo Duro Canyon State Park.
Drive time from Los Alamos/Santa Fe area to Palo Duro Canyon: About 5–6 hours
Palo Duro Canyon is known as the “Grand Canyon of Texas,” and it’s the perfect final stop before heading back to Dallas.
Where to Stay Near Palo Duro Canyon
Inside or near the park:
Palo Duro Canyon State Park cabins
Doves Rest Cabins
Campsites inside Palo Duro Canyon State Park
Nearby hotels:
Best Western Palo Duro Canyon Inn & Suites in Canyon
Spend the morning exploring Palo Duro Canyon before driving home.
Drive time from Palo Duro Canyon to Dallas: About 6–6.5 hours
Must Do
Hike Lighthouse Trail
Drive the scenic canyon road
Stop at overlooks
Visit the park store
See the TEXAS Outdoor Musical in summer
Book a horseback ride if available
Best Tips for Palo Duro Canyon
Start hikes early, especially in warm months.
Bring more water than you think you need.
The Lighthouse Trail has very little shade.
Make day-use reservations ahead of time during busy seasons.
Watch the weather because trails can close after heavy rain.
Don’t skip the scenic drive, even if you don’t hike.
Best Time of Year for This Southwest Road Trip
The best time for this road trip is spring or fall. You’ll avoid the worst summer heat, and hiking will be much more enjoyable.
Best months: March, April, May, September, October, November Use caution: June, July, and August can be extremely hot, especially at White Sands, Guadalupe Mountains, and Palo Duro Canyon.
What to Pack for This Road Trip
America the Beautiful Pass
Texas State Parks Pass if you have one
Hiking shoes
Refillable water bottles
Hydration packs
Sunscreen
Sunglasses
Hats
Layers for Carlsbad Caverns
Sled for White Sands or money to buy one there
Snacks and lunch supplies
Portable phone charger
Printed reservations
Downloaded maps
First aid kit
Cooler for drinks and road trip food
My Best Travel Tips for This Route
1. Book Tent Rocks early
Tent Rocks requires reservations and has limited access. This is the stop you need to plan around the most.
2. Don’t underestimate the drive times
This loop covers a lot of ground. Try not to overpack each day, especially if traveling with kids.
3. Plan your hardest hikes early
Guadalupe Peak, Devil’s Hall, and Lighthouse Trail are all better in the morning.
4. Watch the weather
Heat, wind, lightning, and flash flooding can all impact this route. Always check park alerts before heading out.
5. Stay flexible
If a trail closes or weather changes, there are still plenty of scenic drives, visitor centers, museums, and shorter stops to enjoy.
6. Pack lunches for park days
Food options inside parks are limited. Having sandwiches, snacks, and drinks makes the trip much easier.
7. Save sunset for White Sands
If you only plan one sunset moment on this trip, make it White Sands. It is absolutely worth timing your day around.
Suggested 9-Day Itinerary
Day 1: Drive from Dallas to Carlsbad, NM Day 2: Carlsbad Caverns National Park Day 3: Guadalupe Mountains National Park Day 4: White Sands National Park Day 5: Drive to Santa Fe area Day 6: Kasha-Katuwe Tent Rocks National Monument Day 7: Bandelier National Monument Day 8: Drive to Palo Duro Canyon Day 9: Palo Duro Canyon + drive back to Dallas
Shorter 7-Day Version
Day 1: Dallas to Carlsbad Day 2: Carlsbad Caverns + Guadalupe Mountains Day 3: Drive to Alamogordo + White Sands sunset Day 4: Drive to Santa Fe area Day 5: Tent Rocks + Bandelier Day 6: Drive to Palo Duro Canyon Day 7: Palo Duro Canyon + Dallas
This version is faster and more tiring, but it works if you’re trying to fit the loop into one week.
Final Thoughts
This Dallas to New Mexico Southwest loop is one of the most unique road trips you can take from Texas. In one trip, you can walk through a massive cave, stand at the base of the tallest mountain in Texas, sled down white gypsum dunes, hike through slot canyons, climb into ancient cliff dwellings, and end with the rugged beauty of Palo Duro Canyon.
It’s the kind of road trip that feels big, adventurous, and completely unforgettable — but still doable from Dallas with a good plan.
If you’re craving a road trip that feels different from the usual beach or mountain getaway, this Southwest loop is the one to save.
Summer is the perfect time to hit the road, and one of the best things about living in Dallas is that some of the country’s most incredible destinations are within driving distance.
Over the years, my family has road-tripped to destinations all across the country, and these are the places that truly stand out. The ones that made us say, “That drive was absolutely worth it.”
In this guide, you’ll find:
✔ Drive times from Dallas
✔ Best time to visit
✔ Where to stay
✔ Top attractions and activities
✔ Entrance fees and park information
✔ Family-friendly planning tips
✔ Suggested trip lengths
✔ Nearby stops worth adding to your itinerary
Whether you’re planning a long weekend getaway, a week-long family vacation, or simply looking for inspiration for your next adventure, these destinations offer some of the best summer road trips from Dallas.
Quick Comparison Guide
Destination
Drive Time
Best For
Ideal Trip Length
Zion National Park, Utah
17-18 Hours
National Park Adventure
4-5 Days
Fall Creek Falls, Tennessee
11-12 Hours
Waterfalls & Family Fun
3-4 Days
Rocky Mountain National Park, Colorado
13-14 Hours
Mountains & Wildlife
4-5 Days
Gulf Shores, Alabama
10-11 Hours
Beach Vacation
4-7 Days
Alabaster Caverns, Oklahoma
5-6 Hours
Unique Weekend Getaway
2 Days
Wichita Mountains, Oklahoma
3 Hours
Quick Nature Escape
Weekend
Ouray, Colorado
14-15 Hours
Scenic Mountain Town
4-5 Days
Before You Go
A few quick tips before planning your summer road trip:
Book lodging early. Summer is peak travel season for nearly every destination on this list.
Download offline maps. Cell service can be limited in national parks and mountain areas.
Start outdoor activities early. Summer temperatures can be extreme, especially in Utah and Oklahoma.
Build flexibility into your itinerary. Weather, road construction, and wildlife sightings can all impact travel plans.
Don’t try to do everything. One of the biggest mistakes travelers make is cramming too much into a single trip. Leave room to slow down and enjoy the destination.
Now let’s dive into the 7 bucket list summer road trips from Dallas that are truly worth the drive.
Zion National Park: The Ultimate Summer National Park Road Trip from Dallas
Drive Time from Dallas: Approximately 18-19 hours
Recommended Trip Length: 4-5 Days
Best Time to Visit: Late spring through fall (May-October)
If you’ve been dreaming about visiting one of America’s most iconic national parks, Zion National Park deserves a spot at the top of your bucket list.
Located in southwestern Utah, Zion is famous for its towering red cliffs, dramatic canyons, emerald pools, and unforgettable hikes. While the drive from Dallas is definitely a commitment, the scenery waiting at the end makes every mile worth it.
Why Zion Is Worth the Drive
The first time you enter Zion Canyon, it’s hard to describe just how massive everything feels.
The sandstone cliffs rise thousands of feet above the valley floor, creating a landscape that looks almost unreal. Unlike some national parks where the best views require long hikes, Zion’s scenery begins the moment you drive into the park.
Families can enjoy easy scenic walks and shuttle rides, while more adventurous travelers can tackle bucket-list hikes like Angels Landing and The Narrows.
If you’re looking for a national park that delivers jaw-dropping views at every turn, Zion is hard to beat.
Summer visitors should also check the park website before arriving for current shuttle schedules, trail closures, and weather conditions.
Best Things To Do in Zion National Park
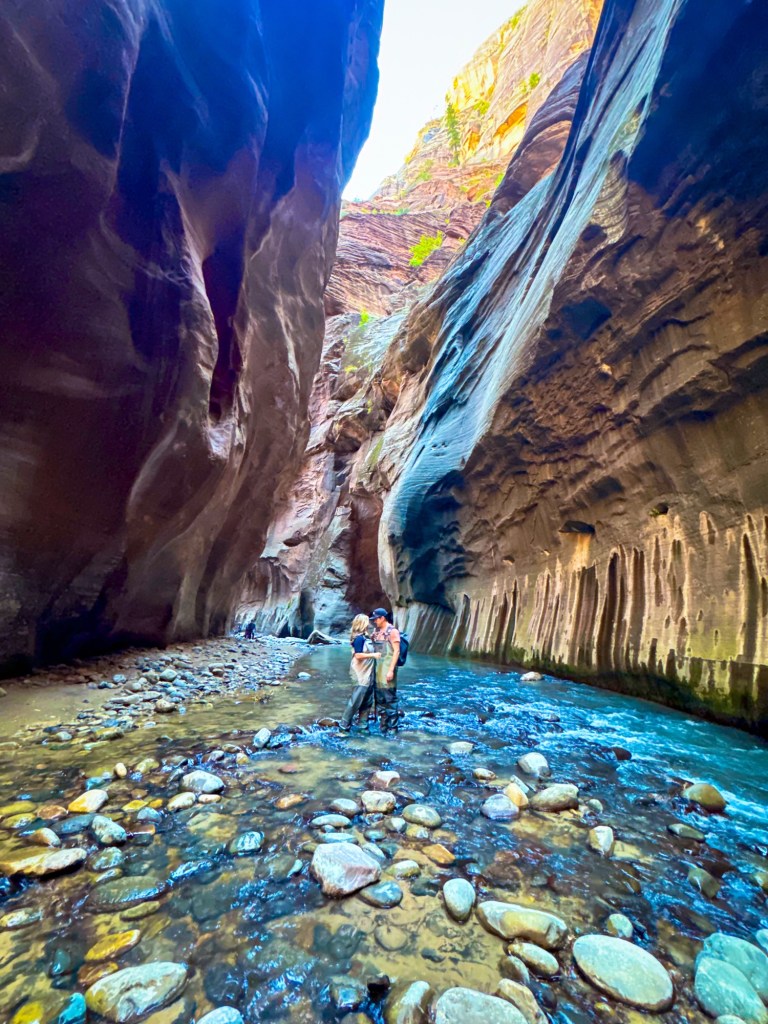
Hike The Narrows
The Narrows is easily Zion’s most famous hike.
Instead of walking on a trail, you’ll actually hike through the Virgin River between towering canyon walls that can reach over 1,000 feet high.
Most visitors complete the Bottom-Up route, which does not require a permit.
Road Trip Queen Tip: Rent water shoes and a walking stick in Springdale if you plan to hike The Narrows.
Explore Emerald Pools
This family-friendly trail system leads visitors to a series of beautiful pools and waterfalls.
Depending on trail conditions, you can choose between Lower, Middle, and Upper Emerald Pools.
This is one of the best hikes for families visiting Zion.
Ride the Zion Shuttle
One of the easiest ways to experience Zion is simply by riding the shuttle through Zion Canyon.
The shuttle stops at the park’s most popular viewpoints and trailheads, allowing visitors to hop on and off throughout the day.
Canyon Overlook Trail
Short on time?
Canyon Overlook Trail provides one of the best views in the entire park for relatively little effort.
The trail is short but delivers a spectacular payoff.
Watch Sunset at Canyon Junction
Bring a chair or blanket and enjoy one of the most beautiful evenings you’ll find anywhere in the Southwest.
Where To Stay Near Zion
Budget-Friendly
Hurricane, Utah: Typically offers the lowest hotel prices near Zion.
La Verkin, Utah: A great option for families wanting to save money while remaining close to the park.
Mid-Range
Springdale, Utah: The closest town to Zion’s entrance. You’ll find restaurants, shops, hotels, and shuttle access.
Unique Stay
Zion Ponderosa Ranch Resort: Located on the east side of Zion and offers cabins, glamping, and family-friendly activities.
Where To Eat
Some visitor favorites include:
Oscar’s Cafe
Zion Canyon Brew Pub
Bit & Spur Restaurant
Deep Creek Coffee Company
Suggested 4-Day Zion Itinerary
Day 1
Arrive in Springdale
Explore town
Watch sunset at Canyon Junction
Day 2
Ride the shuttle
Hike Emerald Pools
Visit Riverside Walk
Day 3
Hike The Narrows
Relax and explore Springdale
Day 4
Canyon Overlook Trail
Scenic drive through the east side of the park
Begin journey home
Family Travel Tips
Start hiking before 8 a.m. during summer.
Bring significantly more water than you think you’ll need.
Temperatures often exceed 100°F in July and August.
Wear sun protection at all times.
Download maps before entering the park.
Book lodging months in advance if traveling during peak summer season.
Estimated Budget
Family of Four (4-5 Nights)
Lodging: $150-$400 per night
Food: $75-$175 per day
Park Entrance: $35 per vehicle
Narrows Gear Rental (Optional): $25-$40 per person
Gas: $300-$500 roundtrip from Dallas (depending on vehicle)
Estimated Total: $1,500-$3,500+
Budget-conscious travelers can lower costs by staying in Hurricane or La Verkin, packing lunches for park days, and taking advantage of free activities throughout Zion
Don’t Miss This
If you only have time for one experience in Zion, make it The Narrows.
Walking through the river between towering canyon walls is unlike anything else in the United States and remains one of the most memorable national park experiences I’ve ever had.
Nearby Bonus Stops
If you have extra time, consider adding:
Bryce Canyon National Park
Kanarra Falls
Coral Pink Sand Dunes State Park
Horseshoe Bend
These destinations pair perfectly with a Zion road trip and can easily turn your vacation into an unforgettable Southwest adventure.
Final Thoughts
What I love most about Zion is that there’s something for everyone. Families can enjoy scenic overlooks and easy walks, adventurous travelers can tackle bucket-list hikes like The Narrows, and photographers will find incredible views around every corner.
If you’re looking for a summer road trip that feels like a once-in-a-lifetime adventure, Zion is worth every mile from Dallas. Don’t be surprised if you leave already planning your next visit.
Fall Creek Falls State Park, Tennessee
Drive Time from Dallas: Approximately 11-12 hours
Recommended Trip Length: 3-4 Days
Best Time to Visit: Spring through Fall (April-October)
Best For: Waterfalls, family-friendly hiking, scenic overlooks, outdoor adventures, and a relaxing state park getaway
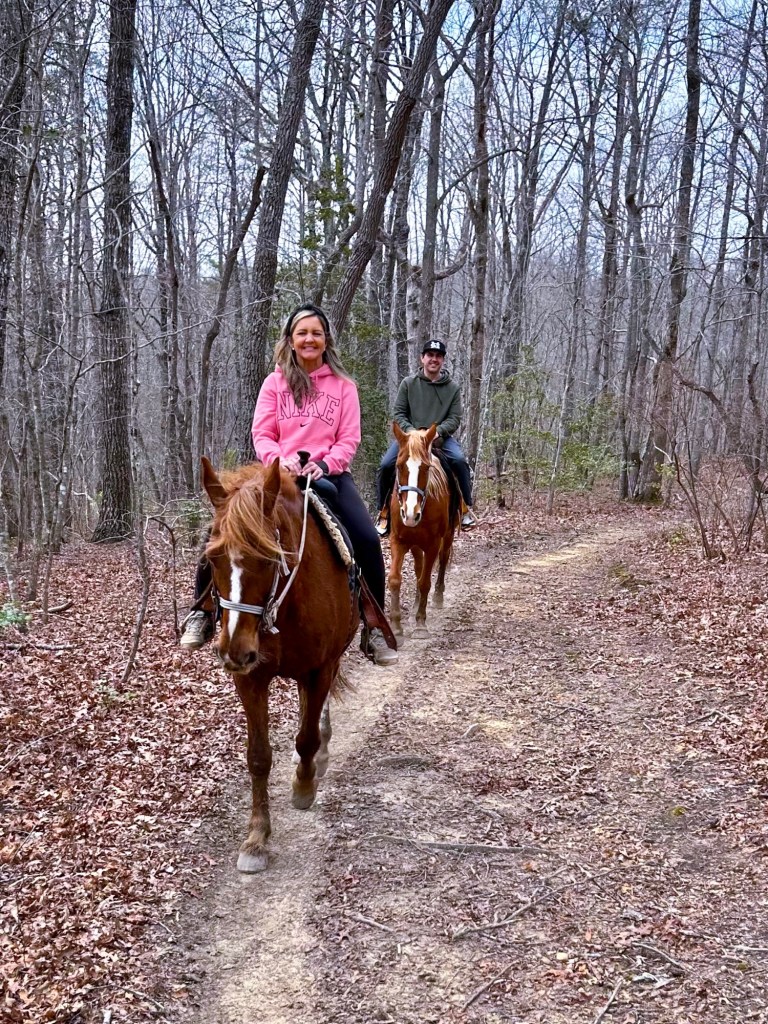
Our family spent several days here and loved how easy it was to combine adventure with relaxation. We stayed at the lodge, enjoyed meals at the restaurant, hiked to the base of the falls, explored scenic overlooks, and even went horseback riding. It’s one of those destinations that offers enough to keep everyone happy without feeling rushed.
Why Fall Creek Falls Is Worth the Drive
There are a lot of state parks in the South, but Fall Creek Falls feels different. The waterfalls are larger, the scenery is more dramatic, and the park itself is incredibly well-maintained. Unlike some destinations where you’ll run out of things to do after a few hours, you could easily spend several days exploring here.
Park Information
Fall Creek Falls State Park
Phone: (423) 881-5298
Website: tnstateparks.com/parks/fall-creek-falls
Entrance Fee: FREE
Parking: FREE
Hours: Open year-round
One of the best things about Tennessee State Parks is that there is no entrance fee, making this one of the most affordable family road trips on this list.
Best Things To Do at Fall Creek Falls
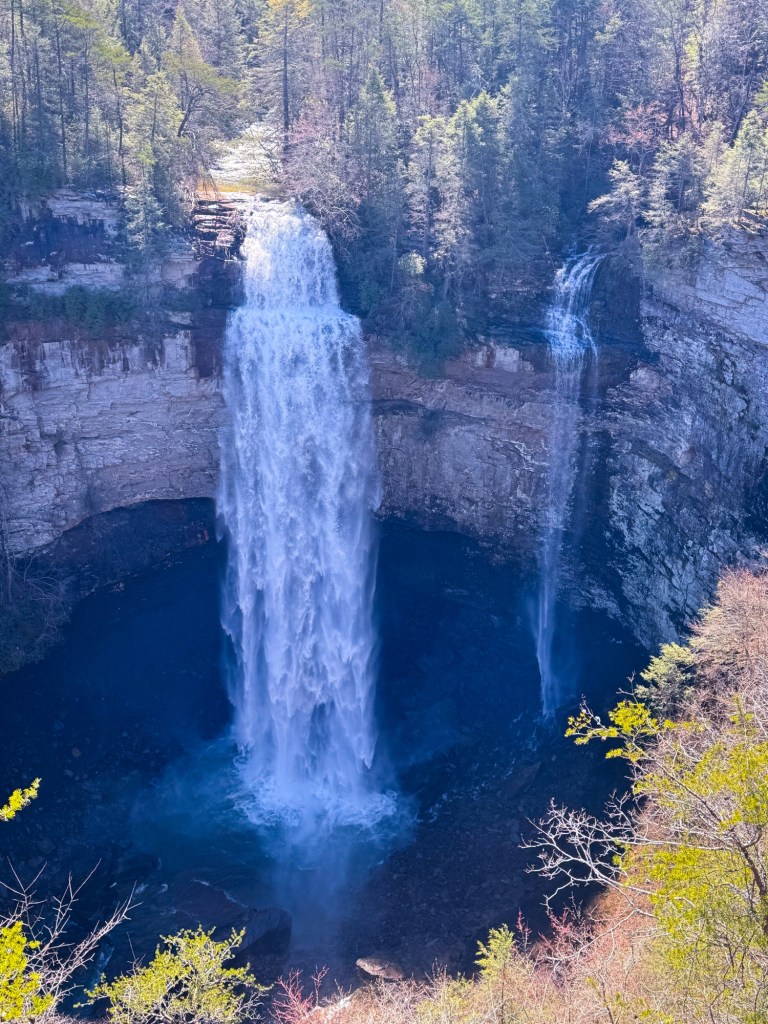
Visit Fall Creek Falls Overlook
This is the park’s most famous attraction and the first stop most visitors make.
The overlook provides an incredible view of Fall Creek Falls as it plunges into the gorge below. After heavy rainfall, the waterfall is especially impressive.
Even if you don’t plan to hike, this overlook is worth the drive.
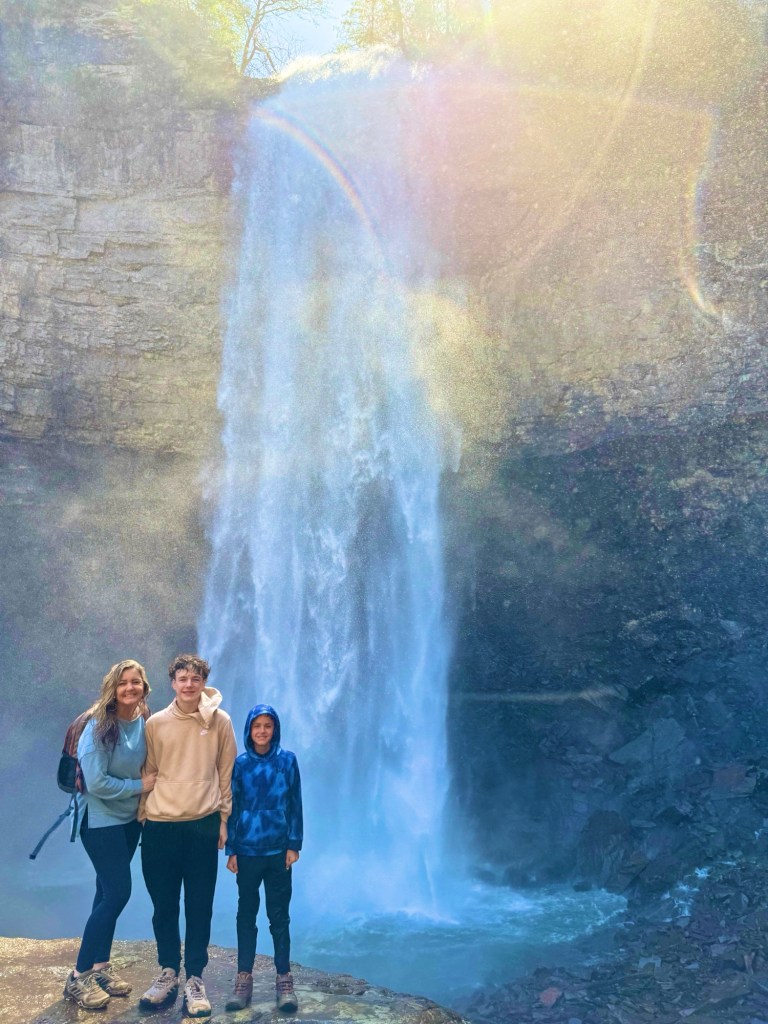
Hike to the Base of Fall Creek Falls
For a more adventurous experience, hike down to the base of the waterfall.
The trail is considered moderately strenuous and includes stairs and steep sections, but the reward is incredible. Standing at the bottom looking up at the waterfall gives you an entirely different perspective.
Road Trip Queen Tip: Wear sturdy shoes and bring water. The climb back up is much harder than the hike down.
Explore Cane Creek Falls
Many visitors focus solely on Fall Creek Falls and miss one of the park’s hidden gems.
Cane Creek Falls is beautiful and often less crowded. The nearby suspension bridge is also one of the most photographed spots in the park.
Walk Across the Suspension Bridge
The Cane Creek suspension bridge stretches across a dramatic gorge and offers fantastic views.
Kids especially love crossing the bridge and looking down at the water below.
Go Horseback Riding
One of our favorite experiences during our visit was horseback riding through the park.
It’s a fun way to see a different side of Fall Creek Falls and gives families a memorable experience beyond hiking.
Enjoy the Lake
The park’s lake offers opportunities for kayaking, paddle boating, fishing, and relaxing by the water.
It’s a great option if you need a break from hiking.
Where To Stay
One of the things that makes Fall Creek Falls such an easy family destination is the variety of lodging options available.
Best Overall: Fall Creek Falls Lodge
We stayed at the lodge and loved the convenience.
Pros:
Located inside the park
Beautiful views
On-site restaurant
Easy access to attractions
Family-friendly rooms
This is what I recommend for first-time visitors.
Unique Stay: Park Cabins
If you’re traveling with a larger family or group, consider renting one of the park cabins.
Many include full kitchens, fireplaces, and outdoor spaces.
Budget-Friendly: Cookeville Hotels
Cookeville is about 40 minutes away and offers a variety of affordable chain hotels.
This is a good option during busy travel periods when park lodging is booked.
Where To Eat
Fall Creek Falls Restaurant
The restaurant at the lodge is the most convenient option and offers beautiful views overlooking the park.
We enjoyed several meals here during our stay and appreciated not having to leave the park.
Nearby Dining
If you’re staying outside the park, Cookeville offers:
Crawdaddy’s
Seven Senses Food & Cheer
Father Tom’s Pub
Suggested 3-Day Itinerary
Day 1
Arrive at Fall Creek Falls
Check into your lodge or cabin
Visit Fall Creek Falls Overlook
Enjoy dinner at the lodge restaurant
Watch sunset from one of the scenic overlooks
Day 2
Hike to the base of Fall Creek Falls
Explore Cane Creek Falls
Walk across the suspension bridge
Horseback riding experience
Dinner and relaxation
Day 3
Enjoy a leisurely breakfast
Visit any overlooks you missed
Spend time at the lake
Begin the drive home
Family Travel Tips
Bring hiking shoes with good traction.
Pack bug spray during summer months.
Bring swimsuits if visiting during warmer weather.
Download maps before arrival.
Reserve lodge rooms early during peak seasons.
Allow extra time if hiking to the base of waterfalls.
Estimated Budget
Family of Four (3 Nights)
Lodging: $150-$300 per night
Food: $50-$150 per day
Activities: $0-$100
Park Entrance: FREE
Estimated Total: $700-$1,500 depending on lodging and activities
Don’t Miss This
If you only have time for one adventure, make it the hike to the base of Fall Creek Falls.
The overlook is beautiful, but standing at the bottom of the gorge and looking up at the waterfall is an experience you’ll remember long after the trip ends.
Nearby Bonus Stops
Want to extend your trip? Consider adding:
Burgess Falls State Park – One of Tennessee’s most beautiful waterfall hikes.
Cummins Falls State Park – A popular swimming hole and waterfall destination.
Chattanooga, Tennessee – Only about 1.5 hours away and home to the Tennessee Aquarium, Lookout Mountain, and Ruby Falls.
Nashville, Tennessee – Perfect for breaking up the drive home with live music, great restaurants, and family-friendly attractions.
Final Thoughts
Fall Creek Falls is proof that you don’t have to visit a national park to experience incredible scenery.
With stunning waterfalls, family-friendly activities, affordable lodging, and free park admission, it’s one of the best value road trips from Dallas and an easy destination to recommend for families looking for an outdoor adventure.
Rocky Mountain National Park & Estes Park, Colorado
Drive Time from Dallas: Approximately 13-14 hours
Recommended Trip Length: 4-5 Days
Best Time to Visit: June through September
Best For: Mountain scenery, wildlife viewing, alpine lakes, family hiking, and escaping the Texas summer heat
If you’re dreaming of cooler temperatures, mountain views, and wildlife sightings, Rocky Mountain National Park should be high on your summer road trip list.
Located just outside Estes Park, Colorado, Rocky Mountain National Park is one of the most visited national parks in the country—and once you arrive, it’s easy to understand why. Snow-capped peaks, alpine lakes, waterfalls, scenic drives, and frequent elk sightings create the kind of vacation that feels completely different from everyday life in Texas.
One of my favorite things about this trip is that it combines incredible outdoor adventures with the convenience of Estes Park, a charming mountain town filled with restaurants, shops, ice cream stops, and family-friendly attractions.
Why Rocky Mountain National Park Is Worth the Drive
Colorado has no shortage of beautiful places, but Rocky Mountain National Park offers an incredible amount of scenery without requiring expert hiking skills.
Many of the park’s most beautiful locations are accessible by scenic drives and short walks, making it perfect for families with younger children, grandparents, or anyone who simply wants amazing views without spending all day on the trail.
Park Information
Rocky Mountain National Park
Phone: (970) 586-1206
Website: nps.gov/romo
Entrance Fee: $35 per vehicle (7-day pass)
Timed Entry Reservations: During much of the summer, timed-entry reservations are required in addition to your park pass. Check the park website before your trip for current requirements.
Best Things To Do in Rocky Mountain National Park
Drive Trail Ridge Road
If you only do one thing in Rocky Mountain National Park, make it Trail Ridge Road.
This scenic highway climbs above 12,000 feet and offers some of the most spectacular mountain views in North America.
There are multiple overlooks along the route, allowing visitors to stop and enjoy panoramic views of the Rockies.
Road Trip Queen Tip: Start early in the morning to avoid afternoon thunderstorms and heavy traffic.
Visit Bear Lake
Bear Lake is one of the most photographed spots in the park.
The easy loop trail around the lake makes this a perfect stop for families, and the mountain reflections on calm mornings are stunning.
Hike to Alberta Falls
This is one of the most popular family-friendly hikes in the park.
The trail is manageable for most visitors and leads to a beautiful waterfall surrounded by mountain scenery.
Explore Sprague Lake
Sprague Lake offers an easy walking path, beautiful reflections, and excellent opportunities for wildlife viewing.
It’s one of the best spots in the park for families with young children.
Watch for Wildlife
One of the highlights of visiting Rocky Mountain National Park is the opportunity to see wildlife.
Keep an eye out for:
Elk
Mule deer
Bighorn sheep
Marmots
Moose (occasionally)
The elk are especially impressive and are often spotted near Estes Park and Moraine Park.
Explore Estes Park
While the national park is the main attraction, don’t overlook Estes Park itself. This mountain town serves as the gateway to the park and offers plenty of activities once you’re done hiking.
Stroll Downtown Estes Park
The downtown area is full of:
Local shops
Candy stores
Ice cream shops
Restaurants
Souvenir stores
Visit Lake Estes
Rent bikes, enjoy a picnic, or simply relax by the water.
Ride the Estes Park Aerial Tramway
For incredible mountain views without a hike, consider taking the aerial tramway to the summit.
Visit the Stanley Hotel
Even if you’re not staying there, it’s worth stopping by one of Colorado’s most famous historic hotels.
Where To Stay
Budget-Friendly
Loveland
Lyons
Longmont
These communities often offer lower lodging prices than Estes Park while remaining within reasonable driving distance.
Mid-Range
Hotels and lodges in Estes Park provide convenient access to both downtown and the national park.
Unique Stay
Mountain cabins
Vacation rentals with mountain views
Lodges near the park entrance
For many families, renting a cabin becomes one of the highlights of the trip.
Where To Eat
Some popular Estes Park favorites include:
Bird & Jim: Known for locally sourced Colorado cuisine.
Claire’s Restaurant & Bar: A longtime Estes Park favorite for breakfast and lunch.
Smokin’ Dave’s BBQ: Great option after a day of hiking.
Kind Coffee: Perfect for coffee and a quick breakfast before entering the park.
Suggested 4-Day Itinerary
Day 1
Drive to Estes Park
Check into lodging
Explore downtown Estes Park
Dinner and sunset views
Day 2
Bear Lake
Alberta Falls
Sprague Lake
Wildlife viewing in Moraine Park
Day 3
Drive Trail Ridge Road
Stop at scenic overlooks
Explore the Alpine Visitor Center area
Dinner in Estes Park
Day 4
Lake Estes
Shopping and sightseeing
Begin drive home
Family Travel Tips
Drink plenty of water. The elevation can affect visitors coming from Texas.
Pack layers. Summer mornings and evenings can be surprisingly cold.
Start hikes early to avoid crowds and afternoon storms.
Download maps before entering the park.
Fill up with gas before entering mountain areas.
Carry snacks for longer scenic drives.
Estimated Budget
Family of Four (4 Nights)
Lodging: $200-$400 per night
Food: $75-$175 per day
Park Entrance: $35
Activities: $0-$100+
Estimated Total: $1,200-$2,500
Don’t Miss This
Sunrise or early morning at Bear Lake. The crowds are smaller, the water is calmer, and the mountain reflections are absolutely incredible.
Nearby Bonus Stops
Want to turn this into an even bigger Colorado adventure?
Garden of the Gods – Located in Colorado Springs and completely free to visit.
Boulder – Great restaurants, hiking, and a fun downtown area.
Peak to Peak Scenic Byway – One of Colorado’s most beautiful drives.
Nederland – A quirky mountain town worth exploring.
Final Thoughts
Rocky Mountain National Park is one of those destinations that truly lives up to the hype.
If you’re looking for a mountain getaway that offers adventure, beauty, and cooler summer temperatures, Rocky Mountain National Park and Estes Park deserve a spot on your road trip bucket list.
Gulf Shores, Alabama: The Ultimate Beach Road Trip from Dallas
Drive Time from Dallas: Approximately 10-11 Hours
Recommended Trip Length: 4-7 Days
Best Time to Visit: March through October
Best For: Beaches, family vacations, seafood, outdoor adventures, and relaxing by the Gulf
If you’re dreaming of white-sand beaches and turquoise water but don’t want to fly, Gulf Shores is one of the best beach road trips from Dallas.
Located along Alabama’s Gulf Coast, Gulf Shores offers everything families love about a beach vacation: soft sand, warm water, fresh seafood, dolphin cruises, and plenty of activities for kids and adults alike.
What makes Gulf Shores especially appealing for Texas families is that it’s significantly closer than many Florida beach destinations while still delivering beautiful beaches and a laid-back coastal atmosphere.
Why Gulf Shores Is Worth the Drive
Not all Gulf Coast beaches are created equal.
Gulf Shores consistently ranks among the best family beach destinations in the South because it combines beautiful beaches with family-friendly attractions, affordable accommodations, and plenty of outdoor activities.
The area is easy to navigate, offers a wide variety of lodging options, and has enough attractions to keep everyone entertained when they’re ready for a break from the sand.
Visitor Information
Website: gulfshores.com
Gulf State Park
Phone: (251) 948-7275
Website: alapark.com/parks/gulf-state-park
Public Beach Access: Free
Gulf State Park: Some activities, parking areas, and rentals may require fees.
Best Things To Do
Relax on Gulf Shores Public Beach
The beach is the main attraction, and for good reason. The sugar-white sand and warm Gulf waters make this one of the most beautiful beaches within driving distance of Dallas. Spend your days swimming, building sandcastles, searching for shells, or simply relaxing with your toes in the sand.
Explore Gulf State Park
This 6,000+ acre park offers far more than just beach access. Visitors can enjoy:
Hiking trails
Biking trails
Fishing
Nature programs
Kayaking
Wildlife viewing
It’s one of the best state parks on the Gulf Coast.
Take a Dolphin Cruise
Dolphin cruises are one of the most popular family activities in Gulf Shores. Many tours offer opportunities to see dolphins swimming and playing alongside the boat.
Visit The Wharf
The Wharf is one of the area’s top entertainment districts and includes:
Shopping
Restaurants
Ferris wheel
Live entertainment
Family attractions
Explore Bon Secour National Wildlife Refuge
This hidden gem offers nature trails, wildlife viewing, and a quieter beach experience away from the crowds.
Where To Stay
Budget-Friendly
Foley, Alabama – Located about 20 minutes inland, Foley often offers lower hotel rates than beachfront accommodations.
Best Overall
Beachfront Condos
Many families prefer condos because they provide:
Full kitchens
Multiple bedrooms
Beach access
More space than a hotel room
Unique Stay
Gulf State Park Lodge
This beautiful beachfront lodge offers direct beach access and easy access to park amenities.
Where To Eat
The Hangout: A Gulf Shores classic and a favorite for families.
LuLu’s: Owned by Lucy Buffett, this popular waterfront restaurant offers food, live music, and family-friendly entertainment.
Original Oyster House: Known for fresh seafood and beautiful waterfront views.
Sea-N-Suds: A longtime Gulf Shores favorite located directly on the beach.
Suggested 5-Day Itinerary
Day 1
Arrive in Gulf Shores
Check into lodging
Walk the beach at sunset
Day 2
Beach day
Dinner at The Hangout
Day 3
Dolphin cruise
Explore The Wharf
Evening beach walk
Day 4
Gulf State Park
Bike trails
Wildlife viewing
Day 5
Morning beach time
Lunch before departure
Begin drive home
Family Travel Tips
Book summer lodging several months in advance.
Bring shade tents or umbrellas for beach days.
Visit the beach early in the morning or near sunset to avoid peak heat.
Pack beach toys and sandcastle supplies for younger children.
Consider a condo with a kitchen to save money on meals.
Estimated Budget
Family of Four (5 Nights)
Lodging: $200-$500 per night
Food: $75-$200 per day
Activities: $100-$300
Gas: $150-$250 roundtrip from Dallas
Estimated Total: $1,500-$4,000+
Costs vary greatly depending on lodging choice and season.
Don’t Miss This
Watching the sunset from the beach. It sounds simple, but it’s one of the most memorable parts of any Gulf Shores vacation. The sky lights up with shades of orange, pink, and purple, creating the perfect ending to a day on the coast.
Nearby Bonus Stops
Orange Beach: Located next door and offers additional beaches, restaurants, and water activities.
Pensacola, Florida: Only about 45 minutes away and perfect for a day trip.
Fort Morgan: A historic coastal fort with beautiful views and fewer crowds.
Final Thoughts
If you’re looking for a beach vacation that doesn’t require a flight, Gulf Shores is hard to beat.
With beautiful beaches, family-friendly attractions, fresh seafood, and plenty of ways to enjoy the outdoors, it’s easy to see why so many Texas families return year after year.
Ouray, Colorado: The Switzerland of America That’s Worth Every Mile from Dallas
Drive Time from Dallas: Approximately 14-15 Hours
Recommended Trip Length: 4-5 Days
Best Time to Visit: June through September
Best For: Mountain scenery, waterfalls, scenic drives, hot springs, hiking, and small-town charm
If there is one destination on this list that consistently leaves people saying, “I had no idea a place like this existed in the United States,” it’s Ouray, Colorado.
Often called the “Switzerland of America,” Ouray is tucked into a narrow valley surrounded by towering mountain peaks, waterfalls, and some of the most breathtaking scenery you’ll find anywhere in the country. The moment you drive into town, you’ll understand how it earned its nickname.
Unlike larger Colorado destinations that can feel crowded and commercialized, Ouray still feels like a hidden gem. It’s small, walkable, incredibly scenic, and packed with outdoor adventures for families, couples, and anyone who loves mountain towns.
Why Ouray Is Worth the Drive
Ouray isn’t just another mountain town. It’s surrounded by 13,000-foot peaks that seem to rise straight out of downtown. Waterfalls tumble down canyon walls, scenic hiking trails begin just steps from town, and nearly every direction offers postcard-worthy views.
What makes Ouray special is that you don’t have to be an experienced hiker to enjoy it. Some of the area’s most beautiful scenery is accessible by car, short walks, or scenic overlooks.
For families, it’s the perfect mix of adventure and relaxation. You can spend the morning hiking to a waterfall, the afternoon soaking in hot springs, and the evening strolling through downtown while eating ice cream and watching the mountains glow at sunset.
Visitors coming from Texas should plan for the higher elevation and stay hydrated.
Best Things To Do in Ouray
Drive the Million Dollar Highway
If Ouray has a signature experience, this is it.
The Million Dollar Highway is one of the most scenic drives in America, connecting Ouray and Silverton through a series of mountain passes, dramatic cliffs, and breathtaking overlooks.
The road winds through the San Juan Mountains and offers incredible photo opportunities around every turn.
Road Trip Queen Tip: Drive this route during daylight hours so you can fully appreciate the scenery.
Visit Box Canyon Falls
Located right in town, Box Canyon Falls is one of Ouray’s most popular attractions.
A short walk leads visitors to a dramatic waterfall crashing through a narrow canyon.
The roar of the water and steep canyon walls make this one of the most unique waterfall experiences in Colorado.
Relax at Ouray Hot Springs
After a day of hiking and sightseeing, there’s no better place to unwind.
The Ouray Hot Springs Pool features multiple pools with varying temperatures and incredible mountain views.
Families love it because there are areas for both relaxation and play.
Hike the Perimeter Trail
The Perimeter Trail circles the town and provides access to many of Ouray’s best viewpoints.
You don’t have to complete the entire trail to enjoy it.
Many visitors simply hike shorter sections to waterfalls and overlooks.
Visit Cascade Falls
One of the easiest and most rewarding stops in town. The waterfall is visible from the road and makes a fantastic photo stop.
Explore Downtown Ouray
Downtown Ouray is small but charming.
You’ll find:
Local shops
Restaurants
Ice cream stops
Historic buildings
Mountain views in every direction
It’s the kind of place where you’ll want to slow down and simply enjoy being there.
Take a Day Trip to Silverton
One of the biggest advantages of staying in Ouray is how close you are to Silverton.
Located about 25 miles away via the Million Dollar Highway, Silverton feels like stepping back into Colorado’s mining-era history.
Spend a day exploring:
Historic downtown
Jeep roads
Mountain scenery
Local restaurants
Many visitors say the drive between Ouray and Silverton becomes one of the highlights of the entire trip.
Where To Stay
Budget-Friendly
Montrose – Located about 35 minutes north of Ouray, Montrose often offers significantly lower hotel rates.
Mid-Range
Ridgway – Ridgway provides beautiful scenery and easy access to both Ouray and other San Juan Mountain attractions.
Best Location – Stay directly in downtown Ouray. Being able to walk to restaurants, shops, and attractions is worth it if your budget allows.
Unique Stay
Historic Beaumont Hotel – One of the most iconic hotels in town and a beautiful place to stay if you’re looking for something memorable.
Where To Eat
Maggie’s Kitchen: A favorite breakfast stop for visitors.
Brickhouse 737: Popular for dinner and mountain-town atmosphere.
Goldbelt Bar & Grill: Casual dining with great views.
Mouse’s Chocolates & Coffee: Perfect for a sweet treat while exploring downtown.
Suggested 5-Day Itinerary
Day 1
Arrive in Ouray
Explore downtown
Visit Cascade Falls
Dinner and sunset views
Day 2
Box Canyon Falls
Perimeter Trail
Ouray Hot Springs
Day 3
Drive the Million Dollar Highway
Spend the day in Silverton
Return to Ouray
Day 4
Explore nearby hiking trails
Relax in town
Visit local shops and restaurants
Day 5
Morning hot springs visit
Final scenic drive
Begin journey home
Family Travel Tips
Bring layers. Even summer mornings can be chilly.
Afternoon thunderstorms are common in the mountains.
Stay hydrated due to elevation.
Start hikes early whenever possible.
Keep a camera handy—you’ll use it constantly.
Download maps before arriving.
Estimated Budget
Family of Four (4 Nights)
Lodging: $175-$400 per night
Food: $75-$175 per day
Activities: $0-$100+
Gas: $250-$400 roundtrip from Dallas
Estimated Total: $1,300-$3,000 depending on lodging and activities
Don’t Miss This
If you only do one thing in Ouray, drive the Million Dollar Highway between Ouray and Silverton.
There are plenty of beautiful mountain drives in Colorado, but few compare to the dramatic scenery you’ll experience on this route. It’s one of those drives that makes you pull over repeatedly because the views just keep getting better.
Nearby Bonus Stops
Silverton: A must-visit mountain town located along the Million Dollar Highway.
Ridgway State Park: Great for boating, paddleboarding, and mountain views.
Telluride: About one hour away and perfect for a day trip.
Durango: Historic downtown, restaurants, and the famous Durango & Silverton Narrow Gauge Railroad.
Final Thoughts
Ouray is one of those rare places that somehow exceeds expectations. If you’re looking for a Colorado road trip that feels a little less crowded and a little more magical, Ouray deserves a spot at the very top of your bucket list.
Wichita Mountains Wildlife Refuge: One of the Most Underrated Road Trips from Dallas
Drive Time from Dallas: Approximately 3 Hours
Recommended Trip Length: Weekend (2-3 Days)
Best Time to Visit: Spring and Fall, though summer is still beautiful if you start early and plan around the heat.
Best For: Wildlife viewing, scenic drives, hiking, family adventures, photography, and quick weekend getaways
If you’re looking for a road trip that delivers incredible scenery without requiring a full day of driving, the Wichita Mountains Wildlife Refuge might be the best-kept secret on this entire list.
What I love most about the Wichita Mountains is that it feels like you’ve traveled much farther than you actually have. One minute you’re driving through North Texas, and the next you’re winding through rocky mountains while watching bison graze beside the road.
Why Wichita Mountains Is Worth the Drive
Many people think Oklahoma is flat. The Wichita Mountains quickly prove otherwise.
The refuge contains some of the oldest mountains in North America and offers a landscape completely different from what most Texans expect to find just across the state line.
Between the wildlife, mountain views, lakes, hiking trails, and charming nearby town of Medicine Park, there’s enough to keep you busy for an entire weekend.
Even if you only spend one day here, you’ll leave wondering why you waited so long to visit.
Refuge Information
Wichita Mountains Wildlife Refuge
Phone: (580) 429-3222
Website: fws.gov/refuge/wichita-mountains
Entrance Fee: FREE
Open Year-Round
The refuge is managed by the U.S. Fish and Wildlife Service and remains one of the best free outdoor destinations within driving distance of Dallas.
Best Things To Do
Drive to the Top of Mount Scott
If it’s your first visit, make this your first stop.
Mount Scott rises more than 2,400 feet above sea level and provides panoramic views of the refuge, surrounding lakes, and rolling Oklahoma landscape.
The road to the summit is paved and easily accessible for most vehicles.
Road Trip Queen Tip: Visit near sunrise or sunset for the most beautiful lighting and cooler temperatures.
See Free-Roaming Bison
One of the biggest highlights of visiting the refuge is seeing American bison roaming freely across the landscape.
Unlike a zoo, these animals live in their natural environment, and seeing them from the road is an unforgettable experience.
Remember to stay inside your vehicle and give wildlife plenty of space.
Explore Medicine Park
Medicine Park is one of Oklahoma’s most charming small towns.
Located just outside the refuge, it offers:
Unique cobblestone architecture
Local shops
Restaurants
Creekside swimming areas
Small-town charm
Many visitors spend half a day exploring Medicine Park after visiting the refuge.
Visit Prairie Dog Town
Kids especially love this stop.
Watch dozens of prairie dogs pop in and out of their burrows while chirping and interacting with one another.
It’s a quick stop but often becomes one of the most memorable parts of the trip for younger visitors.
Hike Elk Mountain Trail
If you’re looking for a more adventurous experience, Elk Mountain Trail offers some of the best hiking in the refuge.
The trail features beautiful views, rocky terrain, and opportunities to spot wildlife along the way.
Visit Holy City
This unique attraction features a replica biblical village built in the 1920s.
Even if you’re only there for a short visit, it’s an interesting stop that adds a little history to your trip.
Explore Lake Lawtonka
Located near the refuge, Lake Lawtonka offers scenic views, picnic areas, fishing opportunities, and beautiful sunset photography.
Where To Stay
Budget-Friendly
Lawton Hotels – Lawton offers the largest selection of affordable hotels and is only minutes from the refuge.
Best Overall
Medicine Park Cabins – Staying in Medicine Park gives you easy access to both the refuge and the town’s restaurants and shops.
Unique Stay
Vacation cabins near Medicine Park – Many offer beautiful views and a peaceful setting surrounded by nature.
Where To Eat
Meers Store & Restaurant: This is the restaurant most visitors recommend.
Known for its famous longhorn burgers, Meers has become a destination all by itself.
Many travelers plan their entire day around stopping here for lunch.
Old Plantation Restaurant
Located in Medicine Park and known for steaks, seafood, and historic charm.
Small Cafes in Medicine Park
You’ll find several locally owned restaurants and coffee shops perfect for a relaxed meal after exploring the refuge.
Suggested Weekend Itinerary
Day 1
Drive from Dallas
Explore Medicine Park
Check into lodging
Dinner in town
Watch sunset at Lake Lawtonka
Day 2
Sunrise drive through the refuge
Mount Scott
Prairie Dog Town
Wildlife viewing
Lunch at Meers
Afternoon hiking
Holy City
Sunset from Mount Scott
Day 3
Relaxing breakfast
Explore any missed areas
Begin drive home
Family Travel Tips
Bring binoculars for wildlife viewing.
Pack plenty of water during summer months.
Start outdoor activities early to avoid afternoon heat.
Keep a safe distance from bison and other wildlife.
Wear sturdy shoes if hiking.
Download maps before arriving since cell service can be limited in some areas.
Estimated Budget
Family of Four (Weekend Trip)
Lodging: $100-$250 per night
Food: $50-$125 per day
Activities: $0-$50
Refuge Entrance: FREE
Gas: $50-$100 roundtrip from Dallas
Estimated Total: $400-$1,000
This makes Wichita Mountains one of the most affordable destinations on this entire list.
Don’t Miss This
If you only have time for one thing, drive to the top of Mount Scott.
The views stretch for miles, and it’s one of the best places to appreciate just how unique the Wichita Mountains landscape really is.
Nearby Bonus Stops
Medicine Park – A must-visit during your trip.
Lake Lawtonka – Beautiful scenery and great photo opportunities.
Fort Sill National Historic Landmark – History lovers may enjoy exploring this nearby military site.
Chickasaw National Recreation Area – An excellent add-on destination if you’re extending your Oklahoma road trip.
Final Thoughts
The Wichita Mountains Wildlife Refuge is proof that you don’t have to drive across multiple states to find incredible scenery.
Between the free-roaming bison, mountain views, hiking trails, charming small towns, and easy accessibility from Dallas, it’s one of the best weekend getaways in the region.
If you’re looking for a road trip that’s affordable, family-friendly, and packed with outdoor adventure, the Wichita Mountains deserve a spot on your bucket list.
Alabaster Caverns State Park: One of Oklahoma’s Most Unique Hidden Gems
Drive Time from Dallas: Approximately 5-6 Hours
Recommended Trip Length: Weekend (2 Days)
Best Time to Visit: Spring and Fall, though the cave remains cool year-round
Best For: Unique family adventures, cave tours, weekend getaways, geology lovers, and travelers looking for something different
If you’ve already explored the Wichita Mountains and are looking for another Oklahoma road trip that feels completely different, Alabaster Caverns State Park deserves a spot on your bucket list.
For families, it’s the perfect mix of education and adventure. Kids love exploring underground spaces, and adults appreciate the opportunity to experience something truly different from the typical hiking-and-waterfall road trip.
Why Alabaster Caverns Is Worth the Drive
Let’s be honest—most people don’t think “cave adventure” when planning a road trip from Dallas. That’s exactly why Alabaster Caverns is such a fun surprise.
Unlike many cave systems that require long hikes or advanced tours, the main cavern can be explored on a guided tour that is accessible for most visitors. The cave stays cool year-round, making it an especially appealing destination during Oklahoma’s hot summer months.
Guided Cave Tours: Fees apply and may vary by age.
Tour schedules can change seasonally, so it’s always a good idea to check the park website or call ahead before visiting.
Best Things To Do
Take the Guided Cave Tour
This is the main reason to visit.
The guided tour takes visitors deep into the cavern system while sharing information about the cave’s geology, history, and wildlife.
You’ll walk through large chambers, narrow passageways, and areas filled with unique mineral formations.
The temperature inside remains around 55-60 degrees year-round, providing a welcome break from summer heat.
Road Trip Queen Tip: Bring a light jacket even during the middle of summer.
Explore the Nature Trails
Several trails around the park provide opportunities to explore the surrounding prairie landscape.
While most visitors focus on the cave, these trails offer a chance to stretch your legs and enjoy the area’s natural beauty.
Wildlife Viewing
The park is home to a variety of wildlife including:
Deer
Wild turkeys
Birds of prey
Small mammals
Bring binoculars if you enjoy birdwatching.
Stargazing
One of the most underrated reasons to visit this area is the dark sky.
With very little light pollution, the night skies can be spectacular.
If you’re staying overnight, spend some time outside after dark—you may be surprised by how many stars you can see.
Where To Stay
Budget-Friendly
Woodward, Oklahoma: Located about 30 minutes away and offers the largest selection of hotels.
Camping
The park offers campsites for travelers wanting a more affordable and immersive outdoor experience.
Unique Stay
Cabins and vacation rentals throughout northwestern Oklahoma provide a peaceful getaway surrounded by open prairie.
Where To Eat
Freedom, Oklahoma
Small local cafes and restaurants provide simple meals near the park.
Woodward
For more dining options, head into Woodward where you’ll find:
Local diners
Steakhouses
Family-friendly restaurants
Chain restaurants
Many visitors choose to stay in Woodward and drive to the park for the day.
Suggested Weekend Itinerary
Day 1
Drive from Dallas
Arrive at Alabaster Caverns
Take the guided cave tour
Explore the trails
Enjoy sunset and stargazing
Day 2
Breakfast nearby
Visit Gloss Mountain State Park
Scenic drive through northwestern Oklahoma
Begin drive home
Family Travel Tips
Wear closed-toe shoes.
Bring a light jacket.
Call ahead to confirm tour times.
Bring water and snacks.
Download maps before arriving.
Allow extra time for the drive on rural highways.
Estimated Budget
Family of Four (Weekend Trip)
Lodging: $100-$250 per night
Food: $50-$125 per day
Cave Tours: $20-$50 total depending on family size
Gas: $75-$150 roundtrip from Dallas
Estimated Total: $350-$900
This is one of the most affordable road trips on this list.
Don’t Miss This
The guided cavern tour is absolutely the highlight of the trip. The scale of the cave, the unique alabaster formations, and the cool underground temperatures make it an experience that feels completely different from anything else you’ll find within driving distance of Dallas.
Nearby Bonus Stops
Gloss Mountain State Park: The white gypsum mesas create one of the most unusual landscapes in Oklahoma and offer beautiful panoramic views.
Boiling Springs State Park: Another great option for extending your Oklahoma adventure.
Woodward: A convenient overnight stop with lodging, restaurants, and additional attractions.
Final Thoughts
Alabaster Caverns may be the least-known destination on this list, but that’s part of what makes it special.
If you’re looking for a road trip that’s different from the typical mountain getaway or beach vacation, Alabaster Caverns is worth adding to your travel list.
Whether you’re dreaming of hiking through Zion’s famous red rock canyons, chasing waterfalls in Tennessee, spotting bison in Oklahoma, relaxing on the beaches of Gulf Shores, or exploring Colorado’s breathtaking mountain towns, these destinations prove you don’t have to hop on a plane to experience an unforgettable summer adventure.
If you’re looking for the perfect 14 day road trip from Texas, this Southwest loop is one of the most unforgettable routes you can take.
Starting and ending in Dallas, this 14 day road trip from Texas takes you through some of the most incredible landscapes in the country—from underground caves to white sand dunes to iconic national parks like Zion and the Grand Canyon.
Even better? This route is a complete loop, meaning no backtracking—just one amazing stop after another.
Overview of This 14 Day Road Trip from Texas
Start/End: Dallas, TX
Length: 14 Days
Distance: ~2,900 miles
Route Highlights: Carlsbad Caverns → White Sands → Saguaro → Valley of Fire → Zion → Grand Canyon → Albuquerque → Palo Duro Canyon
This 14 day road trip from Texas is ideal for families, first-time long-distance road trippers, or anyone wanting to experience the Southwest in one epic journey.
Quick Trip Details
Starting Point: Dallas, Texas
Total Distance: ~2,900 miles
Trip Length: 14 days
Best Time to Go: Spring or Fall
States Covered: Texas, New Mexico, Arizona, Utah, Nevada
Kick off your 14 day road trip from Texas with an early start toward Carlsbad. This is a longer drive day, but it sets up one of the most unique experiences of the entire trip.
A slower day to wrap up your 14 day road trip from Texas with one of the most underrated parks in the state.
Don’t Miss
Lighthouse Trail
The Big Cave
Sunset views
Day 14: Amarillo → Dallas
Drive Time: ~5–6 hours
Wrap up your 14 day road trip from Texas and head home.
Final Thoughts on This 14 Day Road Trip from Texas
This is one of those trips where every stop feels completely different—and somehow the views just keep getting better.
If you’ve been searching for the ultimate 14 day road trip from Texas, this route checks every box: national parks, unique landscapes, family-friendly stops, and a seamless loop you can actually follow.
If you’re driving from Texas to Arizona, this is the route that turns the drive into the trip. Every stop feels completely different—white dunes, cactus forests, hidden rock formations, and underground caves.
Route Overview (Drive Breakdown)
Dallas → White Sands: ~9.5 hrs
White Sands → Tucson (Saguaro): ~4.5 hrs
Tucson → Chiricahua: ~2.5 hrs
Chiricahua → Carlsbad: ~6.5 hrs
Carlsbad → Dallas: ~7 hrs
Best done as a 4–6 day trip depending on pace
Stop 1: White Sands National Park
Why It’s Worth It
Massive white gypsum dunes that feel like another planet—this is one of the most unique landscapes in the U.S. and 100% worth the drive.
Best Things To Do
Sled down the dunes (kids LOVE this)
Walk barefoot across the sand
Drive the scenic loop
Stay for sunset (don’t skip this)
Best Time to Visit
Late afternoon → sunset (cooler temps + best lighting)
Tips You NEED to Know
It is extremely bright → sunglasses required
Bring lots of water (no shade anywhere)
Sand gets HOT midday
Purchase sleds at the visitor center or bring your own
West (Tucson Mountain District): better sunsets + denser cacti
East (Rincon District): more mountain views + fewer crowds
If you only have time for one: choose WEST
Best Things To Do
Scenic drive (perfect with kids)
Short desert hikes
Sunset photography
Best Time to Visit
Sunrise or sunset (midday heat is intense)
Fall, winter, and spring is ideal for cool temps!
Tips You NEED to Know
Temps can exceed 100° depending on season
Bring more water than you think
Watch for cacti + desert wildlife
Plan for at least 2-3 hours
Stop 3: Chiricahua National Monument
Why It’s Worth It
One of the most underrated stops in the Southwest—massive rock formations (hoodoos) with way fewer crowds than national parks.
Best Things To Do
Echo Canyon Loop (most popular hike)
Scenic drive + overlooks
Short trails if traveling with kids
Best Time to Visit
Morning or late afternoon for cooler temps + lighting
Tips You NEED to Know
No cell service → download maps ahead
Roads are winding—take your time
Bring snacks/water (limited services)
Plan for at least 2-4 hours
Stop 4: Carlsbad Caverns National Park (Perfect Return Stop)
Why It’s Worth It
A completely different experience—massive underground cave system with incredible formations.
Best Things To Do
Walk the Natural Entrance (if able)
Explore the Big Room
Take the elevator down/up (easy option with kids)
Best Time to Visit
Anytime (great midday stop to escape heat)
Tips You NEED to Know
Reservations required for entry times
Bring a light jacket (it’s cool inside)
Strollers are limited—check accessibility ahead
Plan for at least 2-3 hours
Where to Stay (Easy + Family-Friendly Options)
White Sands Area (Alamogordo)
TownePlace Suites Alamogordo
Hampton Inn Alamogordo
Tucson
TownePlace Suites Tucson (great for space + kitchen)
Embassy Suites Tucson
Carlsbad
TownePlace Suites Carlsbad
Home2 Suites Carlsbad
These are great for families: more space, kitchens, and free breakfast
Sample 5-Day Itinerary
Day 1: Drive Dallas → White Sands (sunset) Day 2: White Sands → Tucson (evening in Saguaro) Day 3: Saguaro + explore Tucson Day 4: Chiricahua (day trip or overnight nearby) Day 5: Carlsbad → drive back to Dallas
Important Travel Tips
Download offline maps (especially for Chiricahua)
Fill up gas before remote areas
Pack snacks + water at all times
Plan around sunrise/sunset for best experiences
Book Carlsbad entry in advance
Final Thoughts
This is one of those rare road trips where the drive never feels boring—every stop brings a completely new landscape and experience.
If you’re looking for a Southwest road trip from Texas that’s actually worth the miles… this is it.
Tent Rocks is one of those places that feels completely unexpected — like you’ve stumbled onto another planet right in the middle of New Mexico. If you’re planning a Southwest road trip, this is a stop that’s absolutely worth the extra planning. Save this guide for later!
What Are Tent Rocks?
Kasha-Katuwe Tent Rocks National Monument is one of the most unique landscapes in New Mexico, known for its cone-shaped rock formations (called hoodoos) created by volcanic eruptions millions of years ago.
It honestly feels like walking through another planet — especially once you hit the slot canyon.
You’ll check-in at the Visitor Center and then follow a pilot truck to the actual site
Hours & Access
Typically open Thursday–Monday
Closed Tuesday & Wednesday
Day-use only (no sunset access)
Tent Rocks opens at 8:00 am and the last pilot truck leaves the Visitor Center at 1:00 pm
⚠️ Hours can change — always double check before going
Best Hike to Do
Slot Canyon Trail (DO THIS ONE)
~3 miles round trip
Moderate
Includes:
Slot canyon section (super narrow + fun)
Short ladder climb
Panoramic overlook at the top
Is It Kid-Friendly?
Yes, but:
The slot canyon gets tight
The ladder may be tricky for little ones
Great for adventurous kids
Best Time to Go
Morning = best lighting + fewer crowds
Avoid midday heat (very exposed)
No shade for most of the hike
What to Bring
Water (no services inside)
Good hiking shoes
Sun protection
Sun glasses – it was extremely windy and sandy on our visit
Snacks if doing the full hike
Photo Tips
The slot canyon = best reel footage
Shoot upward angles to capture the scale
Overlook at the top = wide landscape shots
Things to Know Before You Go
No pets allowed
No drones
Limited facilities
Can close due to weather
Is It Worth It?
100% yes — one of the most unique hikes in New Mexico.
This ended up being one of our favorite stops on the entire trip — and honestly, I didn’t expect it to be. It’s fun, unique, and just adventurous enough to feel like a hidden gem. If you’re building out a Southwest road trip, definitely add this one to your list.
If you’re looking for a real-life, doable Southwest road trip from Texas, this is the exact route we just did for spring break—and it might be one of my favorite routes yet.
Think: desert sunsets, slot canyons, giant cacti, and lots of memories made!
Overview of the Route
Start: Dallas, TX
States: Texas → New Mexico → Arizona → back to Texas
Total Time: 6 days
Stops: Albuquerque, Tent Rocks, Canyon de Chelly, Saguaro, Chiricahua, White Sands
Day 1: Drive to Albuquerque + Sunset Views
After a long travel day from Texas, we made it to Albuquerque, NM just in time for sunset—and WOW, this is such an underrated stop.
What to do:
Head up to Sandia Crest (or nearby overlooks) for sunset
Take Dramamine if you get carsick – that road up to the peak is no joke!
Watch the mountains turn pink + gold
Why it’s worth it – This is the perfect way to kick off the trip without overpacking your first day.
Where to stay – Anywhere in Albuquerque for easy access to the next day’s drive. We stayed at Home2Suites by Hilton and had a lovely stay in a spacious room!
One of the most underrated places in the Southwest—and honestly, it surprised us.
What to do:
Hike the White House Trail (only trail you can do without a guide)
Stop at scenic overlooks along the rim
Why it’s special – You’re looking at ancient cliff dwellings AND massive canyon views—without the crowds of bigger parks.
Time needed: Half day
We drove straight to Tucson, AZ after visiting this site. We stayed two nights at Townplace Suites by Marriott in Tucson, and really enjoyed the spacious room and the breakfast was delicious! The pool was great, too!
Vegas → Valley of Fire → Zion → Cathedral Gorge → Vegas
Las Vegas wasn’t the best part of this trip — and that surprised us.
When we planned this weekend road trip, we expected the Strip to be the highlight. Instead, the real magic happened once we left the city behind. In just a few days, this loop took us from glowing red rock desert to towering canyon walls and one of the most underrated state parks in the Southwest.
Here’s a quick visual overview of the route + drive times if you’re short on time:
If you’re looking for a road trip that feels big without requiring a full week off, this Las Vegas weekend loop is hard to beat.
The Ultimate Las Vegas Weekend Road Trip Loop
Start & End: Las Vegas Trip Length: 2–3 days Best For: Long weekends, first-time Southwest trips, scenic drives
This route works especially well if you want variety without backtracking.
Valley of Fire is the perfect first stop. The drive is short, but the scenery immediately makes it feel like you’re far from the city. Bright red sandstone formations, easy scenic pullouts, and short hikes make this a great place to stretch your legs and settle into road trip mode.
Don’t miss:
Fire Wave Trail
Scenic drive through the park
Early morning or golden hour for the best light
This stop alone is enough to make the drive from Las Vegas worth it.
Zion is the heart of this loop — and the place we underestimated the least. Even if you only have one full day here, the scale of the canyon walls and the variety of trails make a huge impression.
Depending on the season, you may need to use the park’s shuttle system, so planning ahead helps if your time is limited.
Top experiences for a short visit:
Zion Canyon Scenic Drive
Emerald Pools
The Narrows
Riverside Walk (easy and family-friendly)
Where We Stayed Near Zion National Park
We stayed in Springdale, Utah, just outside the entrance to Zion National Park, and it was the perfect home base for this trip. Being so close to the park made early starts easy and eliminated extra driving at the end of long days.
If you’re planning this loop for a weekend, staying in Springdale keeps everything simple and central.
👉 Check current hotel prices and availability in SpringdaleonExpedia
Cathedral Gorge was the biggest surprise of the trip.
This small Nevada state park feels completely different from the other stops on the loop. Narrow clay canyons, cathedral-like formations, and quiet trails make it an incredible contrast to Zion — and far less crowded.
Don’t miss:
Moon Caves
Miller Point Overlook
Juniper Draw Loop
It’s the kind of place you might skip if you’re rushing, but it ended up being one of our favorite stops.
Return to Las Vegas
2.5 hours from Cathedral Gorge
From Cathedral Gorge, it’s an easy drive back to Las Vegas, completing a loop that feels much more expansive than a typical weekend trip.
Why This Road Trip Works So Well
No backtracking
Short driving days
Mix of national and state parks
Big scenery without needing extra PTO
This loop is ideal if you want a road trip that feels adventurous but still manageable.
Final Thoughts
We didn’t expect this road trip from Las Vegas to surprise us — but it did. The combination of desert landscapes, canyon walls, and quieter parks made this one of those trips that sticks with you long after you’re home.
If you’re planning a Southwest getaway and want something beyond the Strip, this loop is absolutely worth considering.
There’s something unforgettable about a road trip that winds through charming small towns, dramatic mountain passes, and ends with ocean breezes and rugged coastline views. Our recent adventure took us from the thunderous roar of Niagara Falls all the way to the peaceful shores of Bar Harbor, Maine, with scenic and soul-refreshing stops in Stowe, Vermont and Conway, New Hampshire. From waterfalls to winding mountain roads and cozy village vibes, every leg of the journey had something special to offer—and we soaked up every minute of it.
This post contains affiliate links. I may earn a small commission, at no extra charge to you, if you purchase items using any of the links provided. Thank you!
Ultimate Niagara Falls Adventure: Views, Cave of the Winds & Night Fireworks
Our summer road trip began in Niagara Falls, New York — where we stayed just steps from the falls, experienced the powerful Cave of the Winds, and ended the night with fireworks over the water. Below, I’m sharing exactly what we did and what you need to know if you’re planning your own adventure.
We stayed at the Seneca Niagara Resort and Casino, just a short walk from Niagara Falls State Park, which made exploring easy and fun. We took in stunning sights from Goat Island, where the roar of the falls and the mist in the air set the tone for the day. One of the highlights was the Cave of the Winds tour—getting up close to the falls and braving the Hurricane Deck, where we were absolutely soaked and laughing the whole time.
Located at Niagara Falls State Park, Goat Island (U.S. side)
Entrance is near the Cave of the Winds Pavilion
Adults (12+): $23
Children (6–12): $19
Ages 5 and under: Free
Park at Goat Island Parking Lot 2 (closest to Cave of the Winds)
Open daily, typically 9:00 AM – 7:30 PM in peak season (May – October)
Last ticketed entry usually 30–60 minutes before close
Best time to visit: Mornings for fewer crowds
Cave of the Winds deck area is not wheelchair or stroller accessible due to stairs and slippery surfaces
To top it all off, we capped the evening with the seasonal fireworks show at 10 PM, watching bursts of color light up the sky over the falls. It was the perfect end to an adventurous and awe-inspiring day.
Exploring Stowe: Waterfalls and Woodland Trails
Nestled in the beautiful forests of Stowe, Vermont, the hike to Bingham Falls is the perfect family-friendly adventure. This relatively short and easy trail winds through lush woods, making it accessible for kids and casual hikers alike. Along the way, the sounds of rushing water and chirping birds build the excitement as you get closer to the falls. It’s a wonderful spot to stretch your legs, breathe in the fresh mountain air, and enjoy nature together.
When we reached Bingham Falls, we were instantly captivated by the cascade tumbling over the rocks into a clear pool below. The waterfall drops about 40 feet, creating a refreshing oasis that’s popular for swimming and cliff jumping in the warmer months. My youngest son couldn’t resist the thrill — he took a brave leap from one of the cliffs into the cool water below! Whether you’re here to dip your toes or just soak in the scenery, Bingham Falls offers a memorable and joyful experience for the whole family.
Difficulty: Easy to moderate — mostly well-marked, slight elevation changes
Time: About 45 minutes to 1 hour round trip, depending on pace and stops
Trailhead Location: Off Vermont Route 108, near Smugglers’ Notch Resort parking area
Parking: Free parking available near the trailhead, but it can fill up quickly on weekends and summer holidays
Family Friendly: Yes — suitable for kids old enough to hike on uneven terrain
What to Bring: Comfortable hiking shoes, water, swimsuit or towel if you want to swim
Best Time to Visit: Late spring through early fall; avoid winter due to slippery rocks and trail conditions
Amenities: No restrooms or facilities on trail — plan accordingly
After a day of hiking and exploring, we found the perfect spot to unwind at Idletyme Brewing Company in Stowe. This cozy tavern offers a warm, rustic atmosphere with a welcoming vibe for families and travelers alike. Sitting on the outdoor patio, we enjoyed a refreshing beer flight and crispy fried pickles. The menu features hearty pub fare, including juicy burgers and flavorful wings, all made with locally sourced ingredients. Whether you’re seeking a relaxing meal after a day of adventure or a place to gather with friends, Idletyme provides a memorable dining experience in the heart of Stowe.
Mountain Magic in New Hampshire
Leaving Vermont behind, we headed toward the stunning landscapes of New Hampshire, making a memorable stop at Flume Gorge along the way. The hike through this natural granite gorge was a magical experience—walking across covered bridges, listening to rushing water, and marveling at the sheer walls towering above us. It was a perfect blend of easy adventure and breathtaking scenery that the whole family enjoyed.
Location: 852 Daniel Webster Hwy, Lincoln, NH (Franconia Notch State Park)
Open mid-May to mid-October
Trails: 9 AM–5 PM (May–Oct 13), 9 AM–4 PM (Oct 14–26); last entry at closing time
Adults (13+): $18 online / $21 at window
Children (6–12): $16 online / $19 at window
Kids under 6: Free
Reservations: Strongly recommended; required for time-slot entry and to save $3/ticket
Trail Details: 2‑mile one-way loop through gorge and rim trails.
Elevation gain ~500 ft; moderate difficulty with packed gravel, boardwalks, and many stairs
Restrooms and food/gift shop available at Gilman Visitor Center
Not wheelchair- or stroller-accessible
Wear sturdy footwear—the boardwalks and stairs can be slippery.
After our hike, we checked in to the amazing White Mountain Resort, a cozy mountain retreat that quickly became our home away from home. We savored delicious meals at the on-site restaurant, enjoying both dinner and breakfast with spectacular mountain views as our backdrop. Evenings were all about relaxation—while the boys splashed in the heated pool, we unwound in the hot tub, soaking in the peaceful atmosphere and crisp mountain air. It was the perfect balance of adventure and comfort to recharge for the next day’s explorations.
After a relaxing stay in the White Mountains, we continued our road trip eastward toward the rugged coastline of Maine. The drive from New Hampshire to Bar Harbor was beautiful in itself—winding through small towns, dense forests, and glimpses of the Atlantic as we drew closer to the coast. With a few quick stops to stretch and snack, we arrived in Bar Harbor by afternoon, ready to trade mountain views for salty sea breezes. As we crossed the bridge onto Mount Desert Island, the charm of coastal Maine greeted us immediately, and we couldn’t wait to explore everything this picturesque seaside town had to offer.
Nestled along the serene waters of Frenchman’s Bay, the Harborside Hotel, Spa & Marina served as a perfect coastal retreat for our Bar Harbor stop. With 187–193 guest rooms and suites featuring marble bathrooms, in-room coffee, and semi-private balconies overlooking the harbor, the accommodations were spacious, comfortable, and ideal for families. Located in the heart of downtown Bar Harbor, Harborside let us walk easily to local shops, restaurants, and waterfront trails—and still offered stunning views back at the hotel. It truly balanced relaxation and exploration in a way that made our Maine getaway feel special.
Cadillac Summit Road
Our first adventure in Bar Harbor was a drive to the top of Cadillac Mountain, and we couldn’t have asked for a more perfect day. The skies were crystal clear, and the views only got better with each twist and turn of the Cadillac Summit Road. As we climbed higher, sweeping vistas of Frenchman Bay, scattered islands, and the distant outline of Bar Harbor came into view. You will need the $6 timed-entry vehicle permit to drive to the summit, please see this link for booking!
At the summit, we parked and wandered the short loop trail, soaking in panoramic views in every direction. It felt like standing on top of the world. The cool breeze, endless blue sky, and jagged coastline below made it one of those moments you just want to bottle up and take home. Whether you hike or drive, the summit of Cadillac Mountain is an absolute must when visiting Acadia—and we were lucky enough to enjoy it in all its sun-drenched glory.
Cadillac Summit Road Info
Location: Mount Desert Island, Acadia National Park — 3.5 mi winding paved road to the 1,530 ft summit
Vehicle Reservation Required: $6 per vehicle, required mid-May through late October
Reservations open 90 days in advance for 30% of spots; remaining 70% release 2 days before
Best time to go: For daytime viewing: late morning to early afternoon (8 AM–11 AM avoids crowds and fog)
Sunrise is spectacular, but requires early reservation and prime timing
Road open mid-May through mid-October; closed December–mid-April
No RVs or trailers; max vehicle length 21 ft
Summit offers two paved parking areas with restrooms, gift shop, scenic overlooks
A paved 0.7 mi loop trail (about 15 min) encircles the summit — easy and accessible
Highest point on the U.S. Atlantic coast
Panoramic views of Frenchman Bay, the Atlantic, and nearby islands
Tide Pooling in Acadia National Park
Our next adventure took us to the Ship Harbor Trail in Acadia National Park, perfectly timed for low tide in the early evening. This easy, family-friendly loop winds through coastal forest before opening up to dramatic rocky shoreline—an ideal spot for tide pooling. Although we were hoping to spot starfish, the sea had other plans. Still, we had a blast discovering tiny snails, colorful anemones, and all sorts of marine life tucked between the rocks.
The kids loved climbing over the granite boulders, peering into pools, and exploring the alien-like world revealed by the retreating tide. The golden hour light made everything feel magical, and the peaceful setting gave us a perfect moment to slow down and appreciate the rugged beauty of Acadia’s coastline. Even without starfish, it was one of those simple, satisfying evenings that make road trips so memorable.
Ship Harbor Trail Information
Location: Off Maine Route 102A (Seawall Road), southwest side of Mount Desert Island, Acadia National Park
Trail Type: Easy figure‑8 loop (~1.3 mi / 2.1 km round trip) through coastal forest and rocky shoreline
Easy grade with about 60–65 ft of elevation gain; suitable for all ages
Time Needed: 30–60 minutes, plan around 45 minutes (longer if exploring tide pools)
Best Time to Visit: Target 1 hour before to 30 minutes after low tide for best tide pooling
Coastal rocks can be slippery, especially near algae
After hiking the peaceful loop at Ship Harbor Trail, we made our way to Bass Harbor Head Lighthouse—one of Acadia’s most iconic coastal sights. Perched on the edge of a rugged cliff, the lighthouse offers a dramatic view of the rocky shoreline and crashing waves below. The parking lot is small but turns over quickly, and the short walk down to the overlook rewards you with postcard-worthy views of the lighthouse framed by the Atlantic. It’s a quick stop, but one you absolutely don’t want to miss. We ended the evening with dinner at La Bella Vita at the hotel and it was delicious!
The next day, we took on the thrilling Beehive Trail—one of Acadia’s most adventurous hikes. This short but steep climb rewards hikers with stunning views, but it’s not for the faint of heart. Iron rungs, narrow ledges, and exposed cliffs make the ascent feel more like a vertical scramble than a typical trail. At the top, we were greeted with clouds and fog, but on a clear day you’ll find sweeping views of Sand Beach and the Atlantic Ocean below. It was an adrenaline-pumping hike, but absolutely worth!
Beehive Trail Information
Located in Acadia National Park on Mount Desert Island, Maine
Entrance Fee: Required for Acadia National Park – $35 weekly vehicle pass
Trailhead is across from Sand Beach Parking Lot on Park Loop Road
Distance: 1.4 miles round trip (loop option available)
Elevation Gain: 500 feet
Difficulty: Strenuous (not recommended for those with fear of heights)
Trail Type: Loop (ascend via Beehive, descend via Bowl Trail or same way)
Steep granite ascent with iron rungs, ladders, and narrow ledges
No technical climbing skills required, but agility and confidence with heights are important
Not recommended in rain or for young children
After hiking, we ended the day with shopping in Bar Harbor and dinner at Salsa Verde Grill! This restaurant features New Mexican style cuisine and it was actually really good! We needed a break from all the seafood and lobster rolls.
What I Wore on Our Niagara Falls to Maine Road Trip
Wondering what to pack for a road trip like this? I’ve linked a few of my favorite travel-friendly outfits and gear we used throughout the trip below!
From thundering waterfalls to misty mountain hikes and dramatic coastal views, this road trip from Niagara Falls to Maine gave us a little bit of everything. Whether we were climbing iron rungs in Acadia or chasing sunsets along the coast, each stop offered a chance to explore, reconnect, and make unforgettable family memories. If you’re dreaming of a scenic adventure packed with natural beauty, small-town charm, and just the right amount of thrill—this route delivers. Until the next road trip… happy trails!
Follow along for more family-friendly adventures and travel tips on Instagram @road.trip.queen!
If you’re craving a road trip packed with adventure, natural beauty, and a little slice of Americana, Kentucky is calling your name. This state has it all—underground kayaking, jaw-dropping hikes, epic caves, and a stop at one of baseball’s most iconic landmarks. Buckle up, because this Kentucky road trip is one for the books!
Stop #1: Kayak Underground
Kicking off the adventure in the most unique way possible—paddling through an underground cave! The Gorge Underground offers an unforgettable kayaking experience through a flooded limestone mine. Picture glowing waters, eerie rock formations, and total silence except for the dip of your paddle. Whether you’re a kayaking pro or a total newbie, this is a must-do.
Pro Tip: Book your tour in advance—they fill up fast, especially in peak seasons! Make reservations here.
Stop #2: Hike the Red River Gorge Geological Area
Once you’re back above ground, it’s time to stretch those legs with some epic hiking. Red River Gorge is packed with stunning rock formations, towering cliffs, and lush forests. Whether you want a short scenic stroll or a challenging backcountry trek, there’s a trail for you.
Must-Do Hikes:
• Natural Bridge Trail – A moderate hike leading to a massive natural rock arch.
• Auxier Ridge Loop – Jaw-dropping panoramic views of the gorge.
• Sky Bridge Trail – A short hike to another incredible rock arch.
After your hike, grab a bite at Miguel’s Pizza, a local favorite known for fueling hungry adventurers with delicious, fresh-made pizza.
Stop #3: Step Up to the Plate at the Louisville Slugger Museum
Next, it’s time for a little history and nostalgia in Louisville. Baseball fan or not, the Louisville Slugger Museum is an absolute blast. You’ll get to see how the legendary bats are made, check out memorabilia from some of baseball’s greatest players, and even hold game-used bats from legends like Babe Ruth and Derek Jeter.
Don’t forget to take a photo with the giant bat outside—it’s the world’s largest baseball bat, standing at 120 feet tall!
Stop #4: Explore Carter Caves State Park
No Kentucky road trip is complete without exploring its underground wonders, and Carter Caves State Park is the perfect place to do just that. With over 20 caves, scenic trails, and natural bridges, this park is an adventurer’s paradise.
Top Experiences:
• Natural Bridge Trail – A short but scenic hike to a unique rock bridge.
• X-Cave & Cascade Cave Tours – Walk through massive underground passageways and see stunning rock formations.
• Horn Hollow Trail – Short hike that leads to a little “wild caving!” You will need a permit, easily obtained at the visitor center!
Final Thoughts
This Kentucky road trip is the perfect mix of adventure, nature, and history. From underground kayaking and hiking through towering rock formations to swinging by one of baseball’s most famous museums, this journey has something for everyone.
Have you road-tripped through Kentucky before? What was your favorite stop? Drop a comment and let me know!
My best friend and I love the hit Netflix series, Stranger Things and so do our boys! So naturally, I planned an entire summer road trip for us to see all of the filming locations around Georgia. If you’re a Stranger Things fan, keep reading to learn more about our epic Stranger Things road trip!
This post contains affiliate links. I may earn a small commission, at no extra charge to you, if you purchase items using any of the links provided. Thank you!
Just to prove how much we love this show, check out our Halloween photo! My hubby definitely won best costume ha!
On day one, we started our drive from North Texas to Rome, Georgia. It’s about an 11.5 hour drive. This was our first stop because this is where the Creel House is located and it’s the closest Stranger Things filming location to us! We stayed at the La Quinta Inn and had nice accommodations for the night.
Stop 2: Creel House
The next day we got up and began our road trip around Georgia checking out different Stranger Things filming locations! We all dressed in Stranger Things shirts and we only listened to the Stranger Things playlists on the entire drive!
Obviously we started with the Creel House, which was just about three miles from the hotel. The Creel House is located at 906 E 2nd Ave Rome, GA 30131. You are not allowed to walk up to the house, so we just admired it from the sidewalk!
Stop 3: Palace Arcade
Then we drove to Douglasville, which is about an hour and ten minutes from Rome. We had heard that the Hawkins Police Department and the Palace Arcade scenes were filmed here. We did stop by the Police Department, but it has been completely remodeled, so I wouldn’t make this stop.
We did find the The Palace Arcade. It was pretty creepy and so cool! Palace Arcade is located at 6501 Church St. Douglasville, GA 30314. It’s since been abandoned, which added to the creep factor.
Stop 4: Boys’ Houses
From Douglasville, we drove about thirty minutes to East Point to see the Wheeler House, Sinclair House, and Dusty’s House!
This was one of my favorite stops. The neighborhood is adorable, with nice homes and large trees. It really did feel like the 80s when we were driving around! You can find the the Wheeler House at 2530 Piney Wood Ln East Point, GA.
The Sinclair House is located at 2552 Piney Wood Ln, East Point, GA!
And Dusty Henderson’s House is at 2886 Piney Wood Ln East Point, GA!
Stop 5: Abandoned Mill
We then drove to the Abandoned Mill located at 2903 RN Martin St. East Point, GA and got a huge surprise when we found Billy’s Camaro parked right out front!
Stop 6: Downtown Hawkins
From East Point, we drove about an hour to Jackson, GA which was the setting of downtown Hawkins in the series. This was my favorite stop of the entire trip!
Right in the middle of downtown Jackson, we parked next to Argyle’s van and noticed the cutest little storefront with a ton of Stranger Things memorabilia called, Gold Lion Farm. We ventured inside and had the absolute BEST time of the trip!
Not only is the store totally awesome, half of it has been revamped to all things 80s and all things Strangers Things! Gosh, I felt like I was back in my childhood and never wanted to leave.
But what makes this shop so special is the people that run it! They make amazing soaps and oils, I purchased the Stranger Things Soap, and loved it. And they talked to us, they told us all about meeting the cast during filming and they took photos of us, and even emailed me later thanking us for visiting their store.
If you get the chance, you should definitely check this shop out. It was one of those places that I was happy to spend some money in, it was truly that wonderful of an experience for my crew!
Downtown Hawkins is really downtown Jackson, GA. Here you will find so much centered around the Stranger Things series. Melvad’s General Store is located right on the corner, the Library and mayor’s building is in the center of downtown. And there’s a cute little coffee shop, called Lucy Lu’s Coffee Cafe a few doors down from Gold Lion Farm that has an entire Strangers Things coffee menu! If you’re a fan of the series you will LOVE this town!
Stop 7: Hawkins High School
Our next stop had us driving about 50 minutes north, back towards Atlanta. We stopped in Stockbridge on the way to see the Hawkins High School!
You can find the High School at 109 S Lee St. in Stockbridge, GA. There was a security guard patrolling the grounds when we were there, so we couldn’t explore as much as we would’ve liked to. The Middle School is adjacent to the High School, but there are no Hawkins signs, it was just more of a vacant building.
Stop 8: Hawkins Lab
Stop eight was our final stop on our Strangers Things Road Trip! We drove about forty-five minutes to North East Atlanta to see the Hawkins Lab!
We definitely saved the creepiest place for last! You can find Hawkins Lab at 1256 Briarcliff Rd NE Atlanta, GA. It also has a security guard patrolling the grounds. We talked to him, he was a very nice guy, and he let us walk pretty close to see it in person and snap a few pictures. I wish we could’ve gotten closer, but we were lucky to even get to see it at all!
And that’s a wrap on our Stranger Things Road Trip! It took a full day, as you can see we made almost a loop and circled back to Atlanta where we stayed for two nights before heading to Jekyll Island! Check back soon to learn more about our entire Georgia Road Trip! But hands down, the Stranger Things Road Trip was the most memorable day of our entire vacation!
More Stranger Things Fun!
Check out a Stranger Things Official Store near you! We visited the one in Grapevine and had a fantastic day. There are several different photo ops and lots of merch to purchase.
We just returned from a fantastic week in Utah! I’m so excited to share our Kanab, Bryce Canyon, and Zion National Park itinerary and photos with y’all! This itinerary is great for families, couples, or solo travelers.
Day 1:Texas to New Mexico
We began our road trip to Utah from North Texas. For us, it’s about a sixteen hour drive, so we had to break the drive up into two days. We decided to stop in Farmington, New Mexico on our first day of driving. It’s twelve hours from us, so we knocked out the majority of the drive on day one and only had four hours to go the following day.
Farmington is in the Four Corners region and has several great options of places to see if you want to explore more of this area. We’ve stopped at the Aztec Ruins National Monument and to see Shiprockon previous road trips!
Day 2:Kanab/Toadstool Hoodoos
On day two, we continued driving and stopped first in Page, AZ. We only stopped here because we happened to drive right by the Big Lake Trading Postand I wanted to do the short hike from the parking lot to see the sand cave! It was really cool, quick stop!
After that stop, we continued on our drive towards Kanab, UT which is where we were basing out of the entire week. We decided to stop by the Toadstool Hoodoos on the drive into Kanab and I am so glad that we did! My boys loved this stop and we had such a fun time exploring this area. Plus, it wasn’t crowded at all. Several different times during this stop, we were the only people there!
Hoodoos are unique, thin spires of rock formed by weathering and erosion. There are several different sized hoodoos on this trail and it truly felt like we were on another planet! The entire landscape was nothing like we’d ever explored before.
The Toadstool Hoodoos Trail – Distance: 1.8 miles | Time: 45 min. | Level: Easy | Cost: FREE
Once we left the Toadstools, we continued driving to Kanab. We stayed at the Comfort Suites and enjoyed this hotel. We had so much space in our room and it was in a great location! We also enjoyed the free breakfast buffet each morning, but the rates were the best part! We paid less than $450 for six nights here!
For dinner, we ate right down the road from our hotel at Vermillion 45 and it was delicious! It was a little fancier than our usual dinners on the road, but so good! I had shrimp risotto, the boys had pizza and rigatoni, and Jereme had chicken fricassee.
Day 3: Bryce Canyon National Park
After looking ahead at the predicted weather for the week, we decided to explore Bryce Canyon National Park on day three. The weather forecast was great for this day, but snow was predicted for later on in the week. It is right under 1.5 hours to get from Kanab to Bryce Canyon!
Based on the trails that were open and hiking with kids ages 13 and 9, we decided to hike the Navajo Loop Trail and Mossy Cave (which is outside of the Park). Be sure to check the weather before you go. If it has rained or snowed in the days before your trip, I suggest wearing hiking boots and bringing along spikes for mud or ice!
Navajo Loop Trail – Distance: 1.5 miles | Time: 1.5 hours | Level: Moderate| Cost: $35 per vehicle
We enjoyed this trail so much because of the up-close view of the hoodoos it provides! But, it was a little tough because of the wet conditions. It was very muddy, which made the hike down a little tricky in spots! The views are amazing, so don’t let a little mud discourage you from making the trek.
After finishing the Navajo Loop Trail, we drove about nine minutes to the Mossy Cave Trail. This is a short hike with a small waterfall, rock formations with “windows,” and a cave at the end. The waterfall was more of a trickle when we visited, but we still enjoyed the trail!
Mossy Cave Trail – Distance: 0.9 miles | Time: 45 minutes | Level: Easy |Cost:FREE (trail is outside main area of Park)
When we returned to Kanab, we had an amazing dinner at Escobar’s Mexican Restaurant. Hands down, this was the BEST food we had on our entire trip! If you’re in the area, definitely make sure to eat here.
Day 4: Kanab
On day four we decided to have a little bit of down time. My boys always seem to need a day to recover after a long drive and a lot of activities. It was so nice to sleep in, walk around the quaint downtown area, and check out some of the places right outside of Kanab.
The boys were tired of hiking and wanted a day to relax, watch tv, and play video games. So, Jereme and I had our own adventure date to the Kanab Sand Caves, also known as Moqui Caves. This place is fascinating! I highly recommend checking it out if you’re ever near Kanab. You don’t need a lot of time here and the hike is pretty easy!
This is such a unique place, right off the main highway that leads to Bryce or Zion from Kanab! We parked right off Highway 89 in a large, marked parking lot for the Sand Caves. You can’t miss it!
For dinner, we decided to have steaks at Iron Horse Restaurant. It was great, the boys loved this place! I didn’t take any food pics, but we all had steak, mashed potatoes, and salad.
Day 5 – Zion National Park
We dedicated day five to exploring Zion National Park and man, we were blown away! The views just driving through were like nothing we’d ever seen before. Full disclosure, it was pretty crowded during our visit over spring break. Because of the crowds, it was hard to find parking and the shuttle lines were insane. We opted to hike two trails in East Zion that did not require the shuttle and we highly recommend both!
If you only have a day in the Park, you don’t want to miss this easy hike. The overlook is truly impressive and the entire trail has views for day, just check out the photos below!
Zion Canyon Overlook Trail – Distance: 0.9 miles | Time: 30-45 minutes | Level: Easy|Cost: $35 per vehicle
The second trail we hiked was by happenstance when a spot opened up in the parking lot as we were driving by. I’m so glad we decided to stop here, we ended up having the entire trail to ourselves! And the best part, this hike ended at a gorgeous waterfall!
Lower Pine Creek Waterfall Trail – Distance: 0.7 miles | Time: 1 hour | Level: Moderate| Cost: $35 per vehicle
We really enjoyed the rock scramble to get to the waterfall! If you have kiddos, they will really love the adventure that this trail provides!
Day 6 – Ride and Rappel Slot Canyon Tour
This day was the best day! We booked the 2.5 hour ride, hike, and rappel adventure with Roam Outdoor. This was great for our boys ages 9 and 13. I recommend this option for families with younger kiddos or for anyone that has never rappelled before. We did four rappels that ranged from 10 feet to 45 feet, all while hiking through the stunning Ladder Canyon near Orderville, Utah.
We met up at the Roam Outdoor business at 10:00 am and were fitted with all of our rappelling gear. Then, we were driven on an ATV by our fantastic guide, Bryson, to Ladder Canyon. It was a short climb around to enter the slot canyon, which started with a rappel down into it! We all felt well prepared to make the first rappel and it started off small at only 10 feet. We gradually increased the distance of each rappel as we went, and finished with a 45 foot decent.
I also truly loved and appreciated how amazing Bryson was when it came to taking photos of our family to remember this special occasion! This was a family favorite and an unforgettable experience!
We followed up our time rappelling with a wonderful late lunch at Wild Thyme Café back in Kanab! The corn chowder soup and chicken pasta alfredo was to die for!
Day 7 – Peek-A-Boo Slot Canyon
Our final day of the trip was a fun one! We really enjoyed the tour the day before and wanted to find another slot canyon to hike. I had noticed signs for Peek-A-Boo Slot Canyon so I began looking up information on that trail. A high clearance four wheel drive vehicle is extremely necessary. I drive a 4WD Expedition and it would not have made the drive to the canyon. Luckily we had borrowed my mom’s Jeep for this trip and had no trouble off-roading the 3+ miles to the slot canyon. The trail is easy and fun, the sand is just very deep!
To find Peek-A-Boo Slot Canyon from Kanab, follow Highway 89 North out of Kanab for about nine miles. You will see a sign for Peek-A-Boo and a parking lot area on the right hand side of the road. Turn into the parking lot and then immediately turn left. This will take you onto BLM Route 102. Follow this until you reach the wash (almost like a dry riverbed). Here, turn left and follow the wash, this will be on BLM Route 106H and it will lead you straight to the slot canyon.
If you’re planning a trip to Utah, I hope you find this Kanab, Bryce Canyon, and Zion National Park itinerary helpful! Don’t hesitate to reach out if you have any questions. Be sure to follow all Leave No Trace Principals so we can continue to enjoy this beautiful country of ours!
The Leave No Trace principles are a set of guidelines designed to minimize the environmental impact of outdoor activities. These principles promote responsible outdoor recreation and stewardship of natural areas. Here are the seven Leave No Trace principles:
Plan ahead and prepare: Proper planning helps minimize potential impacts on the environment. This includes researching the area you’ll be visiting, understanding regulations and special concerns, and being adequately prepared with the right gear and skills.
Travel and camp on durable surfaces: Stick to established trails, campsites, and designated recreation areas to minimize damage to vegetation and soil. Avoid trampling fragile ecosystems by walking on durable surfaces like rocks, gravel, or dry grass.
Dispose of waste properly: Pack out all trash, garbage, and leftover food. Leave natural areas cleaner than you found them by properly disposing of waste and packing out all items, including biodegradable materials like fruit peels and food scraps.
Leave what you find: Minimize your impact on natural landscapes by leaving rocks, plants, and other natural objects as you found them. Avoid disturbing wildlife or removing cultural or historical artifacts.
Minimize campfire impacts: If fires are permitted and necessary for warmth or cooking, use existing fire rings or designated fire pits whenever possible. Keep fires small, use only local firewood, and fully extinguish fires before leaving. In sensitive areas, consider using a portable stove instead of building a fire.
Respect wildlife: Observe wildlife from a distance and avoid approaching or feeding them. Keep pets under control and prevent them from harassing wildlife or damaging vegetation. Store food securely to prevent wildlife from accessing it.
Be considerate of other visitors: Respect other visitors’ experiences by minimizing noise, yielding to others on the trail, and respecting privacy in campsites. Follow rules and regulations, and be courteous to others to ensure everyone can enjoy the outdoors responsibly.
By following these principles, outdoor enthusiasts can help protect natural environments and ensure that future generations can continue to enjoy outdoor recreation opportunities.
Last year we took an epic road trip from Texas to Montana, and then back home! Below, I’m including 14 must see spots on your road trip to Yellowstone! This road trip adventure will take you through Texas, New Mexico, Arizona, Utah, Idaho, Montana, Wyoming, and Colorado.
We are notorious for driving through Texas as quick as we can and not making too many stops in our home state. But, if you’re looking for a quick, fun, colorful stop, then check our Cadillac Ranch in Amarillo, TX. Don’t forget to bring along a can of spray paint!
Address: 13651 I-40 Frontage Road, Amarillo, TX
New Mexico
Amarillo, TX to Farmington, NM
If you’re coming in from Texas, New Mexico is a great place to stop for the night! We stayed in Farmington, NM and that was about a twelve hour drive for us from home. We typically don’t like to drive that far in one day, but we wanted to knock out a big chunk early on to have more days for exploring. And Texas is a huge state to drive through!
The Aztec Ruins are a fun and educational stop in Farmington, NM. We spent about an hour here, exploring the different areas of the ruins. The boys loved all of the prairie dogs!
Shiprock is an iconic sight, rising 1,583 feet tall, about 30 minutes from Farmington! Be aware, it’s considered a sacred place to the Navajo tribe and is not open to the public. We just made a quick stop for a photo on the side of the road!
Directions from Farmington: Take US 64 west to Shiprock and make a left at the intersection with US 491. Continue 7.1 miles on US 64 and 491, and turn right (west) onto the paved Indian Service Route 13. Continue 7.6 miles on IR 13 and turn right (north) onto IR 5010, which is a dirt road. Follow IR 5010 north to Shiprock, which is about 3.5 miles away.
I have always wanted to see Monument Valley, so we made sure to add this route to our road trip itinerary! I am hoping to explore more of this area on a future trip out west. We just drove through, and stopped for a quick photo at Forest Gump Point. I typed that in on my GPS and it led us there! The landscape here was impressive and I am so happy we added this quick detour to our route!
Monument Valley is located on US Highway 163.
Utah
Monument Valley to Moab, UT
Utah is one of the coolest states we’ve ever visited! On this trip, we drove through Moab on our journey to Yellowstone. Of course, we had to stop for some hiking! There are so many amazing spots in Moab to explore. If you’re short on time, I recommend hiking up to Wilson Arch. If you have more time on your road trip, you can stay in Moab for a few days to explore the two National Parks here!
Wilson Arch is a quick, five minute hike from the side of highway 191, about 20 minutes south of Moab. It’s mostly uphill, but we were able to hike up and back down without any issues. You can find the pull out to park right alongside the highway, and even though it’s not very crowded, you’ll see other cars along the road. We like this hike because you don’t have to pay to explore here!
Arches National Park is the site of over 2,000 natural sandstone arches. It’s one of those places that you just have to see to believe! My boys loved exploring this park and keep asking to go back. There are so many areas to explore, if you’re short on time you can even just drive through and stop at different overlooks to take in the different arches. If you have time for a hike, I recommend the three mile hike to the iconic Delicate Arch! Keep in mind, you do need a timed-entry permit to enter Arches National Park from April 1st-October 31st.
Directions to Arches: From Moab, drive north on US 191 for five miles. You will see the sign for the entrance!
I think I prefer Dead Horse Point State Park over the Grand Canyon, it’s that scenic! You don’t need a ton of time here, we just parked and walked along the overlook trail. The views are absolutely breathtaking!
Directions to Dead Horse Point: Drive nine miles northwest of Moab on US 191 and then 23 miles southwest on Utah 313 to the end of the highway. You will see signs for Dead Horse Point along the drive!
Another amazing National Park in Moab is Canyonlands! The area called Island in the Sky is right next to Dead Horse Point State Park, so you can knock these two places out at one time! The overlooks are truly amazing. If you don’t have much time, I recommend checking out Mesa Arch!
Directions to Canyonlands: From US 191 north of Moab, UT 313 leads to Island in the Sky district. You will keep driving past Arches NP and will see signs for Canyonlands National Park.
Idaho
Moab, UT to Twin Falls, ID
Idaho has to be the most underrated state we’ve ever visited! We were blown away with the views, the waterfalls, the hiking trails, the mountains, and more! On our road trip, we decided to stay in Twin Falls for a few nights to explore the area and spend some time outside of the car. This ended up being a great choice and one of my favorite destinations of the entire trip!
Can you see the people on the trail behind the waterfall?
Did you know that you can hike behind one of the tallest waterfalls in Twin Falls? I had no clue until I began researching stops along our route. The 200 foot waterfall is quite impressive by itself, but having the opportunity to walk behind it was really special!
Directions to Perrine Coulee Falls: This waterfall is just outside of Centennial Waterfront Park. You’ll see cars parked along the street next to the falls. You won’t miss this one, it’s close to the road that leads through the park!
Shoshone Falls is also known as The Niagara of the West! If you’re in Twin Falls, you have to visit this park! There are several different paved trails with different views of the falls. And, you don’t need a lot of time here to experience the magic!
Shoshone Falls Park Address: 4155 Shoshone Falls Grade, Twin Falls, ID 83301. There is a $5 entrance fee per vehicle.
If you’re driving from Twin Falls, you should make the stop to hike around Upper Mesa Falls near the Idaho, Montana border! I really had no clue that Idaho was full of so many amazing waterfalls. This is a very short hike to a 114 feet high, 200 feet wide roaring curtain of water!
Directions to Mesa Falls: You’ll find Upper Mesa Falls in Ashton, Idaho off of Hwy 20 via Scenic Byway 47. I used the Alltrails app for directions and we had no issues finding it. There were also signs along the drive.
Montana
Twin Falls, ID to West Yellowstone, MT
Up to this point, our trip was fantastic, but then we arrived in West Yellowstone, MT and found out that Yellowstone National Park was closed. Yes, we are some of the unfortunate people that made the trip only to learn that other areas of the park had encountered historic flooding. So, we never actually got to enter Yellowstone. We were so sad, but found other things to do in the area.
We had been so excited to see wild animals in Yellowstone, so it made sense to visit the Grizzly & Wolf Discovery Center. Plus, it was directly across the street from our lodging. It is a fantastic facility! We loved seeing the bears and were so excited when the wolves woke up and began moving around. We spent several hours here viewing the animals, hearing their stories, and exploring the museum inside.
Address: 201 S Canyon St, West Yellowstone, MT 59758. It costs $16.50 for adults, $11.50 for kids.
Wyoming
West Yellowstone, MT to Jackson, WY
Our trip was completely redeemed once we made it to Jackson, WY! The Grand Tetons are absolutely gorgeous. And, the best part is that we got to encounter a real bear in the wild!
One can easily spend weeks here and not see everything that this National Park has to offer. We had the chance to spend a couple of nights here, and we were able to spend two full days hiking in the park. If I had one place to recommend, I’d suggest the Jenny Lake area! If you want to see wildlife, hike on the Phelps Lake Overlook trail, that’s where we saw the bear!
Visitor Center Address: 100 Discovery Way, Moose, WY 83012
Colorado
Jackson, WY to Colorado Springs, CO
By the time we made it to Colorado Springs for the night, before journeying back home, we were exhausted! This is such a neat destination, you can easily spend a week vacationing here alone. So, even though there are tons of activities and attractions to explore here, we opted for a quick visit to Garden of the Gods.
Garden of the Gods has been a favorite of mine since I was a kid! I knew I wanted to bring my boys here. They’ve actually visited this place on several different occasions, it makes for a great stop! My boys love the easy walk around the different rock formations. And the climbing is their favorite part! Plus, it’s always a good idea to get the kids tired before beginning a long trip back home! Don’t miss out on the museum inside the Visitor Center.
Address: 1805 N. 30th Street Colorado Springs, CO 80904
We spent two weeks adventuring through the desert and over mountains on this road trip! Even though we didn’t get to see the main attraction on this trip, we still had a wonderful time and made tons of memories! This road trip did involve a lot of planning, especially for the weather! It was warm in some places, but snowed in others, all within just a few days.
Road Trip Tips
Have a plan! Make sure to know your route and where you plan to stop and stay each night!
Get your vehicle checked before your road trip!
Make sure you have a first aid kit in your vehicle.
Bring plenty of snacks and drinks for the drive!
Pack some hydration tablets, such as Zaca, to help stay hydrated—especially at higher elevations—and be sure to carry plenty of water.
Create a playlist. If you have kids, have them help you!
Stop often for breaks.
Don’t try to drive too long each day unless you know you and your kiddos can handle it.
Prepare for the weather at each destination on your adventure!
Be patient, expect traffic and weather delays from time to time.
Don’t try to pack in too much each day!
Have fun!
I’m sure we missed a ton of awesome places on this road trip! We do have plans to one day return to Yellowstone, taking a different route. Be sure to check out more of my blog posts for complete travel guides and itineraries! Good luck on your next road trip, I know it’s going to be amazing!